What Grit Sandpaper to Use for Metal Patio Furniture
You’ll progress through three grit stages for ideal results. Start with 80-grit to aggressively strip rust and paint, then move to 120-grit for smoothing imperfections and refinement. Finish with 220-grit for final surface preparation before primer application. This systematic progression guarantees mechanical adhesion and prevents paint failure. Follow directional sanding patterns, clean thoroughly between stages, and you’ll achieve professional-quality finishes. The specifics of matching grit selection to your furniture’s condition reveal vital technique refinements.
Understanding Grit Sizes and Their Purpose
Grit size indicates the number of abrasive particles per square inch on sandpaper, with higher numbers representing finer abrasives. You’ll find that grit comparison reveals distinct applications for each range. Coarse grits (60–80) excel at rapid material removal, stripping paint or rust from your furniture. Medium grits (100–150) balance removal with smoothing, preparing surfaces effectively. Fine grits (180–220) deliver final smoothing before finishing applications. Very fine grits (220 and above) create ultra-smooth surfaces ideal for polishing and high-gloss results.
Understanding these abrasive materials’ characteristics guarantees you select the right tool for each stage. You’ll progress through grits systematically, moving from coarser to finer options. This methodical approach eliminates scratches and creates a professional-quality finish on your metal patio furniture.
Removing Heavy Rust and Thick Paint With 80 Grit
When you’re faced with metal patio furniture that’s heavily rusted or layered with old paint, 80-grit sandpaper becomes your primary tool for aggressive material removal. The coarse aluminum-oxide abrasive formulation strips away multiple paint layers and rust simultaneously without damaging the underlying metal substrate.
For stubborn rust, apply a chemical rust remover beforehand to enhance your rust removal techniques. The sandpaper then eliminates oxidation layers completely before you progress to finer grits.
Your sanding motion should follow directional patterns to minimize surface scratching. After sanding, use a wire brush to remove remaining oxidation particles, then rinse thoroughly with fresh water.
These paint adhesion strategies—proper surface preparation and debris removal—prevent primer failure and guarantee lasting protection for your restored furniture.

THE RIGHT SIZE: This red and brown Aluminum Oxide, 80 Grit sand paper shop roll is 1 inch wide and 50 yards long! Boxed as a convenient, tear-to-fit roll, save resources by using only what you need. Available in a variety of other grits and widths. (Pack of 1, 50 yard roll)

HIGH HARDNESS:Brown fused aluminum oxide is a mineral with a hardness of 9 on the Mohs scale (just below diamond), our aluminum oxide blast media will clean & etch on all types of surfaces including glass, granite, marble, ceramic and steel for fast, effective rust removal.

[Unmatched Quality for Precision Sanding]: Experience premium sanding with AutKerige 9 x 11 inch wet and dry sandpaper, made with high-grade white fused alumina abrasive. With 99% alumina content, this sandpaper offers low heat generation, remarkable grinding efficiency, and a consistent, long-lasting scratch pattern. The pure abrasive ensures your surfaces remain pristine and free of discoloration, making it ideal for high-quality finishes on various materials.
Smoothing Surfaces With 100 and 120 Grit Sandpaper
After you’ve stripped away heavy rust and thick paint with 80-grit sandpaper, you’ll progress to 100 and 120-grit abrasives to refine the metal surface for finishing. These medium grits smooth remaining imperfections while maintaining ideal surface prep for paint adhesion.
Your sanding techniques should follow the metal’s contours, moving parallel to avoid cross-scratches. Use 100-grit to eliminate residual rust and paint, then shift to 120-grit for a finer finish that reduces coarser scratches. For large flat surfaces, employ electric sanders to guarantee uniformity; reserve hand sanding for edges and tight spots.
After completing your sanding techniques, thoroughly clean the surface with a tack cloth or damp cloth to remove all dust and particles. This critical surface prep step prevents contamination that compromises coating adhesion and durability.

【Strong Adhesion】This set of 100 pcs, sanding discs 5 inch 8 hole, features a thickened hook and loop sandpaper back that adheres well to random orbital sanders and has twice the adhesion of regular sandpaper.

【Strong Adhesion】This set of 100 pcs, 120 grit sanding discs 6 inch 6 hole, features a thickened hook and loop sandpaper back that adheres well to random orbital sanders and has twice the adhesion of regular sandpaper.
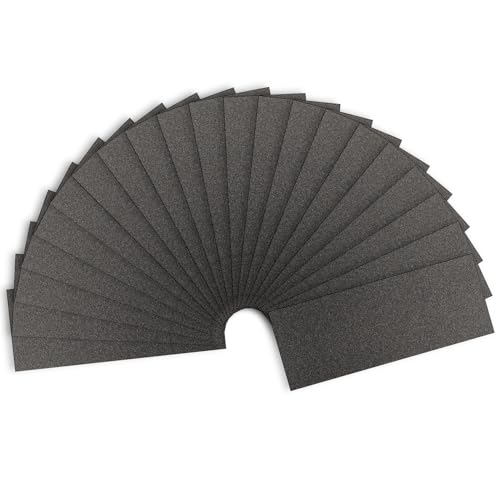
High-Precision Abrasive Paper: This Shineboc sandpaper set comes with 21 sheets of 120 grit sandpaper, providing ample supply for demanding sanding tasks.
Preparing Metal for Light Rust and Maintenance With 180-220 Grit
Once you’ve addressed heavy rust and paint removal, you’ll shift to 180-220 grit sandpaper for refining surfaces that don’t require aggressive intervention. This medium-fine to very fine range excels at light rust removal without excessive material loss, making it ideal for maintenance work on your patio furniture.
Your sanding techniques should remain gentle and controlled. Use sanding sponges for curved details on wrought iron pieces, allowing you to navigate intricate areas effectively. Progress systematically across flat surfaces, working with consistent pressure.
After sanding, wipe the surface thoroughly to remove dust and rust particles. This exposes clean metal adequately for primer adhesion without aggressive pitting. For aluminum pieces, employ an even gentler approach, as this softer metal responds better to the lighter 180-220 grit range. Just as with deck wood, proper surface preparation ensures that protective finishes adhere evenly and create a durable, professional-quality result on metal furniture.

220 Grit: Includes 8 sanding blocks, 220 grit (fine); our sanding sponge is reusable, washable, and suitable for all your sanding needs

【ASSORTED GRIT SANDING BLOCKS】 12 sand blocks, 6 sizes from coarse to ultra-fine sand, 220/180/120/100/80/60 grit, 2 blocks for each grit. There are six different colors, grey (corresponding to grit size - 220,180), blue (120), yellow (100), green (80), and orange (60), with different numbers of grains for different colors.

Product specifications: You will get 12 sanding blocks sized 10 x 6.5 x 2.5 cm (3.94 x 2.56 x 0.98 inches), including 60, 80, 100, 120, 180, and 220 grit sanding sponges, suitable for each stage of sanding
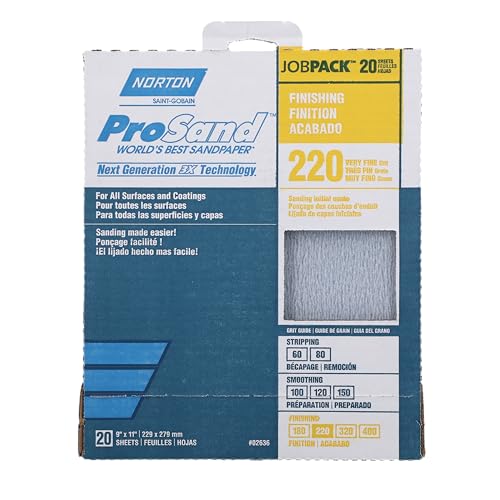
Final Surface Preparation With 220 Grit Before Priming
Your 180-220 grit work’s removed the rust and old paint, but you’ll want to refine that surface one final time before primer touches your metal. Use light, even pressure with final sanding techniques—avoid gouging or creating uneven patches. Sand in straight lines or circular motions depending on your furniture’s shape, targeting all visible surfaces including corners and crevices. Ideal sanding pressure means letting the sandpaper do the work without forcing it. Once you’ve finished, wipe away all dust using a microfiber cloth or tack cloth. Be sure you’re also wearing protective gear like gloves and masks to avoid inhaling any fine particles during this final preparation stage. Inspect your surface carefully—it should feel uniformly smooth and appear dull rather than shiny. This stage guarantees flawless primer adhesion and eliminates visible sanding marks from your final paint finish.

Premium European High-Density Foam – Engineered with 85-density foam (significantly denser than standard 65-density), our robust sanding blocks deliver superior rebound resilience, minimal deformation, and exceptional longevity for heavy-duty hand sanding

Package Contents: You will get 20pcs 220 grit 9 inch(L) x 3.6 inch(W) wet dry sand paper. All sandpaper is the same grit size. There are ample quantities to meet your usage needs at this grit size.
This sandpaper product is crafted using a premium, heat-treated abrasive to create a fine grit sandpaper sheet that cuts faster and has a longer sandpaper life than ordinary sandpaper. This sandpaper is developed with a fiber reinforcement and increased weight that provides tear resistance and grain retention yet is still flexible enough to fold
Matching Grit Selection to Metal Types
Different metal types demand different grit selections because they respond uniquely to abrasion. You’ll need coarser sandpaper types for ferrous metals like steel and wrought iron. These harder materials tolerate 80-100 grit sandpaper effectively, removing rust and old paint without unnecessary surface damage. Conversely, aluminum and non-ferrous metals require gentler treatment. You should use medium grit 180-220 sandpaper on these softer metals to prevent over-sanding and scratching. Understanding metal characteristics guides your approach: ferrous metals’ hardness allows aggressive sanding, while aluminum’s softness demands restraint. Light rust on any metal type responds well to 180-220 grit without excessive material removal. Match your sandpaper selection to these fundamental metal properties for best results.

50PCS MULTI-GRIT SANDPAPER SET: Our sanding discs set provides you with 50CS orbital sander pads in 6 different grades: 5PCS 60 grit, 10PCS 80/120/180/220 grit each, 5PCS 320 grit. The higher the number, the finer the grit

High-Precision Abrasive Paper: This Shineboc sandpaper set comes with 10 sheets of 220 grit sandpaper, providing ample supply for demanding sanding tasks.

180 Grit - Fine adjustment polishing
Achieving Professional Paint Adhesion and Finish
Selecting the right grit for your metal type sets the foundation, but achieving a professional finish requires a systematic sanding progression that builds mechanical adhesion for paint. You’ll start with 80-grit sandpaper for heavy rust, then progress through 120-grit for intermediate smoothing, finishing with 220-grit for final refinement. This graduated approach creates surface roughness that grips primer and paint chemically.
Skipping steps compromises paint durability greatly. You’ll risk peeling and flaking within months if you bypass progressive grits. After completing your grit progression, remove all dust with tack cloths or damp soft cloths—residual particles prevent proper adhesion techniques from working effectively.
Inspect thoroughly for remaining rust or texture, then verify surfaces are completely dry before applying primer, guaranteeing extended paint durability and a genuinely professional result.