The Ultimate Guide to Painting Outdoor Wood Furniture
You’ll transform your outdoor furniture with six essential steps. Start by cleaning thoroughly and sanding with 80-grit paper, progressing to 120-220 grit for smoothing. Fill cracks with exterior-grade filler, then apply two to three primer coats. Use high-quality outdoor paint in thin, multiple applications following the grain. Finish with a protective sealant and establish a maintenance routine including regular cleaning and touch-ups. Each phase builds upon the previous, creating a foundation for lasting durability.
Preparation Essentials
Proper preparation determines whether your outdoor wood furniture’ll achieve a durable, professional-quality finish. You must address wood finishing fundamentals by removing old paint with 80-grit sandpaper, then smoothing with 120-150 grit paper along the grain. Sand large surfaces with an orbital sander while hand-sanding corners for precision.
Next, eliminate all sanding dust using a tack cloth or compressed air—residue causes surface imperfections. Verify your wood’s completely dry before proceeding; moisture compromises primer adhesion and durability considerations. Clean oily surfaces with mineral spirits. Apply painter’s tape around edges and trim to achieve crisp, professional lines on your furniture pieces.
Fill cracks and holes with exterior-grade wood filler, then sand smooth. Remove all loose or flaking paint by scraping and sanding, not painting over damage. Just as flashing prevents water intrusion in structural applications, proper surface preparation prevents paint failure and premature deterioration. Wear protective gear throughout preparation. These methodical steps establish the foundation for successful paint application and long-lasting results.

【ASSORTED GRIT SANDING BLOCKS】 Each set contains 8 sponge sanding blocks, each measuring 3.9 x 2.76 x 0.6 inches. There are 4 sizes from coarse to ultra-fine, 2 blocks of each grit level, and different colors for different grit sizes: grey (corresponding to grit size - 220), blue (120), green (80), and orange (60).

DAP plastic wood filler looks and acts like real wood; ideal for corners and vertical surfaces on interior or exterior wood

DAP plastic wood filler looks and acts like real wood; ideal for corners and vertical surfaces on interior or exterior wood
Surface Cleaning Techniques
Effective surface cleaning is foundational to achieving a professional paint finish on outdoor wood furniture, as it removes contaminants that’ll otherwise compromise primer adhesion and paint durability. Start with dust removal using a soft-bristled brush to eliminate loose dirt and debris without scratching the surface. Follow with a vacuum equipped with a brush attachment for crevices and textured areas.
Next, prepare your cleaning solutions by mixing mild soap with water according to product instructions. Apply this solution using a soft cloth or brush, working along the wood grain. For stubborn stains or mildew, employ oxygen bleach, allowing it to work for 15-20 minutes before scrubbing gently.
Rinse thoroughly with a garden hose using low pressure, then air dry completely in shade. For challenging deposits like mold or stubborn grime, consider pre-treating with a diluted vinegar solution before proceeding with your standard cleaning routine. Proper cleaning facilitates ideal paint adhesion and longevity.

Contains oxalic acid which when mixed with hot water

Premium Wood Bleach for Furniture & Floors - Restore wood naturally with our oxalic acid wood bleach! Perfect for wood bleach for furniture and wood bleach for hardwood floors, this oxalic acid powder removes deep stains, yellowing, and dark spots. A powerful yet safe wood stain remover for DIY refinishing. Easy to mix & apply.

Aunt Fannie's All Purpose Wood Cleaning Spray: Contains 16.9 ounces of lemon-scented natural plant-based cleaner that breaks down dirt, food, grease & grime without the use of harsh chemicals
Sanding and Repair Steps
Once you’ve cleaned and dried your furniture thoroughly, you’ll want to remove all hardware and accessories before beginning the sanding process. Start with 80-grit sandpaper to strip old paint and rough spots, then progress to 120–150 grit for smoothing. Finish with 180–220 grit depending on your wood type.
Use a random orbital sander for flat surfaces, but hand sand corners and crevices, always moving with the grain to minimize scratches. Wear protective gear and guarantee proper ventilation. For best results, use progressively finer grit sandpaper to ensure a smooth surface that properly accepts your final finish.
Address damage next: fill cracks and dents with exterior-grade wood filler using a putty knife, then sand smooth with 120–150 grit once dry. After sanding, consider applying UV protection to shield the exposed wood from sun damage and weathering. These sanding techniques and wood filler application create a flawless base for your finish coat.
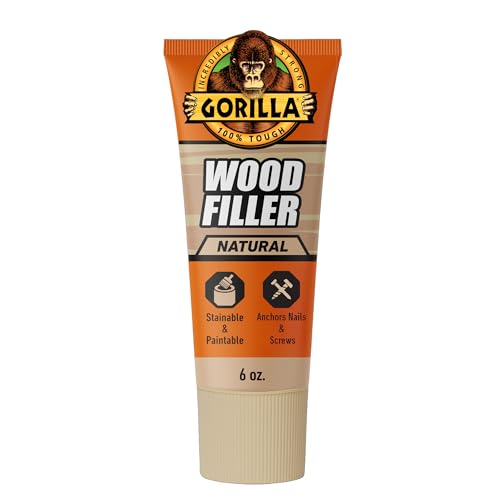
Gorilla tough: Gorilla Wood Filler is the go-to product for strong water resistant repairs on cracks, gouges and holes

Gorilla tough: Gorilla Wood Filler is the go-to product for strong water resistant repairs on cracks, gouges and holes

Stainable wood filler looks and acts like real wood; ideal for corners and vertical surfaces on interior or exterior wood
Priming Best Practices
After you’ve sanded and repaired your furniture, primer application becomes your critical next step—it’ll seal the wood, block stains, and create the foundation for your topcoat. Select primer types strategically: oil-based primers excel at blocking stains and sealing previously finished wood, while latex primers offer faster drying and easier cleanup for raw wood projects. For cedar or redwood, stain-blocking primers prevent tannin bleed effectively. Unlike topcoat paints, primers are specifically formulated to enhance paint adhesion and create a better surface for final color application.
Apply primer using brushes or trim rollers for precision control. Spray application accelerates large projects. Use two to three coats, sanding lightly between applications to promote adhesion. Pay extra attention to end grain and furniture legs—these vulnerable areas require additional coats to prevent moisture ingress. Allow 12–24 hours drying time between coats, ensuring complete curing before proceeding. Just as working with the wood grain improves stain application on decks, maintaining consistent directional application with your primer enhances paint adhesion and creates a more professional finish on outdoor furniture.
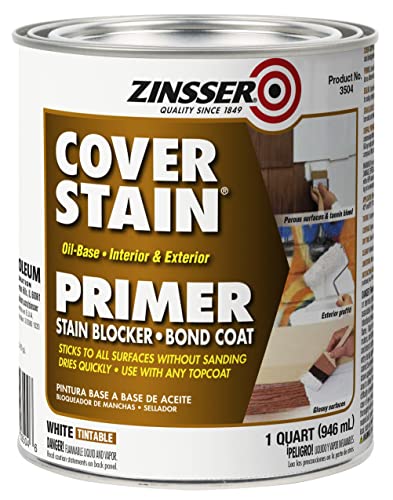
Cover stain, QT, Oil based stain killer primer/sealer

CLEAR WATERPROOFING WOOD SEALER: Olympic WaterGuard clear sealer waterproofs and protects exterior wood and masonry without changing the surface's natural look.

ONE-PART PRE-VARNISH WOOD SEALER for new or bare wood; fills and seals the wood grain, and creates a smooth, level surface for varnish; apply to all types of wood including plywood and oily hardwoods such as teak and mahogany
Painting Techniques and Tools
With proper surface preparation complete, you’re ready to shift into the critical phase of paint application, where technique and tool selection directly determine your furniture’s final appearance and weather resistance. Your tool choice greatly impacts coverage efficiency and finish quality. Combine trim rollers with brushes to cover large flat surfaces while accessing narrow seams effectively. Apply paint in thin, multiple coats rather than single thick applications that pool or drip. Follow wood grain direction for superior results. Use exterior-grade nylon or polyester bristle brushes for the best coverage. For larger projects, Wagner sprayers apply all-in-one formulations thinned with twenty percent water, though you’ll need steady hand technique and proper distance to prevent pooling. Two coats minimum guarantee adequate color coverage and long-term durability. Just as slat spacing and orientation affect outdoor structure performance, your paint application technique significantly influences how well your furniture weathers seasonal changes. Consider oil-based versus water-based paint options based on your climate and desired drying time, as oil-based paints offer superior durability while water-based formulations dry faster for quicker project completion.
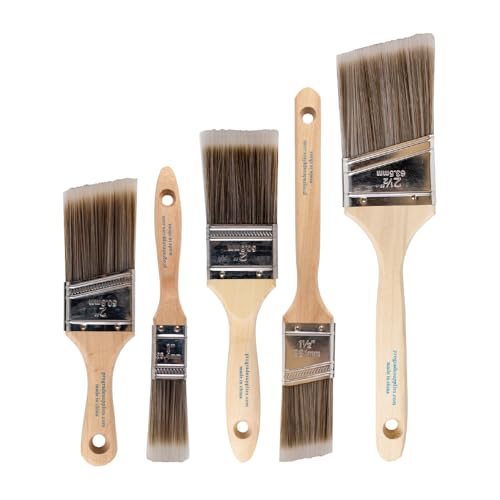
COMPLETE 5-PIECE BRUSH SET FOR EVERY PAINTING TASK — Includes 1 Inch Flat, 1.5 Inch Angle, 2 Inch Flat, 2 Inch Angle Stubby, and 2.5 Inch Angle brush giving you every size professional painters use daily. Get all 5 for less than the price of a single brush from hardware store brands — professional grade performance at a fraction of the cost. Perfect for walls, trim, cabinets, doors, furniture, and detailed cutting-in work on any project.

Bates deck stain brush set includes 2 high-quality brushes designed specifically for staining decks and other large wood surfaces.

Big Chip Brushes: 3 inch (75mm) wide Paint Brush allows for a wider stroke from small edges to large surface painting, and allows you to attain all of your decorating styles. It is specially used as a varnish brush, a masonry brush, a limewash brush or a paste brush. This disposable paint brush is economical and practical, also suitable for both interior and exterior painting works
Sealing and Maintenance
Your painted furniture’s longevity depends entirely on the protective barrier you establish through proper sealing. You’ll apply synthetic penetrating finishes in two to three coats, ensuring complete grain coverage and peak protection against moisture damage.
Resealing frequency depends directly on environmental exposure and furniture location. You should inspect your pieces every two to three years for visible wear, as coastal areas and pool-adjacent positions require marine-grade formulations. Regular maintenance prevents water damage, warping, and cracking before they compromise your furniture’s structural integrity.
Penetrating oil finishes offer distinct advantages—they won’t peel or crack, simplifying your maintenance routine considerably. You’ll avoid costly refinishing by addressing deterioration promptly. Built-in Scuff-Guard technology provides additional protection in high-traffic areas where foot traffic and furniture movement cause abrasion. Selecting weather-resistant materials appropriate for your climate ensures that your painted wood furniture maintains both its protective finish and aesthetic appeal throughout the year.