How to Build Sturdy Outdoor Furniture With 2×4 Lumber
You’ll build sturdy outdoor furniture by selecting pressure-treated or cedar 2x4s and reinforcing joints with galvanized screws angled at 45° plus exterior-grade wood glue. Construct independent front and back frames, then connect them with strategic cross supports. Install seat slats using pocket holes for hidden fastening, and drill pilot holes to prevent splitting. Finish with penetrating stains or spar urethane, sanding between coats with 320-grit paper. The specifics of each stage reveal how to maximize durability and longevity.
Materials Needed
You’ll need five essential categories of materials to build sturdy outdoor furniture from 2×4 lumber. When choosing lumber, select full-length 8-foot pieces in cedar, redwood, or pressure-treated wood for durability and natural resistance. For fastener options, use galvanized or coated screws (2½” to 3″) and pocket hole screws for hidden joints. Quality adhesive types include Titebond II or III for weather resistance. Your tool essentials include a cordless drill, circular saw, Kreg Jig, and clamps. Incorporate safety measures by pre-drilling holes to prevent splitting. Purchasing tips recommend buying extra lumber for braces and spacers. For wood treatments, apply exterior-grade sealants or stains, and allow the wood to reach appropriate moisture content levels before application for optimal adhesion and durability. Conduct quality checks on lumber before assembly, ensuring it’s free from warping, splits, or large knots. When working with cedar specifically, 316 stainless steel screws are recommended to prevent tannin staining and ensure long-term durability.
Cutting and Preparation
Proper cutting and preparation form the foundation of successful outdoor furniture construction, and a circular saw serves as your primary tool for this phase. Set your blade depth to approximately 1.5 inches—slightly deeper than your 2×4’s thickness. Your tool setup requires clamping a straight edge or speed square to the lumber for precise guidance. Mark cut lines clearly with a pencil and long ruler before starting. For straight cuts, align your saw’s baseplate with the marked line and apply even pressure while moving steadily. For angled cuts, adjust the blade’s bevel angle to your desired measurement and secure the lumber firmly. Always double-check alignment before cutting. Understanding board thickness requirements helps ensure your furniture pieces maintain proper strength and stability for outdoor use. Maintaining consistent screw placement across all connection points will minimize shifting and twisting in your finished furniture. These fundamental cutting techniques guarantee clean, accurate pieces that fit together properly for sturdy furniture.
Frame Assembly
With your lumber cut to precise dimensions, assembling the frame transforms individual pieces into a structural skeleton that’ll support years of outdoor use. Start by constructing your front and back frames independently, then join them with crosspieces and legs. Apply exterior-grade wood glue to all frame joints alongside 2½ to 3-inch screws angled at 45° for maximum strength. Use clamping methods to secure pieces during adhesive curing and screw insertion, preventing misalignment. Position cross supports strategically under seats and armrests to reinforce stability. Add center braces between legs to prevent warping. Space all components consistently using spacer blocks, similar to how joist spacing principles ensure structural integrity in deck construction. Test squareness frequently throughout assembly to catch misalignments early. Ensure all hardware is exterior-grade and corrosion-resistant to protect your furniture from environmental degradation. These assembly techniques guarantee your frame resists lateral movement and environmental stress.
Slats and Surfaces
Transforming your sturdy frame into a comfortable, finished surface requires careful slat designs and precise installation. You’ll cut twelve 1×4 boards to 19 1/2 inches for horizontal seat elements, using thinner materials for comfort and finished aesthetics.
For surface treatments, consider planing both your frame and slats to create refined lines, or sand rough edges if planing equipment isn’t available. Mendocino Redwood or cedar provide natural weather resistance for outdoor durability. For superior longevity, teak wood offers exceptional durability and can last 30 to 75+ years with minimal maintenance. To further protect your finished furniture from the elements, applying waterproofing spray will enhance the water resistance of your wooden surfaces.
Secure each slat with brad nails and 2 1/2 inch screws—minimum two per side for structural integrity. Drill pilot holes into your 2×4 frame to prevent splitting. Use spacers and stainless steel fasteners to maintain consistent gaps. The pocket hole method with Kreg screws offers hidden fastening for cleaner aesthetics. Speed squares guarantee perpendicular alignment during installation.
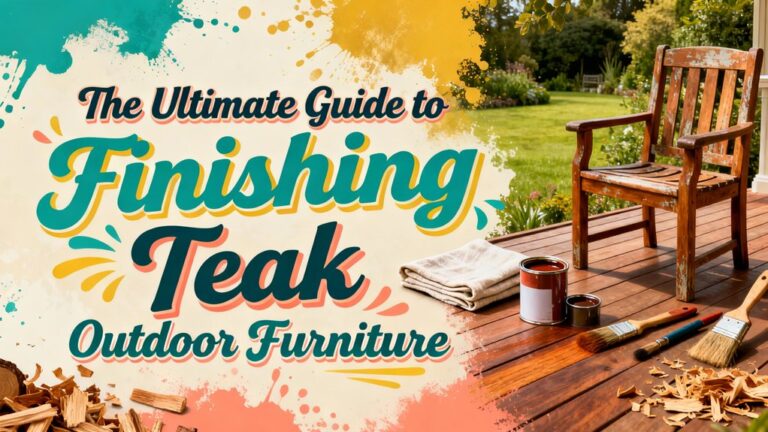
Finishing and Maintenance
Once you’ve installed your slats and created a finished surface, you’ll need to protect your outdoor furniture with an appropriate finish that suits your climate and maintenance preferences. For wood preservation, consider penetrating stains that accommodate wood movement without cracking. You’ll appreciate their simplified maintenance tips: reapply by wiping new coats directly over existing finishes without heavy preparation. Alternatively, film-formers like spar urethane provide superior scratch and water resistance but require complete removal before reapplication. Spar urethane offers UV-resistant protection that typically lasts 3–5 years with proper maintenance, making it an excellent choice for outdoor exposure. In high-humidity regions, prioritize water-resistant finishes and consider applying regular sealing and refinishing to prevent warping, cracking, and fading over time. Don’t overlook end grain protection at leg bases with paint or epoxy plugging to prevent moisture absorption. Sand between coats with 320-grit sandpaper for smooth surfaces. Choose based on your climate’s UV exposure and rainfall patterns for ideal long-term durability.