How to Stain a Deck With a Roller: Tips for Even Coverage
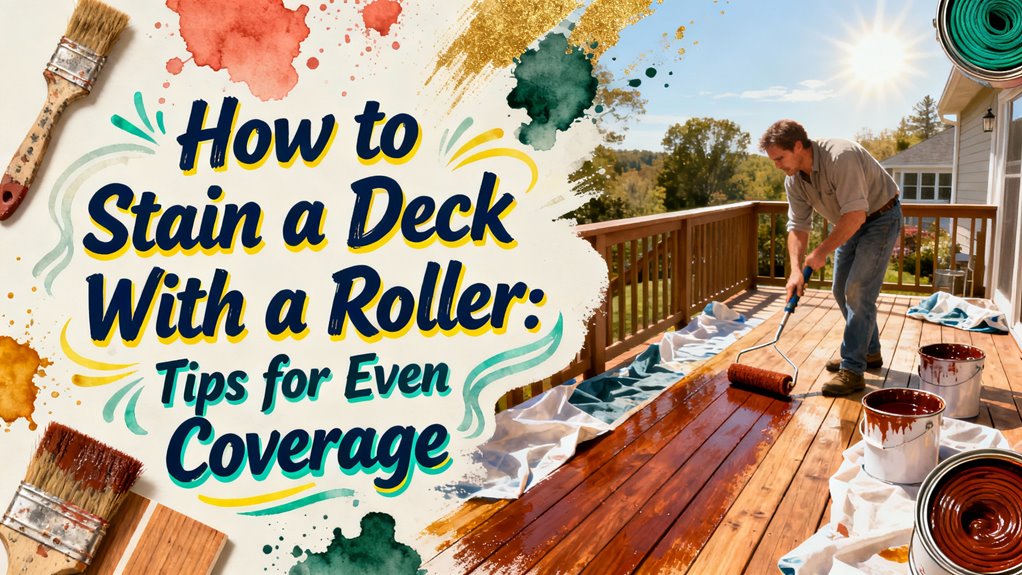
To stain your deck evenly with a roller, you’ll want to select the right nap thickness for your deck’s texture and use natural bristles for oil-based stains or synthetic for water-based. Apply long, overlapping strokes along the wood grain using a “W” or “M” pattern, maintaining a wet edge to prevent lap marks. Work in small sections, keeping consistent pressure throughout. Allow proper drying time between coats. Understanding the specific techniques that prevent common issues like pooling and uneven absorption will transform your results.
Preparation Before Staining
Before you apply stain to your deck with a roller, you’ll need to prepare the surface thoroughly to guarantee ideal absorption and a professional-looking finish. Start by removing all obstructions—furniture, planters, and decorations—from the deck area. Sweep away loose debris with a stiff-bristle broom, then rinse the surface with a garden hose. Apply deck cleaner according to manufacturer instructions and scrub between boards using a stiff brush. Rinse completely and allow 24–48 hours for drying. Use the sprinkle test to confirm the wood’s readiness; water should soak in rather than bead up. Sand rough patches and old stain using a deck sanding sponge, then vacuum away dust. Stain penetrates the wood, providing deep protection and enhancing the natural grain for a more refined appearance. Consider testing your chosen stain color on a small patch of the deck to ensure satisfaction with the final appearance. Finally, cover surrounding plants and surfaces with protective plastic sheeting before beginning your stain application.
Choosing the Right Roller and Tools
Since you’ll be applying stain across your entire deck, selecting the proper roller and equipment greatly impacts both the quality of your finish and the efficiency of your work. Match your roller materials to your stain type: use natural bristles for oil-based stains and synthetic bristles for water-based formulations. For roller sizes, choose 12-inch or wider rollers to cover greater surface area per pass, reducing application time.
Select your nap thickness based on deck texture. Use 3/8-inch nap for smooth surfaces, 1/2-inch for slightly textured wood, and 3/4-inch for heavily weathered decks. Pair your roller with sturdy frames, paint trays, extension poles, and roller grids. Consider specialty tools like Flextech® hygroscopic covers or wide 18-inch rollers for large decks. Applying thin, even coats along the wood grain with your roller helps prevent peeling and streaking for a more durable finish. For the structural foundation of your deck, ensure you’ve used the appropriate fasteners for decking boards during construction to prevent warping and surface issues that could affect stain application. Always verify manufacturer compatibility recommendations before purchasing.

1/2 IN. NAP: Designed for smooth, consistent paint application on semi-smooth to medium-textured surfaces.

Shed-resistant for all paints enamels primers urethanes and epoxies

PURDY PAINT ROLLER COVERS – Purdy WhiteDove roller covers provides a smooth, lint-free finish. Handcrafted in the USA, this Purdy roller paint cover is ideal for drywall, ceilings, and floors.
Roller Application Technique
Mastering proper roller application transforms your deck staining from a tedious chore into an efficient, professional-looking project. You’ll load your roller evenly from the paint tray, then work in small sections with long, smooth strokes at consistent pressure. Roll along the wood grain using overlapping passes of about 50%, employing a “W” or “M” pattern to distribute stain uniformly. Keep your roller moving steadily to prevent pooling and uneven drying. Use a brush for edges and corners where your roller can’t reach, then feather with the roller to blend marks seamlessly. Reload frequently, monitor the roller nap for clogging, and avoid re-rolling partially dried areas. Prior to application, ensure your deck surface is properly prepared through thorough cleaning and sanding to guarantee optimal stain adhesion and a flawless finish. Allow sufficient drying time, typically 24 to 48 hours depending on weather conditions, before exposing your deck to foot traffic or furniture. These roller techniques and application tools guarantee professional results and uniform coverage throughout your deck.

High-Capacity Super/Fab Fabric: Proprietary golden yellow knit fabric holds a generous amount of coating for efficient application and fewer trips to the paint tray.

Buff-colored 100% natural lambs wool is knitted into a synthetic backing for consistent quality

1/2 IN. NAP: Designed for smooth, consistent paint application on semi-smooth to medium-textured surfaces.
Achieving Even Coverage and Avoiding Marks
The key to professional-looking deck staining is maintaining consistent pressure and proper stroke technique throughout your application. You’ll apply long, even strokes along the length of each board, slightly overlapping each pass to eliminate gaps without creating lap marks.
Maintaining a wet edge prevents visible lines from forming between sections. You’ll work methodically across your deck, ensuring previously applied stain remains slightly tacky when you connect new areas. This timing is critical for seamless shifts.
Use blending techniques at section boundaries by applying brush strokes to smooth excess stain where two sections meet. Work section-by-section, staying methodical and deliberate. This approach keeps you in control while ensuring lap marks remain invisible. For optimal results, maintain your sprayer fully pressurized throughout application to achieve consistent flow and professional coverage. Your consistency in pressure and technique directly determines whether your finished deck looks professionally stained or amateur.

10 piece mini roller painting kit - Achieve professional painting perfection with this comprehensive set! 1 Mini Tray, 1 Each Mini Roller Frame, 8 Each 4" x 1/2" Mini Roller Covers

Bates deck stain brush features a 7.5-inch width for expansive and even application, ideal for efficiently staining decks, fences, and other large wooden areas.

SIMPLICITY MEETS EFFICIENCY - Our deck stain brush is easy to use with fast application of paints or stains. Just attach it to any standard extension pole for an easy, seamless experience that makes deck staining a breeze for DIYers and professionals alike. Our deck stain applicator works great on wood and concrete.
Efficiency and Quality Tips
While consistent technique prevents visible marks, you’ll also need to optimize your tools and workflow to complete the job efficiently without sacrificing quality. Using an extension handle reduces physical strain and improves coverage consistency across larger areas. Rollers are roughly twice as fast as brushes, making them ideal for maximizing roller efficiency on expansive decks. Maintain a systematic approach by dividing your deck into manageable sections, working toward an exit point to avoid stepping on wet areas. Avoid switching between applicators mid-job, as this compromises texture consistency. Keep extra rags handy for quickly addressing spills, especially with oil-based stains. Back-brush rolled sections to enhance penetration and achieve a quality finish that appears natural and uniform throughout your deck.
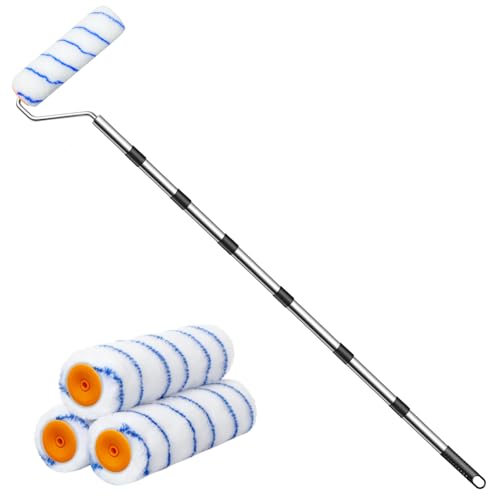
【Safe and Convenient】:Our Paint Rollers with long handle make it easy to paint walls and ceilings without the need for a ladder, making it safer and more efficient.2.6FT~7.2 FT adjustable pole can make you don’t need a ladder. The pole is a general-purpose stainless steel pole and can be extended indefinitely.

LONG REACH TELESCOPING POLE EXTENDS 3.5' to 6': Our premier extension pole features a twist lock mechanism to lock it at different lengths. Shorten to use as a deck brush, mop or broom stick or extend for a paint roller extension pole.

What Can You Receive - You will receive 6 extension pole adapter tips, coming with 6 nuts, 6 short screws, 6 long screws and 6 blind rivets. The complete combination and rich quantities are enough to meet your needs for installations and extensions.
Common Challenges and Considerations
Even with proper technique and quality tools, you’ll encounter obstacles that can derail your staining project if you’re not prepared. Weather impacts your results notably—high humidity slows drying and traps moisture, while direct sunlight causes premature drying that prevents even absorption. Extreme temperatures affect stain penetration and adhesion. Rain washes away stain before it sets, so check forecasts carefully. For best results, plan your project during moderate temperatures between 50°F and 85°F with low humidity and no rain forecasted for at least 24–48 hours.
Surface conditions demand attention too. Inadequate cleaning allows dirt and mildew to block stain adhesion, causing peeling. Skipping sanding results in rough spots and poor absorption, especially on older decks. Existing finishes must be stripped or sanded completely. Consider using a wood cleaner and brightener to prepare weathered surfaces and remove old peeling stain effectively.
During application, avoid pooling excess stain, which dries as a film and peels like snake skin. Maintain consistent pressure and a wet edge to prevent lap marks and streaks.
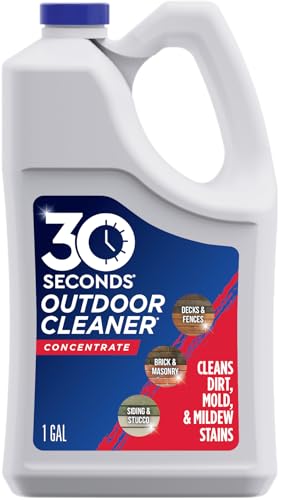
REMOVES STAINS FROM ORGANIC GROWTH ON YOUR OUTDOOR SURFACES: 30 SECONDS Outdoor cleaner cleans stains from mold, mildew, dirt and grime

POWERFUL DECK CLEANER & MILDEW REMOVER – This deck cleaner and mildew remover is a professional-grade deck cleaning solution, effectively eliminating black and green stains, mold, and built-up grime on wood and composite surfaces.

Makes 20 gallons