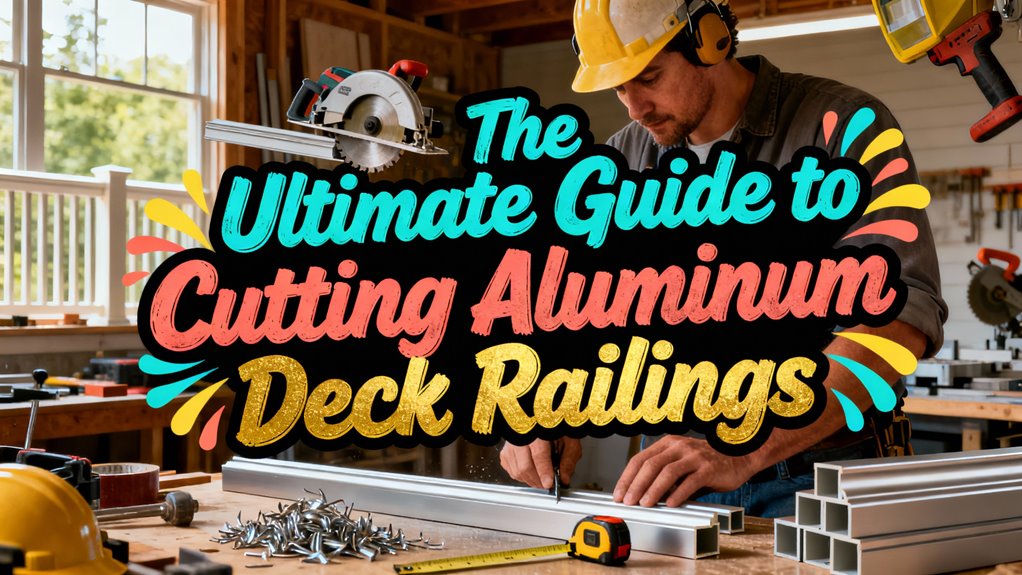
The Ultimate Guide to Cutting Aluminum Deck Railings
You’ll need a mitre saw with carbide-tipped, 96-tooth blades to cut aluminum railings cleanly. Secure your materials on a sturdy workbench with clamps and non-slip mats. Mark your cut lines precisely using a fine-point marker, measuring twice to guarantee accuracy. Wear safety glasses, gloves, and hearing protection throughout. After cutting, seal edges with two-part epoxy and sand smooth. Proper spacing—4 to 6 feet on center—guarantees code compliance and professional aesthetics. The techniques and finishing methods ahead’ll transform your installation into polished results.
Essential Tools and Equipment for Aluminum Railing Cuts
Success in cutting aluminum deck railings depends on selecting the right tools for your specific project requirements. Your tool comparison should prioritize the mitre saw for clean, precise cuts—it’s the gold standard for this work. If you need flexibility, a reciprocating saw handles rougher cuts effectively, while a jigsaw manages curved sections. For occasional jobs, a hacksaw suffices as a manual alternative.
Support equipment proves equally critical. You’ll need a sturdy saw stand or workbench, clamps to secure your railing, and a non-slip mat preventing shifts. Pair these with measuring tapes, markers for clear cut lines, and squares for angle verification.
Your cutting techniques improve greatly when you combine proper tools with appropriate accessories. This strategic approach guarantees accuracy while maintaining safety throughout your project.
Choosing the Right Blade for Your Project
Selecting the proper blade is critical because it directly determines your cut quality and railing longevity. You’ll want carbide-tipped blades as your primary choice for aluminum cutting applications. Prioritize high tooth count designs—96-tooth specifications deliver superior results by minimizing chipping and producing smooth, clean edges.
Consider specialized aluminum/plastic blades engineered specifically for metal extrusions and sheet materials. These dedicated blade types remain sharper longer than standard options, reducing replacement costs and maintenance downtime.
Your blade diameter must match your specific tool requirements, whether you’re using a miter saw, chop saw, or circular saw. Verify compatibility before installation to guarantee safe operation.
Standard carbide blades work acceptably when you apply proper technique, but specialized aluminum blades greatly outperform them, delivering cleaner cuts with minimal user effort required.
Preparing Your Work Area and Materials
Now that you’ve equipped yourself with the right blade, it’s time to set up your work environment to guarantee safe, accurate cuts.
Begin your material inspection by examining the aluminum railing for existing damage, bends, or surface imperfections. Verify the material length against your project plans to confirm you’ve got sufficient stock with minimal waste. Wipe away surface dust and debris to improve visibility during cutting.
Next, establish your work area with a sturdy work bench and clamping mechanisms to secure the railing firmly in place. Position your chop saw for easy access while maintaining adequate workspace around the cutting zone. Keep your tape measure, markers, and cutting tools within arm’s reach but away from the blade. Ascertain proper ventilation to manage metal dust and heat accumulation during extended operations. Consider using progressively finer grit sandpaper after cutting to smooth any burrs or sharp edges created by the cutting process.
Marking and Measuring Your Cut Lines
Three critical measurements you’ll need to record are the level linear footage, angled stair sections, and post-to-post distances—each demands its own notation system to prevent costly errors during the cutting phase. Your marking techniques must distinguish between these categories clearly on your material.
Use a fine-point marker for precise line placement, guaranteeing you’ve accounted for bracket allowances of 1/2 inch on both ends. Measuring accuracy depends on checking each dimension twice before marking. Document post-to-post distances individually rather than relying on on-center calculations, as these differ markedly. Before you begin cutting, ensure your posts are securely installed at corners and stairways to provide a stable foundation for all measurements.
Transfer all measurements directly onto your aluminum stock immediately after verification. Label each cut line with its corresponding railing section location. This systematic approach eliminates confusion and guarantees your cuts match your deck’s exact specifications without material waste or installation delays. Consider how your railing design contributes to the overall aesthetic of your outdoor space, similar to how climbing plants enhance garden aesthetics when properly supported by structural elements.
Executing Precise Cuts With Proper Technique
Your cutting success hinges on matching the right blade to your aluminum railing material and maintaining a steady, controlled pace throughout each cut. You’ll want to use an 80-tooth carbide blade or a 60-tooth blade with a negative hook angle to prevent aluminum fusion to the teeth.
When optimizing feed rates, you’re balancing speed with precision. Slow, steady cuts minimize overheating and material buildup on your blade. You shouldn’t rush the process—inconsistent pacing compromises both cut quality and safety.
For reciprocating saws or jigsaws, practice cuts on scrap aluminum first to develop proper technique. You’ll establish the correct feed pressure and angle before executing final cuts on your deck railing sections. This methodical approach guarantees clean, accurate results while protecting your equipment and maintaining control throughout the cutting operation. A chop saw with metal-cutting blade is the recommended tool for making clean, precise cuts through aluminum railing components during installation.
Critical Safety Precautions During Cutting
Safety isn’t negotiable when you’re cutting aluminum deck railings—one moment of carelessness can result in serious injury. You’ll encounter significant cutting hazards, including metal shavings, flying debris, and loud noise that demand rigorous personal safety protocols.
Equip yourself with safety glasses to shield your eyes and hearing protection against saw noise. Wear heavy-duty work gloves and long-sleeved shirts to prevent contact with sharp edges and hot aluminum particles. A face shield adds essential facial protection during chop saw operations.
Maintain a well-ventilated workspace to mitigate aluminum dust inhalation risks. Keep your area clean and adequately lit to eliminate tripping hazards and improve cutting precision. Inspect your blade before starting—dull or damaged blades compromise both safety and cut quality. Clean metal shards immediately after cutting to prevent puncture wounds and skin injuries.
Mistakes That Compromise Your Results
Even meticulous safety practices won’t salvage a railing installation that’s been compromised by preventable cutting errors. Your measurement accuracy directly determines fit and functionality. Skipping double measurements causes incorrect lengths and poor-fitting railings, while neglecting baluster spacing creates uneven gaps that violate safety codes. Rushing cuts produces jagged edges that compromise both aesthetics and structural integrity. Uneven pressure and misaligned blade placement result in crooked or oversized cuts. You must verify spacing standards before cutting—ignoring post and baluster spacing jeopardizes stability and code compliance. Without proper edge finishing, rough cuts increase injury risk and corrosion initiation. Failing to smooth corners creates installation difficulties with caps and fittings. Just as thorough preparation ensures a quality deck restaining project, proper pre-cutting planning prevents installation failures. These preventable mistakes undermine your entire project’s success.
Finishing and Sealing Cut Edges
Once you’ve cut your aluminum railings precisely and avoided the common installation errors, protecting those freshly exposed edges becomes your next priority. Your post cut inspection should identify all vulnerable areas requiring immediate attention.
Implement thorough sealing techniques starting with fine-grit sandpaper to smooth damaged surfaces, then apply two-part epoxy like JB Weld to create a watertight barrier. After the epoxy cures, sand it smooth with steel wool for a seamless change.
Next, apply thin layers of touch-up paint, allowing complete drying between coats. Follow with clear lacquer spray to establish a unified protective finish across the repaired section. For enhanced durability, consider applying a ceramic sealant that forms a hydrophobic barrier to repel water and further prevent corrosion.
Finally, drill small drainage holes at low points to prevent water accumulation. Like wood surfaces that require sanding along the grain for optimal results, your aluminum edges benefit from consistent directional preparation techniques. This multi-layered approach effectively shields cut edges from moisture infiltration and corrosion while maintaining structural integrity and aesthetic consistency.
Maintaining Your Tools After Use
Proper tool maintenance directly extends your equipment’s lifespan and guarantees consistent cutting performance on future projects. You’ll establish effective maintenance routines by removing aluminum dust and metal shavings immediately after use to prevent corrosion buildup. Clean blades with mild solvents and soft brushes—avoid abrasive materials that scratch surfaces. Dry all components thoroughly to prevent rust on metal parts.
Apply paraffin wax or specialized lubricants to blades, reducing aluminum sticking and overheating during cutting. Regularly inspect blades for dullness, chips, or residue affecting cutting quality. Check power cords and battery health after each session, and clean saw dust ports to prevent motor damage. Test motor and blade rotation before storage, catching performance issues early. Follow manufacturer-recommended maintenance schedules for moving parts and bearings to guarantee tool longevity.
Achieving Professional Appearance and Spacing
After you’ve made your cuts and maintained your tools, shifting your focus to post spacing and visual alignment will transform your aluminum deck railing from functional to professionally finished. You’ll want to measure your total railing length and divide by your desired spacing to determine exact post placement. Aim for 4–6 feet on center, which satisfies code requirements while enhancing structural integrity. Mark each location precisely using a chalk line and measuring tape before installation. Uniform post spacing creates visual consistency and establishes a clean, professional aesthetic. Symmetrical alignment across your deck ensures balanced appearance and reinforces perceived sturdiness. Before installation, ensure your deck surface has been properly prepared with thorough cleaning and wood brightener application to create a uniform foundation for your railing components. When installing your balusters, ensure they maintain proper spacing between balusters of approximately 4 inches, as this meets building code requirements and prevents safety hazards. This methodical approach to post spacing and aesthetic considerations guarantees your aluminum railing meets both regulatory standards and sophisticated design expectations.