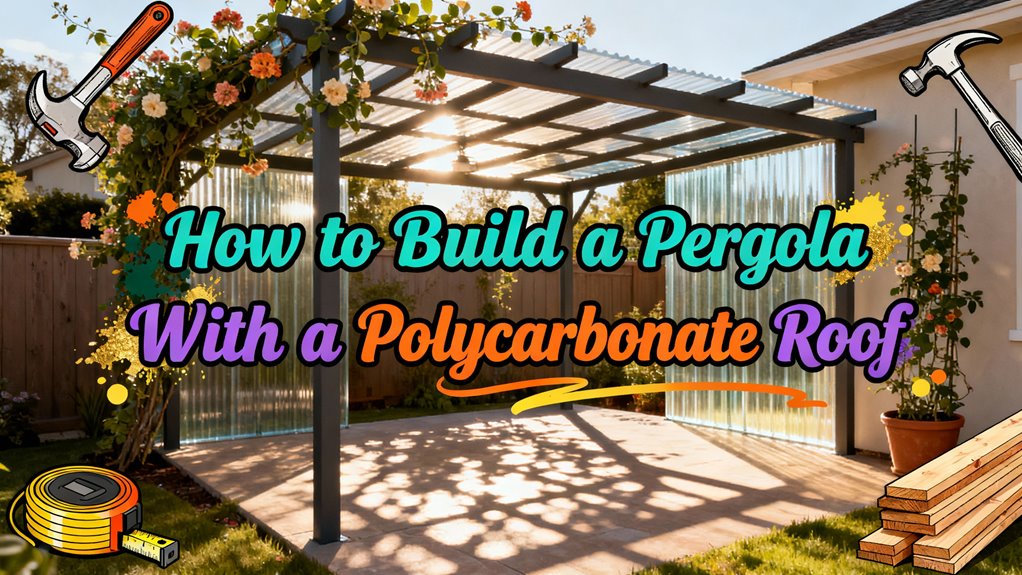
How to Build a Pergola With a Polycarbonate Roof
You’ll start by preparing your site with proper footings and a concrete foundation, then install pressure-treated lumber posts spaced 6–8 feet apart. Next, attach galvanized steel beams and install rafters 16–24 inches apart, adding diagonal bracing for stability. You’ll prepare your 10mm polycarbonate panels by inspecting them, cutting oversized sheets, and applying aluminum tape along edges. Finally, position panels with ribs running vertically, pre-drill holes 10% larger than screw diameter, and secure through corrugation crests without overtightening. The specifics of each phase require careful attention to guarantee your pergola withstands weather and time.
Materials and Tools Needed
Building a pergola requires selecting the right materials and assembling the proper tools before you begin construction. You’ll need 10mm twinwall polycarbonate panels in clear or bronze, aluminum rafters spaced 600–1200mm apart, and purlins to support your panels. For fasteners selection, choose stainless steel screws or clips with rubber washers to prevent corrosion and leaks. Your structural components must withstand local weather conditions, so verify proper engineering for wind and snow loads. Polycarbonate roofs provide excellent durability and UV protection while allowing natural light transmission through your outdoor space.
Gather essential tools: a power drill with screwdriver bits, circular saw for trimming panels, measuring tape, level, safety gear including gloves and goggles, and a ladder for access. You’ll also need sealant strips, flashing, and trim pieces for waterproofing. After installation, protect your polycarbonate roof by applying fabric water repellency treatments designed for outdoor materials to enhance durability. These materials and tools enable efficient installation while maintaining durability and weather resistance.

Strong Material - 10 pieces of 8 x 4 ft polycarbonate panels, approximately 0.24 inches thick, feature a twin-wall design for outstanding impact resistance, making it withstand hail and falling objects without cracking or breaking, is the perfect material for greenhouses

Fits 10mm and 8mm Twin-Wall Panels: Ten 4-foot H-channel connectors, each 0.4 inches thick, join two polycarbonate panels edge to edge into one continuous run. Built for the heavier multi-wall sheeting used in insulated and year-round builds.
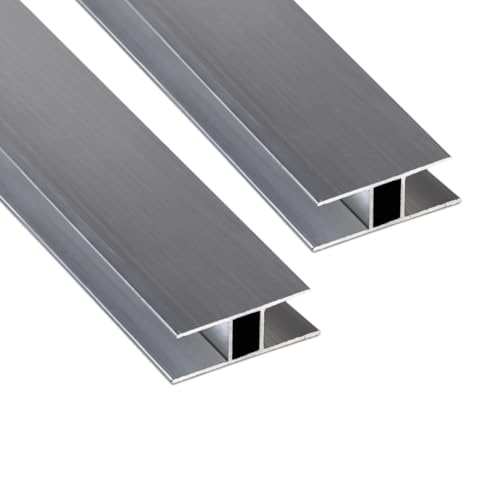
Fits 10mm Twin-Wall Panels: Ten 4-foot aluminum H-channel connectors join two polycarbonate panels edge to edge into one continuous run. Sized for 10mm sheeting rather than a loose universal fit.
Site Preparation and Foundation
Once you’ve gathered your materials and tools, you’ll need to prepare your site and establish a solid foundation—the backbone of any pergola installation. Start with soil evaluation to determine load-bearing capacity and stability. Identify your local frost line depth, as concrete footings must extend below it to prevent shifting. Excavate trenches 16 to 20 inches deep, then compact the exposed ground thoroughly. Install a 6-inch gravel layer and cover it with polyethylene film for moisture protection. Add formwork boards to support trench walls. Pour concrete in two layers with reinforced steel mats between them. For a 10×13 foot pergola, you’ll need minimum four foundation points; larger structures require six or more for proper load distribution. The number and spacing of foundation points should account for your beam configuration, as double 2×12 beams can span greater distances than single beams, potentially reducing the foundation requirements for your specific pergola design. Proper beam sizing depends on factors like wood species, grade, load requirements, and rafter spacing, which will influence how many foundation points your pergola ultimately needs.
Frame Assembly and Structure
Three critical elements—posts, beams, and rafters—form the structural skeleton of your pergola, and you’ll need to install them with precision to guarantee stability and longevity. Start by setting pressure-treated lumber posts at least 2 feet deep, spacing them 6 to 8 feet apart based on local wind and snow loads. Use a level and plumb bob for proper alignment, then secure posts with concrete footings or anchor bolts.
Next, attach galvanized steel beams to post tops using metal brackets or lag bolts. Size beams to span distances without sagging—typically 2×8 or 2×10 lumber works well. Install rafters perpendicular to beams, spacing them 16 to 24 inches apart. For structural reinforcement in high-wind areas, add diagonal bracing between posts and reinforce joints with corner brackets to maximize rigidity and safety. After assembly, consider applying oil-based enamel spray paint to exposed wood surfaces for long-term protection against weathering and UV damage. Always adhere to local building codes when determining post depth and spacing requirements for your specific region.
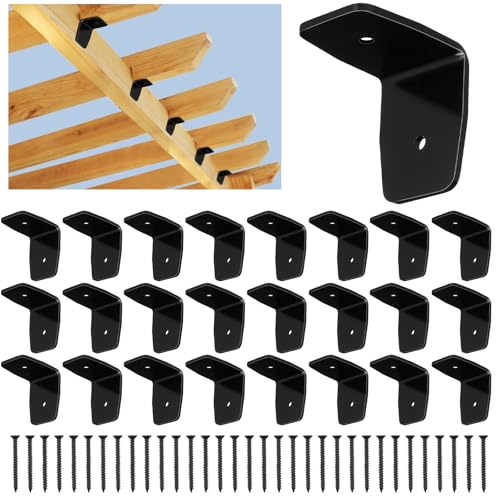
Comprehensive Package: our package includes 24 pcs 2" black rafter clips and compatible screws, making your assembly process smoother; No more additional purchases required, as we provide everything needed for efficient installation

Heavy-Duty Carbon Steel:Crafted from solid 4mm premium carbon steel, these pergola brackets are thicker and more stable than ordinary 2mm brackets. It features reliable rigidity, strong load-bearing performance and good anti-bending ability. Solid construction effectively avoids structural shaking, delivers steady and durable support for pergolas, decks and outdoor wooden structures, and maintains long-term safety and stability

Materials: the post cap tie rod bracket is made of thickened high-quality galvanized steel (thickness: 0.12"/3mm) laser cutting and seamless welding, the surface of the outdoor professional powder coating to prevent rust, for the connection between the wooden post and beams to provide safe and strong support!
Polycarbonate Panel Preparation
Before you install polycarbonate sheets on your pergola roof, you’ll need to prepare them carefully to guarantee they perform at their best and last for years. Start with thorough damage inspection of each sheet, looking for cracks or stress marks that could compromise structural integrity. During panel storage, keep sheets flat in a protected area away from excessive heat and direct sunlight to prevent warping. Maintain the protective film until installation begins.
Next, measure your roof area precisely and cut sheets slightly oversized using a fine-tooth saw. Smooth all cut edges to eliminate stress points. Apply solid aluminum tape along the top edge and vented tape on the bottom for proper drainage and protection. Pre-drill holes 1/8 inch larger than screw diameter to accommodate thermal expansion, spacing them according to manufacturer specifications. For polycarbonate installations exposed to weather, ensure fastener spacing does not exceed guidelines that would compromise the panel’s ability to move and expand without stress.

[RIGHT SIZE OPTIONS] RITOLLO 0.24 in / 6 mm polycarbonate greenhouse panels come in multiple pack and size options, making them suitable for greenhouse roof panels, wall repair, cold frames, raised beds and outdoor garden DIY projects.

Sturdy and Thickened: you will receive 12 pieces polycarbonate greenhouse panels, the size is approx. 2 x 8 ft, the thickness of these polycarbonate sheets is about 0.16 inch, which is not easy to break

8 LARGE-FORMAT PANELS – Includes eight translucent panels, each measuring approximately 8 x 4 ft and covering 32 sq. ft. Provides up to 256 sq. ft. of total coverage before trimming, overlap or installation waste.
Panel Installation Process
Now that you’ve prepared your polycarbonate sheets, you’re ready to begin the installation process. Start with proper panel placement by positioning sheets with ribs running vertically for drainage. Overlap adjacent sheets by at least one corrugation, directing the overlap away from prevailing wind and rain. Begin installation from the windward side, working consistently left to right rather than from both ends.
For fastener preparation, pre-drill holes 10% larger than your screw diameter to accommodate thermal expansion. Use compatible screws with neoprene washers for sealing. Fasten through corrugation crests, securing every second corrugation on end purlins and every third or fourth on intermediate purlins. Work from bottom to top, fastening along the length before moving upward. Avoid overtightening screws—compress washers while keeping them visible to prevent stress cracking. If you’re building a wooden pergola frame, avoid using poplar wood for outdoor components, as it requires extensive maintenance and protective coatings to resist warping and rot. For homes with gutters, ensure your pergola attachment follows load-bearing wall requirements to maintain structural integrity during installation.