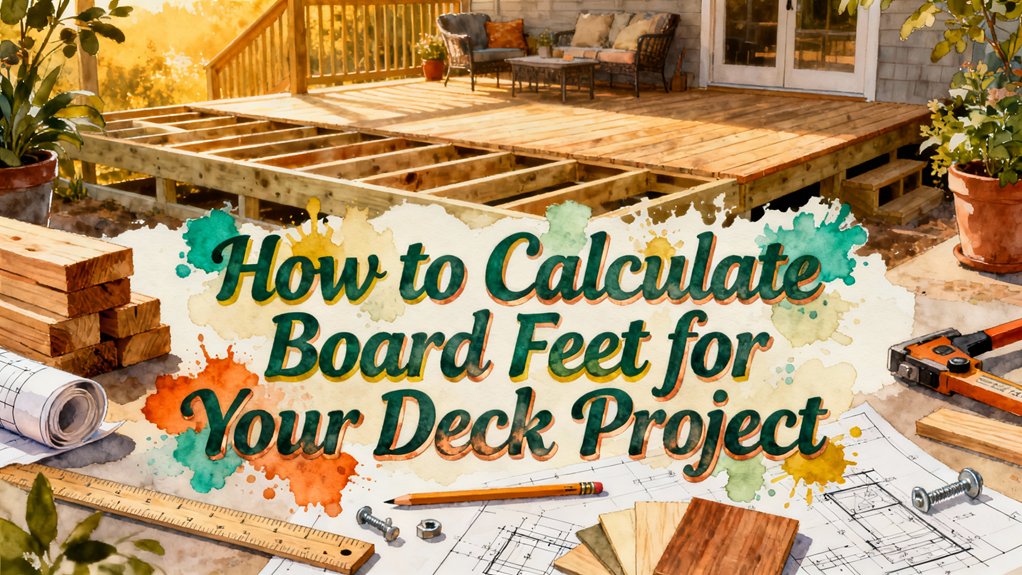
How to Calculate Board Feet for Your Deck Project
You’ll calculate board feet by multiplying your lumber’s thickness in inches, width in inches, and length in feet, then dividing by 12. Measure each board individually for accuracy. For multiple boards, calculate separately but group by size variations for efficiency. Don’t forget to add a 10–15% waste factor for cutting losses and defects. Proper joist spacing at 16″ or 24″ centers also impacts your material quantity. Understanding these calculations guarantees you’ll budget accurately and avoid project delays.
Understanding Board Feet as a Measurement Unit
Before you can calculate board feet for your deck project, you need to understand what this measurement actually represents. A board foot measures volume, not length or area. It represents exactly 144 cubic inches of wood material and equals one square foot of lumber that’s one inch thick.
You’ll encounter board feet abbreviated as FBM, BDFT, or BF in the lumber industry. This measurement differs fundamentally from linear feet, which only measure length. A 10-foot board could contain vastly different board feet depending on its thickness and width.
When purchasing lumber for your deck, sawmillers calculate board feet using actual dimensions for rough lumber or nominal dimensions for planed stock. Understanding this distinction helps you accurately estimate materials and account for waste, regardless of your wood species selection.
Breaking Down the Board Feet Formula
Now that you understand what board feet represent, you’ll need to master the formula that converts your lumber’s dimensions into this measurement. The board foot formula components are straightforward: multiply thickness in inches by width in inches by length in feet, then divide by 12. Each component serves a specific purpose. Thickness represents your board’s depth, width measures the face dimension, and length spans in feet. The division by 12 converts cubic inches into board feet, standardizing your calculations. For your deck project, you’ll measure each piece individually, ensuring accuracy before multiplying by the quantity needed. Understanding these formula components eliminates guesswork and prevents costly material miscalculations.
Step-by-Step Calculation Process
Three critical steps make up your board feet calculation process: gathering accurate measurements, accounting for waste, and converting those figures into usable quantities for your deck project.
First, apply precise measurement techniques to your decking materials. Record length in feet, width and thickness in inches using actual dimensions rather than nominal sizes. For irregular boards, measure at the narrowest points for conservative estimates.
Second, add 10–15% waste factor to accommodate cutting losses and material defects. Increase this percentage for complex designs or angled cuts. Consider your joist spacing requirements when planning for structural components, as this will affect your overall material needs.
Third, multiply your total square footage by average board thickness in inches, then divide by 12 to convert to board feet. For mixed board sizes, calculate each separately and sum the results. Always round up your final figure when purchasing materials. Ensure your decking materials are pressure-treated lumber to match the durability standards recommended for structural deck components.
Calculating Board Feet for Multiple Boards
Once you’ve mastered calculating board feet for individual boards, you’ll need to scale up your process for multiple boards of varying dimensions. You’ll calculate board feet separately for each board type using the formula: (Thickness in inches × Width in inches × Length in feet) ÷ 12. Grouping boards by size variations streamlines your calculations and minimizes errors. Create a table listing each board type, its dimensions, quantity, and calculated board feet. Sum the board feet for each group, then combine all totals for your overall board footage. This organized approach guarantees you account for every board type and arrive at an accurate material estimate for your deck project.
Determining Board Needs for Deck Projects
How do you translate your deck’s dimensions into an accurate material shopping list? You’ll divide your total deck square footage by your selected board’s square footage to determine quantity needed. Round up to the nearest whole number—you can’t purchase partial boards.
Consider your board types carefully. Longer boards minimize joints and reduce waste, while shorter boards offer flexibility for irregular layouts. Standard lengths range from 8 to 20 feet; widths vary from 4 to 6 inches.
Account for pattern complexity. Diagonal layouts and intricate designs demand additional boards due to increased cutting waste, and diagonal installations require tighter joist spacing to ensure proper support. Before installation, ensure your materials are properly maintained by air-drying thoroughly any cushioning or protective coverings used during storage. Don’t forget to exclude fascia boards and overhangs from your primary calculation—these require separate estimates.
This systematic approach guarantees you’ll purchase exactly what your deck dimensions demand, eliminating guesswork and minimizing material waste.
Accounting for Waste and Material Overages
You’ll need to add 10-15% to your calculated board quantity to account for cutting waste, material defects, and installation errors—a standard practice that’s often overlooked in initial estimates. This buffer protects your project timeline and budget from unexpected shortfalls.
Implement a waste management strategy by organizing materials on-site with dedicated storage areas. This prevents damage and contamination that necessitate replacements. Material efficiency improves when you pre-plan your cuts and arrange lumber systematically. Professional deck staining services typically charge between labor costs of $1.75 to $4.50 per square foot, which can inform your overall project budget when combining staining with structural work.
Consider deconstruction methods during tearout phases; you’ll recover approximately 82% of dimensional lumber for reuse or donation, greatly reducing your net material costs. Document all surplus materials for potential applications in concrete forms or future projects, maximizing your investment and minimizing landfill contributions.
For outdoor deck projects, selecting pressure-treated wood ensures your investment will withstand the elements and provide reliable performance over many years compared to untreated alternatives.
Using Online Calculators and Tools
Digital board foot calculators streamline your material estimation by automating complex formulas and reducing calculation errors. These online resources from reputable sites like Omni Calculator, Trestlewood, and The Home Depot require you to input board dimensions—thickness, width, and length—plus deck area and quantity.
Calculator features vary in sophistication. Basic tools display board feet per piece and totals, while advanced versions estimate fastener requirements, waste percentages, and project costs. Many allow you to add multiple board types for complex projects and adjust spacing parameters.
You’ll benefit from mobile accessibility and the ability to save or print results for planning purposes. By leveraging these free tools, you’ll eliminate manual calculation errors and save considerable time during the estimation phase of your deck project.
Tips for Accurate Measurements and Estimates
Precise measurements form the foundation of reliable board foot calculations, and they’re more critical than you might think. You’ll want to use measurement tools like a quality tape measure with clear markings to eliminate errors.
When applying measuring techniques, record each dimension immediately—length in feet, width and thickness in inches. Always double-check your measurements before performing calculations. This habit prevents costly mistakes.
You must account for waste by adding 10% to your total estimate. For complex deck designs featuring angles or curves, increase this percentage further. Keep extra material on hand for damaged boards or unexpected repairs. Additionally, ensure your joists are properly spaced at 16″ or 24″ centers, as this impacts the quantity of decking boards needed for your project. When selecting materials, consider using hidden fastener systems to achieve a seamless appearance while maintaining structural integrity.
These practices guarantee your project stays within budget while minimizing material shortages.