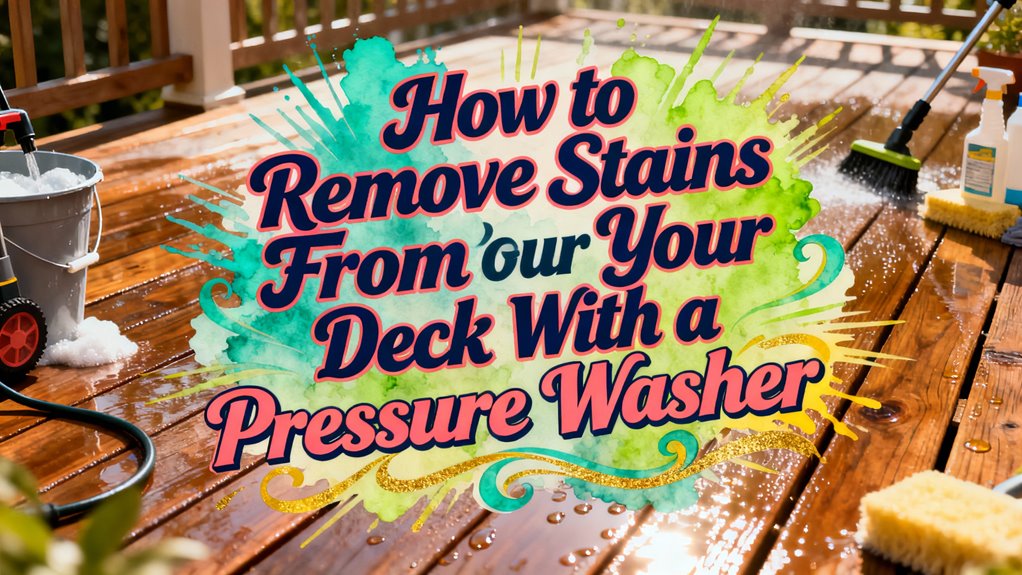
How to Remove Stains From Your Deck With a Pressure Washer
You’ll effectively remove deck stains using a pressure washer set to 1,500 PSI with a 40-degree nozzle for standard cleaning or 25-degree for stubborn stains. Maintain a 30-degree angle and 6-12 inches distance from the wood surface. Use stroking motions to prevent gouging. Wear safety goggles, gloves, and closed-toe shoes throughout the process. Allow 2-3 sunny days for drying before recoating. The specific techniques and safety protocols you’ll need vary greatly depending on your stain type and deck condition.
Choosing the Right Pressure Washer and Settings
Selecting the appropriate pressure washer is essential for removing deck stains without damaging your wood. When considering electric vs gas models, choose electric for residential decks—they’re quieter, lighter, and require minimal maintenance. Electric washers deliver 1,200–2,500 PSI, which is sufficient for most wood surfaces. Gas models offer higher pressure but demand more upkeep and increase wood damage risk.
For effective cleaning, target 1,500 PSI with 1.4–2.0 GPM. Nozzle selection is critical: use 40-degree nozzles for newer or softer wood, and 25-degree nozzles for stubborn stains. Test your nozzle on hidden areas first. Avoid exceeding 2,500 PSI to prevent gouging or splintering. Always maintain consistent nozzle distance at approximately 30 degrees to the boards. After pressure washing, allow your deck 2-3 sunny days to dry sufficiently before proceeding with any staining or sealing. To protect your decking surface while ensuring deep cleaning, consider using specialized attachments designed for pressure washing different deck materials.
Preparing the Deck for Pressure Washing
Before you fire up your pressure washer, you’ll need to prepare your deck thoroughly to guarantee safe, effective cleaning and prevent damage to your property. Start with extensive deck clearing by removing all furniture, pots, grills, and obstacles that could impede cleaning or cause tripping hazards. Sweep away loose dirt, leaves, and debris thoroughly.
Next, focus on equipment setup. Verify your water supply is securely connected and flowing properly. Position the pressure washer on stable, level ground. Use a wide fan spray tip appropriate for wood surfaces.
Protect nearby plants, electrical outlets, windows, and fixtures by covering them. Close adjacent doors and windows to prevent water intrusion. Check wind direction to minimize overspray. Finally, inspect your deck for loose boards, nails, splinters, or damaged areas that pressure washing might worsen. Before pressure washing, apply a quality deck cleaner to remove dirt, mold, and mill glaze that prevent proper stain adhesion. For wood decks, consider applying a protective sealant after cleaning to prevent moisture from freezing and causing damage during winter months.
Techniques to Remove Old Stains With a Pressure Washer
Mastering proper pressure washer settings and technique is critical to effectively remove old stains without damaging your deck’s wood surface. You’ll want to start with approximately 2400 PSI and a 40° spray tip, maintaining a 6–12 inch distance from the wood. For stubborn stains, narrow your tip to 15° or 30°, keeping the wand 3–4 inches away.
Use stroking motions rather than holding the wand stationary to prevent gouging. Work from the treated area’s edge inward, overlapping strokes slightly for complete coverage. Lift your wand tip at each stroke’s end to avoid stop-and-start marks. Similar to how weatherstripping gaskets and sealants protect outdoor structures from water damage, proper pressure washing technique protects your deck from moisture penetration after stain removal.
These pressure washing tips guarantee you’ll remove stains effectively while preserving your deck’s integrity. Never use zero-degree tips, as they’ll damage wood surfaces. After pressure washing, ensure your deck’s safety features are intact, including proper baluster spacing that complies with building codes to protect your family.
Managing Stain Types and Removal Challenges
While proper pressure washer technique removes many stains effectively, you’ll encounter different challenges depending on whether you’re dealing with solid stains or transparent stains. Solid stains lay atop deck surfaces like paint, allowing you to recoat directly after surface cleaning without complete removal. Transparent stains, however, penetrate wood fibers deeply, making them considerably harder to eliminate. Water-borne transparent stains present particular difficulty—pressure washing alone often leaves residue behind. You’ll need to apply multiple pressure washing passes before resorting to sanding. Consider using dedicated chemical strippers like StripIT to lift stains more effectively than pressure alone. Apply stripper solutions with proper coverage and adequate dwell time, similar to how primer plus spray paint requires multiple light coats for optimal adhesion and durability. Selecting the right stain type for your climate and exposure conditions can help prevent excessive buildup and reduce removal challenges in the future. Keep pressure settings at 1,500 PSI or lower to prevent wood damage while maximizing stain removal success.
Safety and Protection During Pressure Washing
Pressure washing your deck demands strict attention to safety protocols, as the equipment’s high-pressure water stream poses significant risks of lacerations, bruising, and debris-related injuries. Implement thorough PPE guidelines by wearing safety goggles, waterproof gloves, closed-toe footwear, and long sleeves. For electrical precautions, use GFCI outlets and outdoor-rated extension cords, keeping hands dry throughout operation. Prepare your operating environment by clearing debris, inspecting the deck for damage, and ensuring stable equipment placement. During safe handling, maintain 3-6 inches distance from surfaces and spray at angles to prevent backsplash. Never point the nozzle at yourself, others, or pets. Depressurize the system before disconnecting components. Maintain injury awareness by taking breaks, avoiding projectile creation, and keeping children away from the work zone.
Post-Pressure Washing Care and Staining Preparation
Once you’ve completed pressure washing, the work’s far from over—proper post-washing care directly determines how well your stain adheres and how long your deck’s protection lasts.
Allow adequate drying time before staining; wait at least 48 hours and verify wood moisture content is below 15% using a moisture meter. Weather conditions notably impact drying—you may need 2–3 days in humid climates.
For surface preparation, rinse thoroughly with clean water to remove all residue, dirt, and cleaning agents. Once dry, inspect and sweep away debris, then lightly sand rough areas with medium grit sandpaper to improve stain penetration. Remove furniture and cover adjacent landscaping with tarps. Address any repairs—loose boards, nails, or structural issues—before staining. Avoid foot traffic during this phase. Complete a test application on an inconspicuous area to confirm stain color and absorption. Ensure at least 24 hours of dry, mild weather is forecasted before beginning your staining project to allow optimal stain absorption and drying.
Maintaining Your Deck After Stain Removal
After you’ve stripped away old stain and sealant through pressure washing, your deck enters a critical maintenance phase that’ll determine how well your new protective coating performs and how long your investment lasts. You must allow complete drying—minimum 48 hours—before applying any sealant or stain. Moisture management is essential during this period; trapped moisture beneath protective coatings fosters mold and mildew growth that compromises deck protection. Verify the surface is completely dry by checking for any dampness or discoloration. Before applying your new coating, inspect and make necessary repairs to ensure the deck structure is sound and ready for protection. For elevated decks, also verify that your guardrail height requirements meet local New Jersey codes to maintain safety standards during maintenance work. Once dry, apply your chosen protective coating following manufacturer specifications: two coats for protected areas, three for exposed sections. This proactive approach prevents damage and extends your deck’s lifespan greatly.