
How to Prepare Your New Pressure Treated Deck for Staining
You’ll wait three to six months for your pressure-treated deck to dry before staining. Test moisture content with a meter—aim for 12-15%—or use the sprinkle test by dropping water on the boards. If it absorbs quickly, you’re ready. Sweep away debris, then clean thoroughly with a soft brush and garden hose. Choose overcast weather between 50-85°F with humidity below 70%. Apply one to two coats of stain with a quality brush, maintaining wet edges and allowing 24 hours between applications. Uncover the specific techniques that’ll transform your deck’s appearance and longevity.
Understanding Pressure-Treated Wood Drying Times
Before you stain your pressure-treated deck, you’ll need to understand the critical drying period that follows installation. Standard pressure-treated boards like 2x6s and 2x4s typically require three to six months to dry sufficiently for staining. Your drying conditions—including sun exposure, humidity, and air circulation—significantly affect how quickly wood moisture evaporates. Boards in direct sunlight dry faster than those in shaded areas. The pressure-treatment process leaves excess moisture in the wood that must escape before stain can properly penetrate the surface. Rushing this phase risks poor stain adhesion, uneven coloring, and premature peeling. Larger posts need extended drying times because their cores retain moisture longer. For optimal results, consider that 2×6 boards are commonly used in residential deck construction and may require longer drying periods than thinner alternatives. Patience during this preparation stage guarantees ideal stain performance and lasting deck protection. After your deck has dried adequately, test a small area with your chosen stain to confirm proper adhesion and achieve your desired appearance before committing to the full application.
Testing Moisture Content for Readiness
How’ll you know when your pressure-treated deck’s finally ready for staining? A moisture meter is your essential tool for determining readiness. You’ll find two main testing techniques: pin-type meters measuring electrical resistance and pinless meters using electromagnetic signals. Insert pin-type probes aligned with the grain to assess conductivity, which inversely correlates with moisture content.
Target readings between 12% and 15% moisture content before staining. Conduct multiple spot checks across different deck boards to detect localized moisture variations. Readings above 15% indicate excessive moisture that’ll compromise stain adhesion and cause dimensional instability. Consistently low readings across all samples signal readiness for application.
Combine your moisture meter readings with a simple water bead test: water absorption suggests surface dryness, while beading indicates lingering moisture requiring additional drying time. For newly prepared decks, semi-transparent stains work best on higher-quality wood where you want to showcase the natural beauty of the grain. Pair these measurements with favorable weather conditions to ensure optimal stain absorption and drying performance.
Performing the Sprinkle Test Method
While a moisture meter provides precise numerical readings, you’ll want a complementary visual assessment that requires nothing more than water and observation. Select several random spots across your deck’s surface and apply a few water drops to each area. Watch carefully for up to ten minutes, noting whether the water beads or absorbs. Quick water absorption indicates low surface moisture and readiness for staining. Conversely, persistent beading reveals high moisture retention, signaling that staining will result in poor adhesion and premature peeling. Perform this test on freshly cleaned, revealed wood to avoid false results from dirt or residue. If water beads remain after observation, wait several days and retest before proceeding with your stain application.
Initial Cleaning and Debris Removal
Your deck’s readiness for staining depends entirely on thorough preparation, and initial cleaning and debris removal form the foundation of this critical phase. Begin by sweeping the entire surface to eliminate loose debris types like leaves and dirt particles. Move all outdoor furniture and items away from your work area to guarantee unobstructed access.
Clear gutters and deck edges of accumulated organic matter that traps moisture. Use appropriate cleaning tools—a soft-bristle brush effectively removes loosened debris without gouging the wood fibers. Rinse thoroughly with a garden hose equipped with a spray nozzle, avoiding high-pressure damage. For stubborn dirt and embedded particles, consider using oxygenated cleaners to soften and lift debris before your final rinse.
After initial rinsing, apply a deck cleaner and allow it to penetrate the wood for at least 15 minutes to break down mildew and discoloration. Allow your deck to dry completely before applying chemical treatments. This preparation step directly impacts how effectively your stain adheres and performs long-term.

Professional concentrate cleans decks, siding, driveways, and patios - perfect for homeowners preparing for BBQs, real estate agents staging homes, or contractors finishing jobs.

Cleans Cleans decks, Fences and other outdoor structures such as pergolas, gazebos and carports
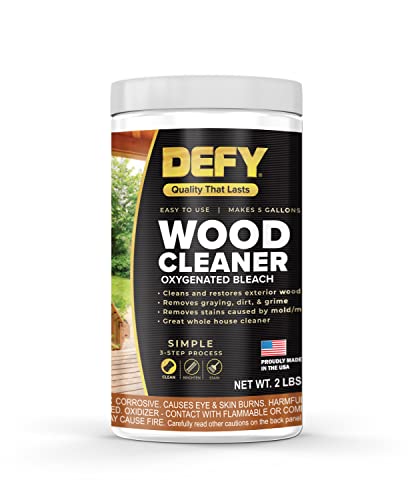
DEEP CLEANS WOOD SURFACES: Oxygenated bleach formula penetrates and opens wood pores for maximum stain absorption. Ideal for prepping decks and fences before staining or sealing.
Deep Cleaning With Deck Solutions
Once you’ve removed surface debris and allowed your deck to dry completely, deep cleaning solutions become necessary to eliminate embedded grime, mold, and weathered discoloration that basic rinsing can’t address.
You’ll find several effective deck cleaner options available. Oxygen bleach and hydrogen peroxide cleaners penetrate wood pores without causing damage. For eco-friendly solutions, vinegar and baking soda mixtures tackle mild stains effectively. Specialized deck cleaners formulated for deep penetration deliver lasting results, while products bearing the EPA Safer Products label guarantee environmental responsibility.
Apply your chosen solution evenly using a pump sprayer, then allow it to dwell for 15–20 minutes. Mist lightly to prevent premature drying. Work in small sections with a soft-bristle brush, following the wood grain. For stubborn mold or mildew, oxygen bleach solutions prove particularly effective. Reapply as needed before rinsing thoroughly. Like structural elements in outdoor projects, proper bracing and securing of your preparation process ensures optimal results. Proper preparation with these cleaning methods ensures stain adhesion and longevity by removing contaminants that would otherwise interfere with the staining process.

Oxygen-Powered Stain Removal:Break down tough stains like wine, coffee, grass, sweat, and blood with our powerful sodium percarbonate formula. Acts as a laundry booster that helps whiten whites, brighten colors, and lift deep-set stains with the natural power of oxygen.

Oxygenated bleach formula deep cleans wood, composite, vinyl, and aluminum surfaces.

Outdoor Mold and Mildew Stain Cleaner Helps break down and lift stubborn surface stains caused by mold, mildew, algae and dirt on decks, fences, brick, masonry, siding and stucco.
Selecting Optimal Weather Conditions
How greatly can weather impact your staining results? Dramatically. You’ll need ideal temperatures between 50°F and 85°F for proper stain penetration and curing. Avoid temperatures above 90°F, which cause flash drying and uneven application, and below 45°F, which impedes curing.
Monitor weather patterns carefully. Low humidity levels encourage proper drying, while rain within 24-48 hours post-application ruins your finish. Verify wood remains dry for at least 24-48 hours before staining. Humidity should remain below 70% to ensure complete curing of your stain.
Choose overcast or shaded conditions to prevent midday sunlight from causing uneven absorption. Spring and early fall offer prime windows—April through June and September through October provide mild temperatures and reduced UV intensity. Avoid windy days; light breezes aid drying, but excessive wind deposits debris onto wet stain. Early morning application is ideal in hot weather as long as the deck is dry and free of surface moisture.
Applying Stain for Professional Results
Now that you’ve prepared your deck surface and waited for ideal weather conditions, applying the stain correctly determines whether you’ll achieve a professional finish or a patchy, uneven result.
Apply one to two coats maximum, waiting at least 24 hours between applications. Use a deck stain brush or pad for precise coverage, especially for oil-based stains, which penetrate deeper than rollers allow. Work in manageable sections while maintaining a wet edge to prevent lap marks.
Remove excess stain immediately—puddling creates surface layers that crack and flake. For hard-to-reach areas between boards, employ a small brush. Follow manufacturer specifications for drying and recoating times. Similar to how pressure-treated posts require proper curing time in construction projects, allowing your stain to fully cure before foot traffic ensures optimal durability. Avoid walking on your deck until the stain fully cures. Testing your stain color on a small, inconspicuous area first helps ensure you achieve your desired finish before committing to the entire deck. Proper stain application and stain penetration directly determine your deck’s longevity and appearance.

Bates deck stain brush set includes 2 high-quality brushes designed specifically for staining decks and other large wood surfaces.

Bates deck stain brush features a 7.5-inch width for expansive and even application, ideal for efficiently staining decks, fences, and other large wooden areas.
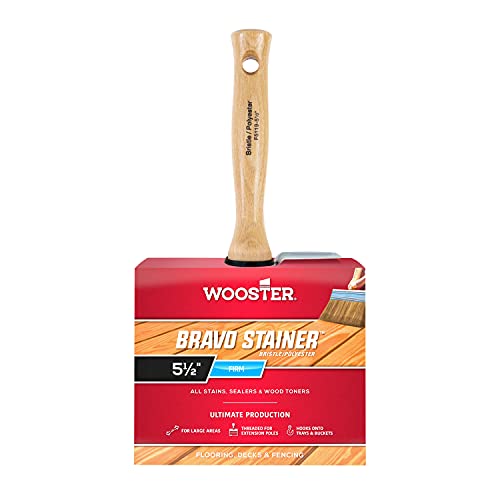
Excellent for all interior or exterior stains, sealers and wood toners (water-based and oil-based)
Maintaining Your Newly Stained Deck
Your stain application represents just the beginning of your deck’s lifecycle; consistent maintenance determines whether your investment remains vibrant or deteriorates prematurely. You’ll enhance durability by applying fresh sealant annually, protecting against moisture and UV damage. Keep your deck surface dry and remove standing water promptly after rainfall to prevent mold development. Clear leaves and organic debris regularly, as these trap moisture and accelerate deterioration. Use a wood deck cleaner to address mildew when needed, and guarantee gutters don’t discharge onto your surface. Inspect annually for rot, warping, and hardware corrosion. Replace raised nails with stainless steel screws, which resist rust. Sand rough areas with 80-grit sandpaper before resealing, using techniques similar to polishing with an orbital buffer to lift buildup without excessive damage to the wood grain. Following these practices prevents mildew growth while maximizing your deck’s longevity and appearance. For optimal protection, choose between topical and penetrating sealers based on whether you prefer enhanced shine or longer-lasting wood penetration.