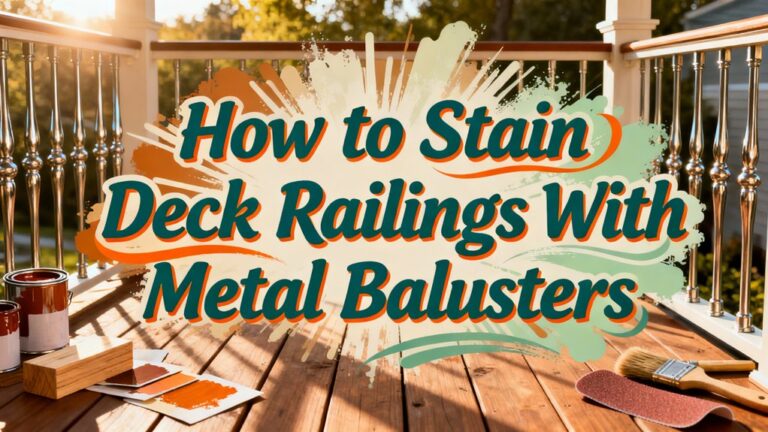
The Easiest Way to Sand Your Deck Railing: 5 Pro Tips
You’ll save hours of labor by starting with proper equipment—a random orbital sander, detail sander, and robust dust management system. Progress systematically through grits: begin with 80-grit to remove old finishes, move to 120-grit for refinement, then finish with 150-grit before coating. Sand consistently with the grain using even pressure and overlapping strokes. For spindles and detailed areas, switch to hand sanding with flexible sheets to prevent gouging. Following this methodical approach prevents costly mistakes and yields professional results that’ll transform your deck’s appearance.
Start With the Right Equipment and Preparation
Before you tackle your deck railing project, you’ll need to gather the right equipment and prepare your workspace properly. Your equipment selection should prioritize a random orbital sander for most surfaces, supplemented by a detail sander for intricate areas and corners. Keep a sanding sponge and block handy for curved sections and finishing work.
Tool maintenance directly impacts your results. Inspect all sanders for worn or damaged parts before starting. Replace sanding discs and sponges as needed to maintain consistent performance. Clean dust collection bags after each use and lubricate moving parts according to manufacturer guidelines.
Set up dust management with a shop vacuum and dust extraction hoses. Before applying any stain to your railing after sanding, ensure the surface is thoroughly cleaned with a pressure washer or deck cleaner and allowed to dry completely. Allow sufficient drying time before moving forward with your staining process. Store all tools in a dry, dust-free area to prevent corrosion and guarantee longevity throughout your project.
Master the Grit Sequence for Professional Results
The grit sequence you’ll follow forms the backbone of professional deck railing refinishing. You’ll start with 80-grit sandpaper to remove old finishes and surface imperfections aggressively. Progress to 120-grit sandpaper, which eliminates scratches and refines the wood texture uniformly. Finally, use 150-grit sandpaper for final preparation before applying protective coatings.
Your grit selection directly impacts both results and sanding safety. Always sand with the wood grain to prevent cross-grain scratches that compromise the finish. For railings specifically, finer grits up to 150 guarantee exceptional smoothness on handrails and edges, reducing splinter hazards considerably. Detail sanders work best for intricate areas where standard equipment can’t reach effectively. Like other outdoor projects, maintaining your railing by regular cleaning and preparation helps preserve the refinished surface long-term. When selecting materials for your deck structure, consider that board thickness and spacing affect durability and performance, which carries through to your railing’s longevity as well. This methodical progression assures a professional-quality surface that’s both visually superior and safe to touch.
Perfect Your Sanding Technique and Grain Direction
While mastering grit progression is essential, your sanding technique and grain direction will ultimately determine whether you achieve a professional finish or compromise your results. You’ll want to sand with the wood grain consistently, as cross-grain scratches become glaringly obvious after staining. Use long, overlapping strokes with medium, even pressure to prevent gouges and burn marks. Keep your sander moving smoothly without pausing in one spot—stationary contact creates pitting that ruins finishing touches. Your sanding patterns should follow the grain direction for railings and posts, particularly with detail sanders. Replace worn abrasives regularly, as dull sandpaper requires excessive pressure that damages wood fibers. However, be aware that improper sanding near nails can create water traps leading to rot and staining, so exercise caution in these vulnerable areas. For tight spaces between railing components, an oscillating multi-tool provides superior access compared to standard sanders. Periodically inspect your progress to identify problem areas early and adjust your technique accordingly before significant damage occurs.
Handle Spindles and Detailed Areas Like a Pro
Once you’ve mastered sanding flat surfaces with proper grain direction, you’ll face your toughest challenge: spindles and intricate details that demand a different approach. Hand sanding is your best strategy here—it minimizes damage risk that power tools introduce.
Flexible sanding sheets conform perfectly to various spindle shapes, while custom-cut strips accommodate different sizes. Reinforce strips with duct tape for improved grip and durability. For tight corners and decorative elements, employ hand tools like small dowels or sanding blocks for precision work. After sanding is complete, consider applying fabric treatments or protective coatings to shield your railings from weather damage and extend their lifespan.
Detail sanders work well for intricate areas, but avoid belt sanders entirely due to gouging risks. Start with coarse grit (60–80) to remove old finishes, then progress to medium or fine grits. Always sand along the wood grain and inspect frequently to prevent over-sanding these vulnerable areas. Proper sanding technique is essential for maintaining the structural integrity of baluster spacing and other critical railing components that ensure safety compliance.
Clean Up and Maintain Your Railings for Longevity
After you’ve finished sanding and refinishing your deck railings, establishing a consistent maintenance routine will protect your investment and extend the railing’s lifespan. You’ll want to create maintenance schedules tailored to your railing material and climate conditions. For aluminum railings, clean every 3-6 months using non-abrasive cleaning solutions like mild detergent and warm water. Glass panels require biweekly attention to maintain clarity. In coastal areas or near pools, increase frequency to combat salt exposure and corrosion. Always rinse thoroughly with fresh water and dry completely to prevent water spots. Avoid pressure washers and harsh chemicals that damage finishes. When dealing with stubborn grime or mold on your railings, consider pre-treating with a diluted vinegar solution before your regular cleaning routine. During winter months or extended periods of non-use, protect your railings by using UV-resistant tarps to prevent damage from harsh weather conditions. Conduct semi-annual inspections for loose fasteners, corrosion, or scratches, addressing issues promptly to prevent deterioration and maintain structural integrity.