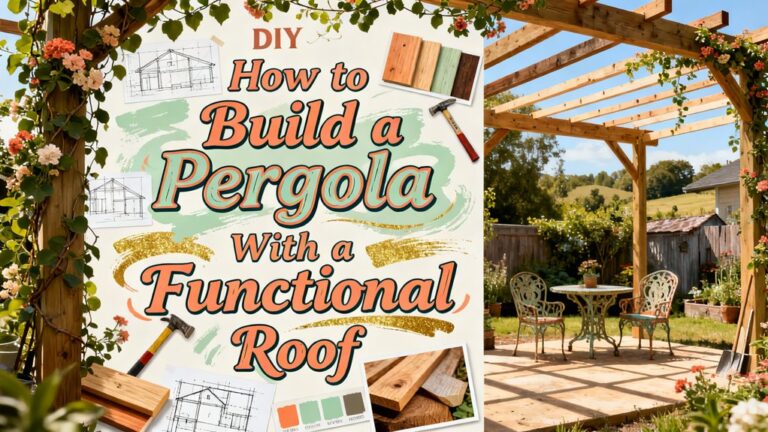
How to Build a Pergola for Ultimate Backyard Shade
You’ll build an effective pergola by starting with dimensions between 10×10 and 16×16 feet, maintaining rafter spacing of 12-16 inches for ideal shade coverage. Select durable materials—aluminum requires minimal maintenance, while wood demands regular sealing. Verify permit requirements in your municipality, as approximately 80% of freestanding structures don’t need approval. Dig post holes below your local frost line, install doubled 2×10 beams with laser-level precision, and space rafters evenly from center outward. Secure everything with galvanized fasteners and weatherproof all surfaces. The structural foundation you establish here determines your pergola’s longevity and performance.
Planning Your Pergola Design and Dimensions
Before you break ground on your pergola project, you’ll need to establish its dimensions based on your space and structural requirements. Standard sizing ranges from 10×10 feet for compact decks to 16×16 feet for expansive yards, with 12×12 feet representing the most common configuration. Consider the golden ratio—a 1:1.618 length-to-width proportion—to achieve aesthetic balance across design styles.
For space optimization, maintain a maximum span of 14 feet in both directions. Height should measure 75-80% of your pergola’s width; a 12-foot-wide structure ideally stands 9 to 9.6 feet tall. Rafter spacing between 12-16 inches apart balances shade provision with light penetration, while overhang lengths of 12-24 inches enhance structural stability and weather protection. Proper consistent spacing between structural elements, similar to deck board installation techniques, ensures durability and visual appeal throughout your pergola. For larger spans approaching 16 feet, doubled 2×10 beams provide the load capacity needed to safely support your structure. Custom builds accommodate any dimension within two weeks.
Selecting the Right Materials for Durability
Now that you’ve established your pergola’s dimensions and proportions, selecting the right material becomes the foundation for long-term performance and aesthetic appeal. Your choice directly impacts material durability and structural longevity.
Aluminum excels in most climates, offering lifetime performance with minimal maintenance and corrosion resistance. Steel provides superior strength but requires protective coatings against rust. Vinyl resists rot yet becomes brittle under intense UV exposure, particularly in extreme climates where lifespan drops to 10-15 years. Wood demands continuous maintenance and deteriorates rapidly in humid conditions. For wood pergolas, western red cedar and Douglas fir are the top recommended species for their natural durability and aesthetic qualities. If you opt for softwoods like pine, thorough painting or sealing is essential to protect against moisture and extend the wood’s outdoor lifespan.
Evaluate your climate considerations carefully. High humidity and temperature swings favor metal options. Heavy snowfall requires steel’s superior structural integrity. Intense UV exposure necessitates UV inhibitors or protective coatings. Match material properties to your regional environment for optimal durability and reduced maintenance costs.
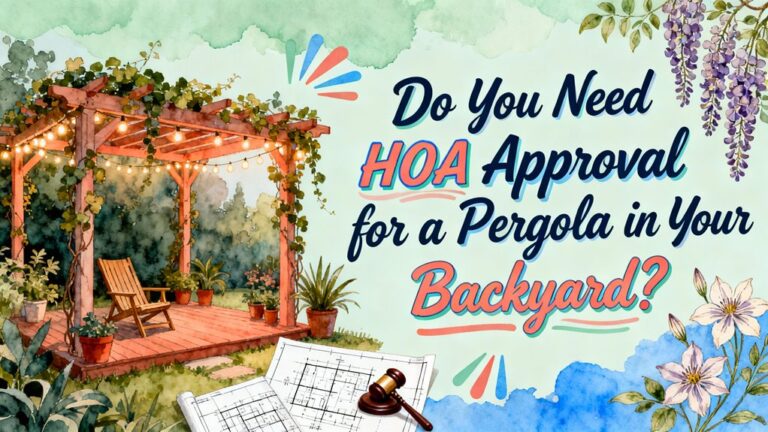
Understanding Local Permits and Safety Requirements
Why do permit requirements vary so dramatically across the country? Your local municipality dictates regulations rather than state mandates. Approximately 80 percent of homeowners don’t need permits for freestanding pergolas, but you’ll encounter different rules based on size and attachment specifications.
Structures exceeding 120 square feet or standing taller than 8 feet typically trigger permit requirements. Attaching your pergola to existing structures converts it into an extension requiring approval. Just as a ledger board attachment requires secure fastening to the house rim joist, pergola attachments demand proper engineering and code compliance.
Safety standards demand your freestanding pergola withstand minimum 105 mph wind loads, with engineer-stamped drawings accommodating up to 175 mph in high-wind regions. Snow load requirements vary by location and must comply with regional building codes. Some homeowner associations may enforce stricter rules than municipal standards, so verify requirements with your HOA board before beginning construction.
Contact local authorities immediately. Submit site plans, design blueprints, and property line documentation. Building without permits risks substantial fines and forced removal.
Preparing the Site and Locating Utilities
Once you’ve secured permits and confirmed compliance with local codes, your pergola’s structural integrity depends entirely on proper site preparation and utility identification. Your site assessment begins by clearing vegetation, debris, and obstacles, then leveling the ground using laser levels to eliminate high and low spots. Compact soil thoroughly to create a stable foundation.
Before digging post holes, conduct utility identification by contacting local utility locating services to mark electric, water, gas, and sewer lines. Use ground-penetrating radar or cable detectors for verification. Mark post locations precisely with stakes and mason’s twine, cross-checking diagonal measurements for square alignment. Evaluate soil type and drainage requirements, planning for gravel bases and proper water runoff to prevent moisture accumulation that could lead to mold growth on nearby cushions and outdoor furnishings. For optimal stability, ensure post hole depth accounts for soil conditions and local frost line requirements, as deeper footing depths prevent shifting and structural failure. This thorough preparation prevents structural failure and guarantees safe installation.
Digging and Preparing Post Holes
The foundation of your pergola’s structural integrity rests on properly executed post holes that anchor your frame securely into the ground. You’ll want to assess your soil type first—clay, sandy, and rocky soils each demand distinct excavation techniques. Soil moisture greatly impacts digging efficiency; moist soil that holds together performs better than overly dry or wet conditions. Apply water to soften hard soil, or use detergent to break down clay resistance.
Start with a narrow pilot hole and gradually widen it to your desired diameter. For hard-packed soil, chip a small center hole, then apply focused force before expanding outward. Use powered augers for efficiency—7-8 inch augers suit 4×4 posts, while 9-inch augers handle 6×6 posts. Verify holes extend below your local frost line depth to prevent structural failure. Anchoring posts with concrete footings ensures your pergola remains stable and level through freeze-thaw cycles and seasonal ground movement.
Setting Posts With Concrete Foundations
Concrete footings are your pergola’s permanent anchor system, and they’ll determine whether your structure remains stable for decades or succumbs to frost heave and settling. You’ll dig holes below your local frost depth—typically 24–48 inches—then compact the soil and add 6–8 inches of gravel for drainage. Place polyethylene film over the gravel to block moisture damage.
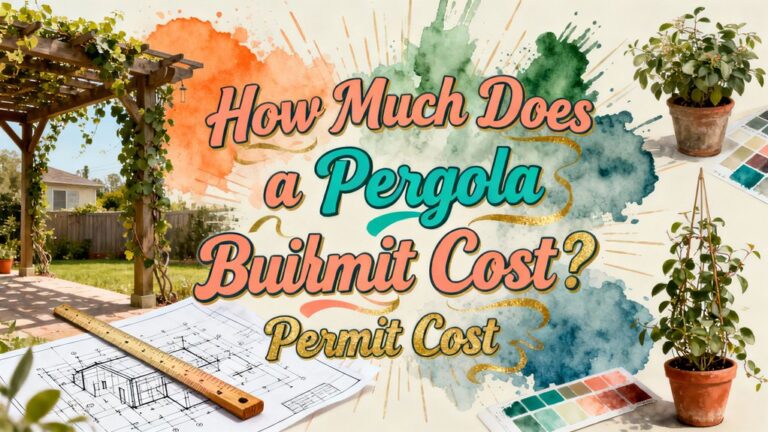
Insert tube forms and pour concrete in layers, embedding post anchoring hardware like Simpson deck post fasteners or anchor bolts. Level each footing’s top before the concrete sets. Allow 48–72 hours for curing. Before beginning your project, verify whether you need a zoning or building permit with your local municipality, as this determines what structural requirements apply to your pergola.
For added strength, use steel rebar with minimum 2-inch concrete clearance on all sides. Keep footing tops 3 inches above ground. When your pergola will attach to an existing deck, consider using galvanized or stainless steel lag bolts to secure posts directly to the deck frame for enhanced structural integrity. Proper post anchoring and adequate frost depth protection guarantee your pergola withstands seasonal ground movement and supports years of reliable performance.
Installing Support Beams and Ensuring Level Alignment
Now that your concrete footings have cured, you’ll install the secondary and main beams that form your pergola’s structural skeleton. Position secondary beams into pre-cut notches on posts, using clamps for temporary hold-down during beam fastening. Pre-drill all holes to prevent splitting, then secure with 3½-inch structural wood screws.
Your alignment techniques must confirm precision at every stage. Use a laser level to verify consistent heights across all posts before final fastening. Hoist main beams onto secondary supports, aligning half-lap joints directly over contact points for maximum strength. Clamp temporarily and check level both horizontally and front-to-back using speed squares at corners.
Space fasteners symmetrically to distribute forces evenly. Double-check elevations after initial fastening, correcting any shifts before final tightening with consistent torque. Once your pergola structure is complete, you can enhance it with climbing vines like wisteria to create additional shade and visual interest. For pergolas built in humid climates, consider selecting wood with natural oils that resist decay, such as teak, to ensure your structure maintains its integrity for decades.
Cutting and Spacing Rafters for Optimal Coverage
After your beams are leveled and secured, you’ll cut and install the rafters that create your pergola’s signature overhead pattern and shade coverage. Start with rafter cutting by selecting the straightest lumber and creating a template for consistency. Cut decorative tail treatments—typically 5½ inches wide with 45° angles—uniformly across all pieces. Orient the crown upward for maximum structural strength.
For rafter spacing, maintain 22-inch gaps as your standard, though you can adjust between 20″ to 24″ based on desired shade levels. Most building codes require pergola rafters to meet the same standards as structures supporting floors or roofs, even though pergolas often don’t have additional load on top. Mark your outermost rafters first, then divide the interior distance evenly among remaining gaps. Install outer rafters before filling in interior pieces, working from center outward. Use speed squares and clamps to guarantee precise alignment throughout installation, confirming measurements repeatedly to prevent cumulative errors. Proper fastener spacing across all rafters ensures your pergola maintains structural integrity and long-term stability.
Securing All Structural Elements
Your pergola’s longevity depends entirely on how thoroughly you confirm its structural elements—posts, beams, rafters, and connections must all work together as an integrated system to resist wind, weight, and settling.
Start by establishing post stability through concrete footings dug below the frost line. Use galvanized or rust-resistant bases to prevent deterioration. Reinforce your footings with steel rebar or mesh to enhance stability and tensile strength. Level each post meticulously during installation to eliminate wobbling and uneven stress distribution.
Secure beams and rafters with structural screws and metal connectors rated for outdoor use. Pre-drilled holes confirm precise alignment and prevent splitting. Tighten all fasteners completely to maintain structural integrity throughout the frame.
For house attachments, install ledger boards with heavy-duty brackets using exterior-grade bolts, ensuring the wall is load-bearing or reinforced before proceeding. Add diagonal braces between posts and beams for lateral reinforcement. Inspect all connections periodically for loosening or wear, addressing issues immediately to preserve your pergola’s stability and performance.
Weatherproofing and Finishing Your Pergola
Once you’ve secured your pergola’s structural framework, protecting it from the elements becomes essential to preserving both its functionality and aesthetic appeal. Your weatherproofing techniques should address moisture infiltration thoroughly. Apply high-quality polyurethane or varnish sealants to all wood surfaces, reapplying every 1-3 years based on environmental exposure. Consider wood treatments with water-repellent properties and UV inhibitors for enhanced durability. Install integrated gutter systems and downspouts to channel rainwater efficiently away from structural components. For overhead protection, polycarbonate or corrugated metal panels provide robust coverage while maintaining aesthetic balance. Incorporate drainage eyelets and proper ventilation features to prevent moisture accumulation and mold development. If building with larch wood, its natural antiseptic properties and high resin content provide exceptional weather resistance, often requiring less frequent maintenance than many alternative softwoods. Selecting weather-resistant materials like marine-grade metals or powder-coated aluminum for hardware components will further enhance your pergola’s resistance to rust and corrosion in challenging climates. These layered weatherproofing strategies guarantee your pergola withstands seasonal weather while maintaining structural integrity and visual appeal.