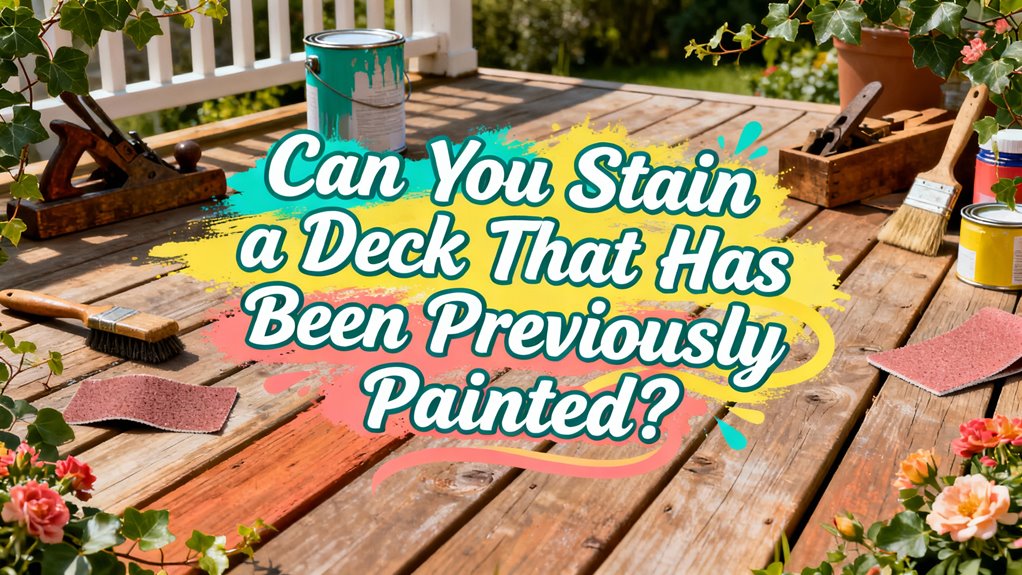
Can You Stain a Deck That Has Been Previously Painted?
You can stain a previously painted deck, but you’ll need to completely remove the old paint first. Paint creates an impermeable barrier that prevents stain from penetrating the wood and bonding properly. Without complete removal, you’ll face peeling, flaking, and blotchy finishes within the first year. You’ve got several removal options—scraping, sanding, and chemical strippers—each with specific advantages. The process requires careful surface preparation and proper timing to succeed, and there’s much more to understand about executing this project correctly.
Why Complete Paint Removal Is Essential
If you’re considering staining a previously painted deck, you’ll need to remove the old paint entirely—there’s no viable shortcut. Old paint creates a barrier that prevents new stain from penetrating the wood surface, compromising both paint adherence and finish longevity. Leaving even small flakes or peeling sections undermines the uniformity of your new coating and drastically reduces its lifespan. Attempting to cover existing paint without removal produces thick, plastic-like layers that crack, blister, or peel under environmental stress. Complete removal exposes bare wood, allowing stain to bond properly and absorb evenly. Methods such as chemical paint strippers, sanders, scrapers, and low-pressure power washing can effectively remove old paint while preserving the wood’s integrity. Once the paint is removed and the wood is bare, you should allow adequate drying time before applying stain, as moisture in the wood will prevent proper stain penetration and adhesion. This foundation determines whether your refinished deck maintains its appearance and protection for years or fails prematurely.
Paint as a Barrier to Stain Penetration
The reason complete paint removal matters becomes clear when you understand how paint functions as a barrier to stain penetration. Paint’s non-porous film prevents stain solvents from absorbing into wood fibers, severely limiting stain compatibility. When you apply stain over paint, it can’t reach the wood surface, so it sits atop the coating instead—behaving more like paint than stain.
This surface-level application compromises paint adhesion for subsequent coats. Poor bonding means the stain peels and flakes prematurely. Additionally, the impermeable paint layer restricts the stain from reinforcing wood fiber protection against UV damage and moisture intrusion. You’ll sacrifice the durability benefits stains provide. Without proper wood contact, your refinishing efforts fail to deliver the protection and aesthetic results you expect. Stain applied over paint also cannot cure properly, as full curing requires direct contact with the wood substrate to achieve the protection that allows the finish to withstand environmental exposure. For previously painted decks, proper cleaning and surface preparation similar to preparing bare wood can help determine if paint removal is truly necessary before applying new stain.
The Consequences of Staining Over Paint
Because paint creates an impermeable barrier, staining over it triggers a cascade of problems that compromise both appearance and durability. Your stain adhesion fails within the first year, causing peeling and flaking across the deck surface. Thicker paint areas resist stain absorption while thinner spots become blotchy and uneven, producing an unpredictable, unsatisfactory finish.
Moisture retention beneath the paint layer accelerates wood decay, especially in humid climates. This damage starts at seams and cracks, worsening invisibly over time. Additionally, the stain’s protective qualities—UV resistance and water protection—become compromised, leaving underlying wood vulnerable to sun, rain, and mildew.
You’ll face shorter maintenance intervals and higher long-term costs from repeated repairs and premature failure. What seems like a shortcut ultimately demands more labor, materials, and potentially costly wood replacement or complete refinishing.
Scraping, Sanding, and Chemical Strippers: Your Removal Options
Now that you understand the risks of staining over paint, you’ll need to remove it completely before applying stain to your deck. You’ve got three primary options: scraping tools, sanding techniques, and chemical strippers.
Scraping tools like wide paint scrapers and 5-in-1 painter’s tools work well for loose paint sections. Always scrape along the wood grain to minimize damage. For stubborn paint, heat guns soften the coating, making removal easier.
Sanding techniques range from coarse-grit (60–80) for heavy buildup to fine-grit (150–180) for final preparation. Use belt sanders on flat areas and detail sanders on corners. Starting with coarse grit helps remove old finishes and level the surface, while progressing through medium and fine grits ensures a smoother finish ready for stain absorption.
Chemical strippers offer another approach. Apply evenly, allow adequate dwell time per manufacturer instructions, then scrub and rinse thoroughly. Choose the method that best suits your deck’s condition and size.
Using Chemical Stripper Products Effectively
Chemical strippers can effectively remove old deck coatings, but you’ll need to choose the right product for your specific situation. For solid-color stains or multiple paint layers, specialized products like R-A-D PaintStrip Stripping Gel work faster, removing up to five layers in 30-45 minutes. If you prioritize environmental responsibility, eco-friendly alternatives using citrus-based solvents or biodegradable formulas require longer dwell times but eliminate harmful chemicals like methylene chloride.
Apply stripper generously and allow at least 10-15 minutes of contact time, extending this for thicker coatings. Horizontal surfaces accept thicker applications more easily than vertical ones. You may need multiple applications for heavy buildup. After stripping, rinse thoroughly with a garden hose, then apply a wood brightener to restore pH balance and prepare the surface for new stain. For best results, combine chemical stripper application with pressure washing to remove stubborn residue and ensure complete coating removal. Once the surface is properly prepared, applying even, thin coats of new stain following the wood grain will deliver optimal durability and color richness.
Power Washing to Remove Paint Residue
After rinsing away chemical stripper residue, you’ll want to tackle remaining paint with a pressure washer—a powerful method that complements or replaces chemical treatments altogether. Use ideal PSI between 1,200 and 2,000 for safe, effective paint removal on deck wood. Select a 15 or 25-degree nozzle tip to balance paint removal with wood protection; narrower tips risk gouging, while wider tips prove ineffective. Your pressure washing techniques matter greatly: always move parallel to the wood grain from one board end to the other, maintaining consistent directional motion. This prevents splintering and surface damage while maximizing paint removal efficiency. After pressure washing, allow the deck to dry fully before proceeding with any refinishing or staining to ensure proper adhesion of new finishes. Proper surface preparation is essential for achieving stain adhesion and a durable, high-quality finish on your previously painted deck. The combination of proper PSI settings, appropriate nozzle selection, and correct directional application delivers superior results with minimal wood deterioration.
Final Sanding for Bare Wood Exposure
Once you’ve removed paint and surface contaminants through chemical stripping and pressure washing, final sanding becomes your critical next step to prepare the wood for stain absorption. You’ll want to use proper grit progression, starting with 80-grit sandpaper to uniformly abrade the surface and open wood pores. Don’t skip grits—advancing through finer grits stepwise prevents scratches and achieves the polished surface your stain requires. For efficiency on larger decks, employ an orbital sander following the wood grain. Avoid holding the sander stationary, which causes uneven texture and potential warping. After sanding, sweep or pressure wash thoroughly to remove all sawdust, preventing pore clogging that would inhibit finish penetration and compromise your final result. To ensure the stain absorbs evenly across the entire deck surface, apply thin, multiple coats rather than attempting one heavy application that may pool and eventually peel. Using a wood brightener after sanding will restore the wood’s natural pH balance and further enhance stain adhesion for optimal results.
Surface Cleaning and Preparation Steps
Surface cleaning and preparation demand meticulous attention to detail before you can successfully apply stain to your previously painted deck. You’ll start by sweeping or vacuuming away all dust particles generated during sanding. Use a damp cloth or tack cloth to capture remaining fine debris from the wood surface. Apply a wood neutralizer with a pump sprayer, then lightly scrub it across the deck during the 10-15 minute set time. Rinse thoroughly with fresh water to remove all chemical residue and verify a neutral pH. These deck maintenance steps guarantee proper surface preparation. After cleaning, allow a 72-hour drying period before proceeding with stain application to ensure optimal adhesion and results. For the best outcome, avoid applying stain during direct sunlight and rain as these weather conditions can negatively impact the finish quality. Finally, verify your deck is completely dry and dust-free, protect surrounding areas with drop cloths, and verify 24-48 hours of rain-free weather before applying stain.
Inspecting and Repairing Your Deck Before Staining
Before you apply stain to your previously painted deck, you’ll need to conduct a thorough inspection to identify structural issues and damage that could compromise both the appearance and safety of your finished project. Start your deck inspection by examining the ledger board attachment, base supports, and all fasteners for rust, rot, or deterioration. Check for soft, spongy wood indicating advanced rot, loose nails, and corroded connectors. Use a moisture meter to detect trapped water in concealed areas like flashing and headers. Prioritize repair techniques based on severity—address loose boards, small damage, and fastener problems immediately. Large cracks and extensive rot warrant professional assessment. Similar to how thorough inspection is essential before refinishing your deck, it’s important to inspect outdoor furniture and cushions regularly to maintain their condition and longevity. Once all structural repairs are complete, proper surface preparation and cleaning will ensure the stain adheres evenly and provides a long-lasting finish. Complete all structural repairs and stabilization before proceeding to surface preparation and staining.
Optimal Timing and Environmental Conditions for Stain Application
After you’ve completed all structural repairs and surface preparation, timing becomes your next critical factor in achieving a professional stain finish. You’ll want to stain between 50°F and 90°F, avoiding direct sunlight that causes premature drying and streaking. Check the forecast—you’ll need several rain-free days ahead for proper curing.
Environmental humidity greatly affects results. Moderate levels work best; excessive humidity slows drying while very low humidity causes rapid evaporation and tackiness. Skip windy conditions to prevent debris contamination. Using proper application tools like brushes or rollers helps you maintain control over your stain application in these varied conditions.
For ideal drying between coats, wait at least four hours before recoating. This interval promotes better adhesion and uniform finish. If you notice pooling, your coat’s too thick—thin it or extend drying time before applying the next layer. Always follow manufacturer instructions for specific product requirements. Ensure the deck surface is completely dry before staining, as wet wood surfaces will prevent proper stain absorption and compromise the final finish.