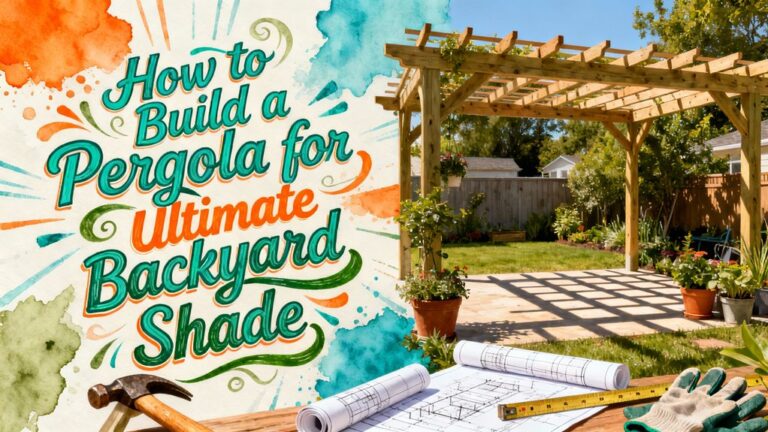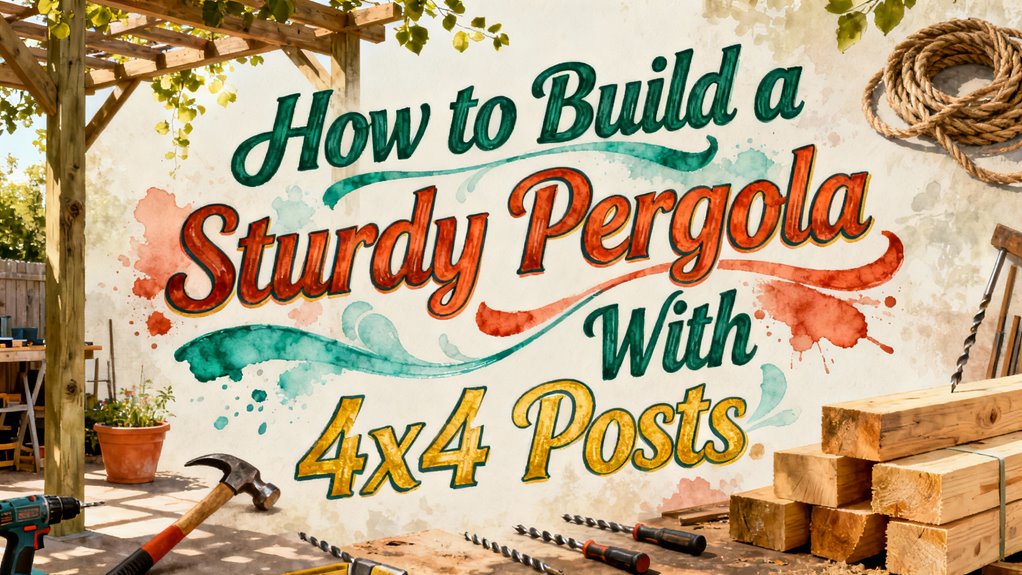
How to Build a Sturdy Pergola With 4×4 Posts
You’ll start by determining your local frost line depth and digging post holes at least six inches below it with a diameter three times your post width. Install a gravel drainage layer, then secure post base brackets to concrete footings using proper anchors. Set your 4×4 posts into brackets with temporary bracing for stability. Cut and install support beams with 1/2-inch bolts, leveling carefully at multiple points. Finally, space your rafters 16–24 inches on center and secure the roof structure with galvanized fasteners. Each connection point demands code compliance for lasting durability.
Determining Frost Line Depth and Preparing Post Holes
Why does frost line matter for your pergola? The frost line’s significance lies in preventing frost heave—when frozen soil moisture expands and displaces your posts seasonally. You’ll find your local frost depth through building codes or by contacting your jurisdiction’s building department. Frost line depth varies regionally, ranging from zero inches in warm climates to over 100 inches in colder areas.
For post holes, you’ll need to dig at least six inches below the frost line. Using a 4×4 post, calculate one-third to one-half of the post length as your baseline depth. If your frost line is ten inches, dig 16–22 inches deep. Confirm your hole diameter is at least three times the post width—typically 12 inches for a 4×4 post. Always verify local building codes for specific requirements before excavating.
Excavating and Filling Holes for Proper Drainage
Once you’ve determined your frost line depth and calculated your required post hole dimensions, proper excavation and filling becomes critical to your pergola’s longevity and structural integrity. Select your excavation techniques based on soil conditions: manual post-hole diggers work for standard soil, while power augers efficiently handle clay, rocky, or compacted earth. Use pry bars to dislodge stubborn rocks and cut roots during digging.
After excavation, install a 2 to 4 inch gravel drainage layer at the hole’s bottom. Firmly tamp this base using a 2×4 to create a stable, level foundation. Gravel drainage prevents water pooling and soil erosion around your post footings, considerably extending wood longevity and preventing seasonal heave that destabilizes your entire structure.
Installing Post Base Brackets on Concrete Footings
Post base brackets are the critical connection between your concrete footings and the wooden posts they’ll support, and you’ll need to select the right type before installation begins. You’ll choose between retrofit bases for cured concrete or cast-in-place options for wet installations.
Proper anchor selection determines your bracket’s holding capacity—half-inch wedge anchors or structural screws work best for most pergola applications. Ascertain bracket alignment follows your project specifications by using string lines and measurement tools to verify positioning before final tightening.
You’ll secure bolts, nuts, and washers to create a positive connection that transmits structural loads to your foundation. Match metal types—galvanized with galvanized—to prevent corrosion. After cinching anchors securely, inspect that your bracket elevation meets local building codes for adequate moisture clearance.
Positioning and Securing Corner Post Bases
With your post base brackets now secured to the concrete footings, you’re ready to position and secure the corner post bases—the foundation points that’ll establish your entire pergola’s structural geometry.
Begin by verifying corner alignment using your chalk lines and string references. Center each post base connector on its footing, ensuring even reveal around the bracket perimeter. Check that weep holes face outward for moisture protection.
For anchor placement, mark the center point of each post base on the concrete before drilling. Use a hammer drill with appropriately sized masonry bits, ensuring 2.5-inch minimum embedment depth. Verify all footings are level with a rotary laser. Proper footing depth prevents shifting and ensures long-term stability of your structure.
Tighten fasteners with a calibrated torque wrench to manufacturer specifications. Use galvanized bolts to prevent rust. Inspect each corner visually before final tightening to confirm proper structural alignment. Since 4×4 posts are suitable for spans up to about 10 feet, ensure your pergola design aligns with recommended post dimensions for optimal stability.
Setting 4×4 Posts Into Base Brackets
Your 4×4 posts—with actual dimensions of 3.5″ x 3.5″—must seat properly into the base brackets you’ve just secured to establish the pergola’s vertical structural integrity. The interior arm opening of 3.61″ x 3.61″ accommodates standard lumber with minimal clearance, so precision matters during installation.
Use post alignment techniques by checking plumb on all four sides before fastening. Insert posts fully into brackets, confirming they sit flush against the seat insert if included. For bracket installation tips, start fastening with one screw per bracket side, then verify alignment before completing all connections.
Use stainless steel screws rated for outdoor exposure. For softwood, drive screws directly; hardwood requires pre-drilling to prevent splitting. Tighten fasteners securely but avoid over-torquing, which can strip holes or warp lumber. To ensure your posts remain secure through seasonal changes and weather exposure, consider outdoor-friendly materials that resist corrosion and deterioration. Before installation, sanding the post surfaces can help create a more uniform appearance and improve the adhesion of any protective finishes applied later. Proper seating prevents lateral movement and guarantees long-term structural stability.
Checking Posts for Plumb and Vertical Alignment
Once you’ve secured the posts into their base brackets, verifying plumb and vertical alignment becomes your next priority—this step determines whether your pergola structure will perform as designed.
Begin your plumb verification by positioning a 6-foot spirit level against each post face, checking for deviation in all directions. Use laser levels to establish reference planes across multiple posts simultaneously, eliminating guesswork through measurable vertical references. Just as protective covers help safeguard transported materials from damage, protective coverings on your posts during construction prevent weather-related issues that could compromise alignment.
Employ the datum post method by selecting one post as your reference point, then clamping cross-members along its face to adjacent posts. This alignment technique guarantees all posts remain in line and at identical heights.
Verify post tops align consistently, measure diagonal distances between opposite corners to confirm frame squareness, and use framing squares at beam connections to assure 90-degree angles. These methodologies guarantee structural integrity and code compliance. Properly anchored posts using approved hardware such as post anchors will prevent wobbling and ensure your pergola maintains its vertical alignment over time.
Using Temporary Bracing to Stabilize Posts
After you’ve verified plumb alignment, temporary bracing becomes essential for maintaining post position throughout assembly. You’ll position 1×4 lumber boards diagonally on multiple sides of each post, cutting them at forty-five-degree angles for ideal support. Secure these braces to your posts using heavy-duty structural wood screws—drive at least two screws per connection point to guarantee structural integrity. Anchor the braces’ bottom ends to ground stakes, preventing lateral movement during the installation process.
You’ll place temporary cleating blocks at eighteen-inch marks from the post base, providing stable resting points before permanent fastening. This bracing system distributes loads evenly across your post assemblies. For extreme weather conditions, ensure your temporary bracing system can handle additional load-bearing requirements that may apply in your region. Consult your local building department to ensure your temporary bracing system meets specific code requirements for your area before proceeding with installation. Keep temporary braces in place until you’ve completed permanent diagonal braces and all structural connections. Then remove them systematically before installing final architectural elements.
Cutting and Installing Support Beams
With your posts braced and plumb, you’re ready to install the support beams that’ll form your pergola’s structural framework. Begin with beam preparation by sighting lumber to identify high points, then roll beams with crowns facing upward. Measure distances between posts carefully to guarantee accurate cutting. Make decorative cuts on secondary beam ends using consistent techniques, then cut half-lap notches into main beams. Mark post locations for registration during installation. Hoist secondary beams onto posts and secure them with 3½-inch structural wood screws at pre-drilled holes. Position main beams by rolling them into notches, then fasten with 5½-inch screws through beams and posts simultaneously. Use hex-head washers for structural integrity and apply fasteners low to allow hardware coverage. After installation, apply protective sealants to wooden beams to prevent moisture damage and extend the pergola’s longevity.
Leveling Beams and Ensuring Proper Spacing
Two critical steps follow your beam installation: you’ll need to level all beams precisely and verify that spacing between them remains consistent throughout the structure.
For beam alignment, use a 4-ft. level at both ends and midpoints of each beam. Place a long 2×4 across installed beams to transfer level marks to adjacent posts. Quick clamp beams before final fastening, allowing for adjustments on sloped ground by identifying the lowest post first.
For spacing accuracy, measure and mark post locations beforehand using the provided template. Check spacing with a tape measure at multiple points along the beam run. Employ a spirit level or laser level for precision, then secure beams with 1/2-in. bolts placed 2 inches from top and bottom edges. Double-check alignment after securing each beam, adjusting position as needed before final fastening. After construction is complete, consider applying penetrating sealers to protect your wood beams from weathering and extend the pergola’s lifespan, or choose between teak oil and tung oil based on your desired balance between ease of application and maximum durability.
Assembling and Connecting the Roof Structure
Now that you’ve leveled and spaced your beams, you’ll assemble the roof structure by connecting rafters, slats, and trim to create a unified, load-bearing system. Cut and notch rafters to fit snugly over beams, spacing them 16″ to 24″ on center for consistent design aesthetics. Secure rafters using 3″ to 4″ galvanized fasteners and rafter clips for wind resistance. Attach your chosen roof material choices—whether slats or lattice panels—with 3″ x #8 deck screws at regular intervals. Notch slats to mesh with rafters for a uniform appearance and secure fit. Install trim rings at beam and rafter connections using 2½” pan head screws. For maximum durability, use heavy-duty post base brackets or bolts at critical connection points to ensure your structure remains stable over time. Ensure all fasteners follow building code and structural engineer guidelines to guarantee your pergola meets local requirements and maintains structural integrity. Inspect all connections for tightness, ensuring your structure withstands weather exposure and maintains structural integrity.