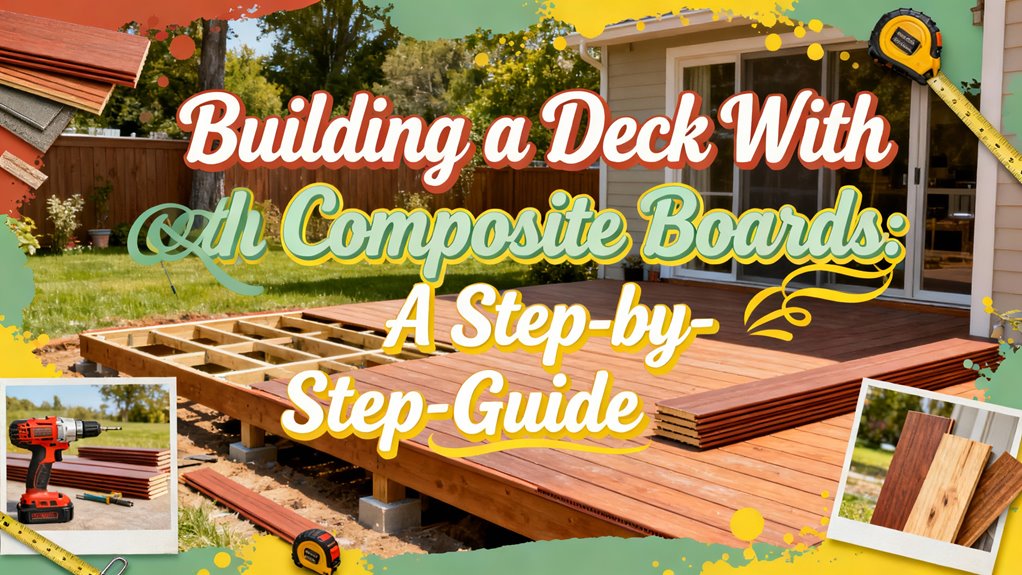
Building a Deck With Composite Boards: A Step-by-Step Guide
You’ll start by planning your layout, measuring your space, and accounting for slope and obstacles. Next, dig footings below the frost line and install treated posts with metal brackets. Space joists sixteen inches on center, then lay composite boards with hidden fasteners, maintaining consistent 1/8 to 3/16-inch gaps. Finally, install code-compliant railings with proper height and spacing. The specific techniques for each phase will guarantee your deck’s longevity and safety.
Understanding Composite Decking Materials
If you’re considering a deck upgrade, composite decking offers a practical alternative to traditional wood by combining wood fibers with plastic materials—typically polypropylene or polyethylene—to create a more durable, low-maintenance surface. You’ll find that composite materials vary in composition, with wood-to-plastic ratios differing across brands. Some products contain up to 95% recycled content, while others use virgin materials. Wood fibers provide structural stability, while plastic components deliver moisture resistance and deck durability. Capped composite boards feature an additional synthetic layer that enhances water protection. You can choose between wood-based composites, which retain some organic material, or 100% PVC options containing no wood. Both types eliminate traditional maintenance demands like staining, sealing, and power-washing while resisting rot, warping, and insect damage. Composite and PVC boards typically follow the 1″ × 5.5″ profile, with narrow and wide options available for design preferences. Different composite decking brands offer various fastening systems to accommodate their specific board designs and installation requirements.
Planning Your Deck Layout and Design
Before you break ground on your composite deck project, you’ll need to establish a clear vision of how you’ll use the space and what constraints you’re working with. Start by measuring your intended location precisely, noting slope, obstacles, and sunlight exposure. Identify access points from your home and yard to optimize flow. Choose shapes that complement your home’s architecture while prioritizing deck aesthetics through cohesive design elements. Simpler layouts with straight lines ease construction and reduce composite waste. Plan space optimization by positioning seating, dining, and entertaining areas strategically, ensuring adequate clearance around furniture. Consider seasonal use and weather exposure. Document width, length, and irregularities. Ensure your joists are properly spaced and level to support your composite boards and prevent future settling issues. Most composite decking brands recommend 16 inches on center spacing for straight installations, though diagonal layouts may require closer spacing. Use 3D design software to visualize layouts before building, helping you refine your vision and prevent costly construction errors.
Preparing the Foundation and Structural Framework
The foundation you build determines whether your composite deck will remain stable and durable for decades or develop problems within years. You’ll need to dig footings below your local frost line to prevent heaving and shifting. Space posts on compacted gravel bases, maintaining at least 80mm clearance between the subframe and soil for moisture management.
Install reinforced concrete footings sized for your deck’s dead and live loads, typically using 4×4 to 8×8 posts depending on tributary areas. Space joists 16 inches on center following manufacturer guidelines. Use double bearers under butt joints for structural integrity. For optimal results with composite decking, ensure your joist spacing remains consistent across the entire deck frame to support proper hidden fastener installation.
Ensure proper ventilation beneath your deck by elevating the frame on posts or pedestals. This airflow prevents moisture accumulation and extends your composite decking’s lifespan considerably. Consider applying fabric sealants to any cushion materials used on your deck to provide additional protection against water damage and extend their durability.
Installing Support Posts and Joists
Once you’ve solidified your foundation, you’re ready to erect the support posts and joists that’ll carry your composite deck’s weight. Start by installing treated 3½” x 3½” or 6×6 posts at marked locations, ensuring post alignment is perfectly plumb and level. Secure posts to concrete footings using metal post-mount brackets and corrosion-resistant fasteners. Shim as needed for vertical precision.
Next, establish beam connections using code-approved metal brackets, fastening with galvanized screws or bolts. Verify beam height consistency across all posts to maintain a level frame. Install joists 16″ on center using joist hangers, adding blocking for lateral stability. Use composite-compatible fasteners throughout. Before decking installation, double-check all posts are plumb, joists are level, and fasteners are properly tightened. Account for manufacturer-required expansion gaps. Ensure your beam construction uses appropriate beam sizes such as doubled 2×10 or 2×12 lumber to properly support your deck structure based on post spacing and local building codes. If your deck attaches to your home, install a ledger board that is at least 2 inches by 8 inches nominal size and matches the depth of your deck joists for secure fastening to the house structure.
Laying Out and Fastening Composite Boards
With your support structure secured and level, you’re ready to install composite boards using either hidden fasteners or face-fastening techniques depending on board location and your system’s requirements. Your fastener selection depends on board placement—hidden fasteners like TC-G or EverClip work for interior boards, while face-fastening with 2½” #10 screws suits edge and picture frame boards. For alignment techniques, use spacer tabs or string lines to maintain consistent 1/8″ to 3/16″ gaps across your deck. Position hidden fasteners at every joist, ensuring screws align with joist centers. Install face fasteners perpendicular to the surface, spacing them at least 3/4″ from board ends. Check alignment visually and with a torpedo level for straight, aesthetic rows. Hidden fastener systems like side-groove fasteners insert into board grooves to create a completely seamless, fastener-free appearance on your deck surface. Account for a waste factor of 10-15% when planning your composite board quantities to ensure you have adequate material for any cuts or installation errors.
Creating Proper Spacing and Expansion Gaps
Proper spacing and expansion gaps are critical to your deck’s long-term performance, as composite materials shift dimensionally in response to temperature and moisture changes. You’ll need to follow specific spacing guidelines based on installation conditions and board type.
For side-to-side gaps, maintain 3/16 inch spacing in standard conditions, or 3/8 inch in high-moisture environments. End-to-end butt joints require temperature-dependent gaps: use 3/16 inch below 40°F and 1/8 inch at 40°F or higher.
Your expansion considerations must include maintaining a consistent 1/2 inch gap between boards and adjacent walls or structures, particularly during cold-weather installations. These gaps prevent moisture trapping and allow proper drainage, protecting your deck from warping, buckling, and structural damage over time. Additionally, ensuring adequate ground clearance underneath your deck prevents moisture accumulation that can compromise both the decking material and the structural integrity of the joists.
Adding Railings and Safety Features
Since railings serve as both a safety requirement and a design element for your composite deck, you’ll need to install them with the same precision you’ve applied to spacing and board placement. Start by marking and drilling post locations accurately, then insert plastic anchors into pre-drilled holes. Slide post sleeves over pressure-treated 4×4 lumber for structural support. Position bottom rail brackets 1 3/16″ from rail ends, ensuring proper alignment. Space balusters evenly at 4.5 inches on center, keeping end balusters within 4 inches of posts. Most building codes require a minimum railing height of 36 inches for residential decks, though some jurisdictions mandate 42 inches. Your railing materials must comply with local safety codes requiring adequate spacing and height specifications. Secure all components using rust-resistant fasteners to prevent corrosion and ensure the longevity of your railing system. Verify that anchor pins lock the entire assembly firmly in place before finishing.
Maintenance and Long-Term Care
To maximize your composite deck’s lifespan and preserve its appearance, you’ll need to establish a consistent maintenance routine that addresses moisture management, cleaning, and seasonal care. Implement proper ventilation beneath your decking and direct water away from surfaces to prevent moisture buildup and mold growth. Your cleaning techniques should include sweeping regularly and performing thorough cleanings twice yearly with mild soap and soft-bristle brushes. Rinse with a garden hose using a fan tip, avoiding high-pressure washers. Clean spills immediately using composite-specific cleaners or vinegar and baking soda solutions, which are effective natural remedies for maintaining your deck’s appearance. For weather protection, remove snow carefully with non-metal tools and use calcium chloride ice melt instead of sand. Never use bleach or pressure washers exceeding 2500 psi, which damage composite materials.