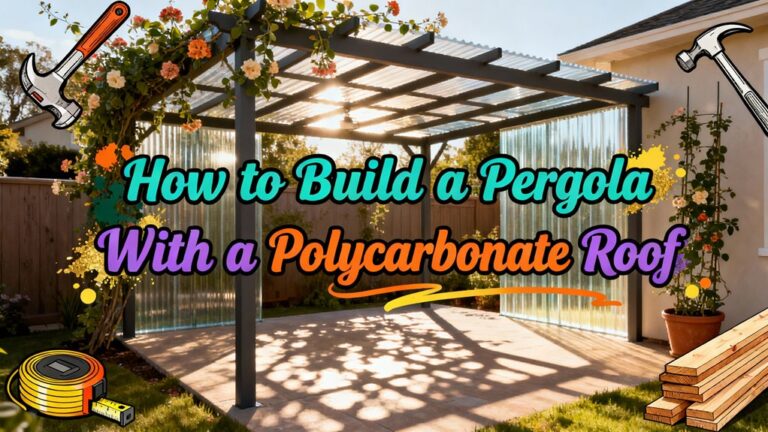
How to Build a Pergola With a Functional Roof
You’ll build a functional pergola roof by securing 6×6 posts in concrete piers below the frost line, then connecting main beams with heavy-duty bolts. Install rafters spaced 12 inches apart and attach 2×4 purlins for reinforcement. Choose durable materials like metal (20–50 years) or fiberglass for your roof layer. Incorporate louvered systems, retractable canopies, or solar panels for weather flexibility. Set your structure 9–10 feet high, align it with home eaves, and follow local wind load requirements. The specifics of material selection and installation techniques offer considerably more depth.
Choosing the Right Roof Type for Your Space
What roof material will best serve your pergola’s purpose and climate? You’ll want to evaluate durability, maintenance requirements, and functionality. Metal roofing options provide exceptional longevity, lasting 20–50 years with minimal upkeep, though they require higher initial investment. Steel offers superior strength in harsh climates but demands rust prevention maintenance. Aluminum delivers lightweight rust-resistance in various finishes.
Polycarbonate benefits include affordability, lightweight construction, and natural light transmission with UV protection. These roofs last 10–20 years and resist impact and storms effectively.
Wood delivers aesthetic appeal but demands regular sealing and staining, lasting only 10–15 years. Retractable systems offer maximum flexibility for changing conditions. Plastic and composite materials provide budget-friendly alternatives lasting up to 30 years. A functional roof transforms your pergola into a year-round usable space that protects you from the elements while maintaining outdoor comfort.
For tropical or humid environments, consider louvered and motorized systems that allow you to adjust shading based on weather conditions throughout the day. Match your choice to your climate, maintenance capacity, and desired functionality.
Understanding Roof Attachment Methods
Once you’ve selected your roof material, you’ll need to determine how you’re actually going to attach it to your house—and this decision matters just as much as the material itself. You’ve got several options: ledger attachments bolt directly into structural framing for maximum stability, while fascia considerations let you avoid wall penetration by securing to the fascia board instead. Roof risers connect directly to house framing rather than the roof itself, eliminating weatherproofing complications. Wall brackets offer flexible positioning using galvanized supports. When gutters obstruct your attachment area, you can mount riser brackets above or below the fascia board, replace the existing gutter with a structural super gutter, or remove the original gutter to attach higher on the fascia. Before finalizing your attachment method, verify that your pergola’s measurements align with your house’s structural dimensions and account for any height clearance requirements to ensure proper drainage and comfortable movement beneath the roof. Regardless of your method, weatherproofing techniques are non-negotiable. You’ll need proper sealing methods—including roof boot flashing, structural screws, and outdoor-grade silicone—to prevent moisture infiltration and mold growth at connection points.
Selecting Durable Roof Materials
The roof material you choose will define your pergola’s durability, maintenance demands, and aesthetic appeal. When evaluating roof material comparisons, consider your climate and budget. Aluminum offers lightweight rust-resistance and low maintenance, ideal for coastal areas, though it’s noisier during rain. Steel provides superior strength for storm-prone regions but requires robust structural support and occasional corrosion prevention. Polycarbonate panels deliver cost-effectiveness and weather resistance evaluation benefits, withstanding hail and snow while transmitting natural light. Wood delivers classic aesthetics but demands regular maintenance in humid climates. Fiberglass combines lightweight durability with minimal upkeep and superior temperature resistance, though it’s pricier. Like wood furniture selections for patios, your roof material choice involves weighing durability against maintenance demands across different seasons and weather conditions. Wood materials are particularly susceptible to rot and UV damage without proper protective coatings. Each material presents distinct trade-offs between longevity, maintenance requirements, and installation complexity. Your selection should align with your local weather patterns and long-term maintenance commitment.
Planning Your Pergola’s Structural Design
Your roof material choice establishes the pergola’s weather protection capabilities, but that protection only works if you’ve built a structurally sound foundation to support it. You’ll need to engineer your design around regional weather conditions—wind speeds, snow loads, and frost depth—to guarantee long-term structural integrity. To ensure compliance with local standards, verify that your design meets wind load requirements appropriate for your geographic location. Column placement determines your pergola’s dimensions and load-bearing capacity, so measure carefully from center to center. You’ll calculate width by adding three feet to this measurement, while rafter extension establishes projection depth. Precise beam calculations combined with appropriate post depths create a stable framework. Balancing structural integrity with pergola aesthetics requires thoughtful planning: guarantee posts align perfectly using string lines and reference points like your patio door sill before pouring concrete foundations that’ll carry your entire structure’s weight reliably. Ensure your pergola’s outdoor materials are protected through regular maintenance such as mildew removal to preserve the longevity of wood and fabric components exposed to moisture.
Incorporating Functional Roof Features
After you’ve established your pergola’s structural foundation, selecting the right roof system transforms it from a basic shade structure into a functional outdoor living space. You can choose from several proven options based on your climate and lifestyle needs.
Louvered roofs let you adjust sunlight and airflow with manual or smart controls, offering flexibility throughout the day. Retractable canopies provide on-demand protection at the touch of a button, extending usability across varying weather conditions. For sustainable households, solar panels generate clean energy while delivering shade and reducing electricity costs. Green roofs with integrated vegetation create natural insulation, support pollinators, and reduce stormwater runoff. Pergolas with functional roof systems can also be customized with retractable shades, heaters, and fans to make your outdoor space usable year-round.
Each system addresses specific functional requirements while maintaining aesthetic appeal. Assess your priorities—weather protection, energy efficiency, or environmental impact—to determine the best roof configuration for your pergola. If your pergola includes a raised deck or seating area, ensure your design complies with guardrail height requirements to maintain safety standards.
Determining Optimal Height and Dimensions
Getting your pergola’s height and dimensions right makes the difference between a structure that feels cramped and one that functions beautifully. You’ll find that 9 to 10 feet strikes the ideal balance for residential spaces, providing adequate head clearance while maintaining proper height aesthetics. Consider your purpose: dining areas need 8–9 feet, while hot tubs benefit from 8.5–10 feet for heat dissipation.
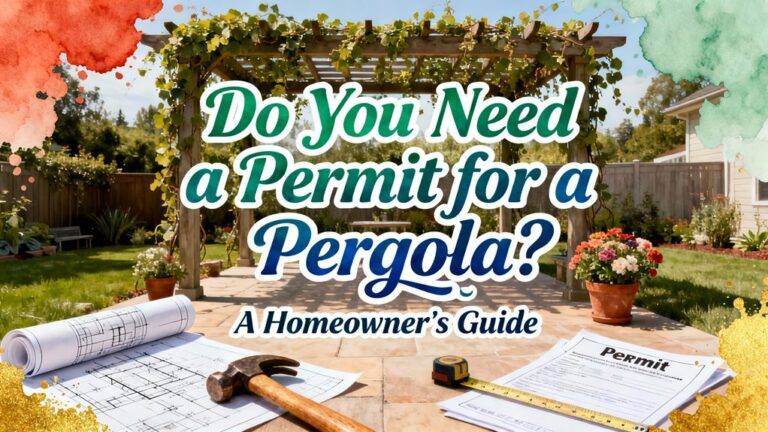
For proportional dimensions, match your pergola’s height to its width. Standard sizes like 10×10 or 12×12 feet work well for most yards. Post spacing of 6–8 feet apart guarantees structural integrity without sacrificing the open feel you’re seeking. Ensure your posts rest on concrete footings of adequate depth to prevent shifting and maintain long-term stability. Align your pergola’s height with your home’s eaves for visual harmony. Check local building codes before finalizing dimensions, as they’ll dictate maximum allowable heights in your area. In the UK, planning permission requirements vary based on proximity to boundaries and whether your pergola is in a conservation area.
Preparing Your Site and Foundation
Before you lay a single post, you’ll need to evaluate your site thoroughly and establish a solid foundation—the two critical steps that determine whether your pergola stands firm for decades or settles unevenly within a few years.
Start with an extensive site assessment by conducting a test excavation to determine subsoil type and soil stability. Contact local marking services to identify utility lines, then evaluate ground slope—avoid steeply sloping terrain. Confirm local building codes and HOA regulations before proceeding.
Next, prepare the ground by removing topsoil and vegetation. Level and compact the soil, then add a 15cm gravel layer. Lay PE film over the gravel to prevent moisture rise. Choose your foundation type—point foundations work well for most pergolas, requiring concrete pads approximately 40x40x40cm under each leg, buried below the frost line. For added durability and weather protection, ensure your concrete pads are securely anchored to resist seasonal shifts and ground movement.
Step-by-Step Installation Guide
With your foundation properly set and concrete cured, you’re ready to begin the structural assembly—the phase where your pergola truly takes shape. Start with post installation by securing your 6×6 or 8×8 posts into concrete piers, verifying vertical alignment with a spirit level. Connect main beams across posts using heavy-duty bolts, then confirm 90-degree angles with a framing square and diagonal measurements. Next, install your rafters—typically 2×6 lumber—establishing proper rafter spacing of approximately 12 inches apart across beams. Attach 2×4 purlins perpendicular to rafters for structural reinforcement. Secure all connections using exterior-grade screws and bolts with washers, double-checking fastener points for proper alignment before proceeding to roof covering installation. Use durable fasteners such as carriage bolts and ledger screws to ensure long-term structural integrity of your pergola. For maximum stability, ensure your posts remain plumb and properly braced throughout the assembly process to prevent shifting during final construction phases.
Maintenance Tips for Long-Term Performance
Once you’ve completed your pergola’s structural installation, establishing a consistent maintenance routine will preserve its appearance and functionality for years to come. You’ll want to clean your roof twice yearly—spring and autumn—removing debris with soft brushes and low-pressure rinsing. Regular cleaning frequency prevents dirt accumulation and guarantees smooth louver operation. Inspection benefits become evident when you check for cracked wood, rusted fasteners, and loose joints seasonally. Clear gutters and downspouts to maintain proper drainage and prevent water pooling. Every two to four years, apply waterproof sealants and UV-protective coatings to wood surfaces. Ensure that posts are set in concrete to maintain the structural integrity of your pergola against shifting soil and weather exposure. Proper slat spacing and orientation will also influence how effectively your pergola maintains its shading performance over time. Test electrical connections for integrated systems, and promptly replace corroded hardware. These proactive steps protect your investment and extend your pergola’s lifespan considerably.