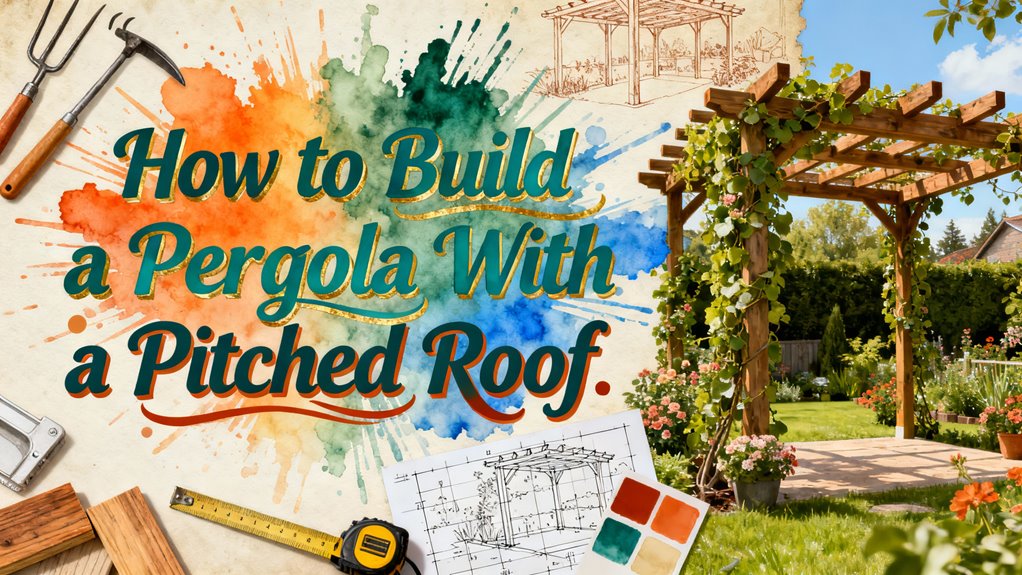
How to Build a Pergola With a Pitched Roof
You’ll start by establishing a minimum 1/4-inch-per-foot slope for drainage, then excavate foundation holes below the frost line and secure posts in concrete. Install your beams level and square, then add purlins at even intervals along the rafters. Create your pitched slope using a 1:12 ratio minimum, verify it with a framing square, and finish by installing polycarbonate or metal roofing panels with proper weatherstripping and gaskets. Getting the slope right is essential—there’s much more to master about materials and techniques that’ll guarantee your structure lasts decades.
Understanding Minimum Roof Pitch Requirements
When you’re building a pergola, you’ll need to establish the right roof pitch to guarantee proper water drainage and structural integrity. You’ll find that standard residential pergolas require a minimum slope of 1/4 inch per foot, which translates to a 2% grade. However, if you live in a heavy rainfall area, you should increase this to 1/2 inch per foot for enhanced drainage effectiveness. All pergola styles demand at least a 5-degree pitch to prevent water pooling and potential damage. Your material choice also matters—polycarbonate sheets need 3 degrees minimum, while corrugated polycarbonate demands 5.7 degrees. Steeper pitches improve water runoff and roof self-cleaning but can reduce headroom or visual subtlety. To ensure a watertight installation, use aluminum profiles like H-channels to join and secure your polycarbonate panels properly. By establishing proper minimum slope early in your planning, you’ll make certain your pergola sheds water efficiently and maintains long-term durability.
Planning Your Pergola Design and Layout
Before you pour a single concrete footer, you’ll need to carefully plan your pergola’s design and layout to guarantee it functions well within your space and complements your home’s architecture. Start by evaluating your yard’s solar exposure, existing architectural elements, and sight lines from inside your home. Consider whether you want a freestanding structure to anchor your backyard or an attached design extending your interior living space outdoors. Measure your intended furniture to determine appropriate dimensions—undersized pergolas look insignificant in large yards while oversized ones overwhelm smaller spaces. Balance pergola aesthetics with design functionality by deciding your primary use: dining, lounging, or entertaining. Account for comfortable circulation around seating areas. Finally, assess utility access for electrical installations and drainage patterns, as these factors influence your foundation requirements and overall placement strategy. Additionally, consider how weather conditions will affect your outdoor living experience, as this may influence whether you want to add shade solutions or protective finishes to your pergola structure. For added visual interest, you can incorporate decorative rafter tails into your pergola design to enhance its architectural appeal.
Selecting Appropriate Roofing Materials
Once you’ve finalized your pergola’s design and determined its placement in your yard, you’ll need to select a roofing material that aligns with your climate, maintenance preferences, and functional requirements.
Polycarbonate sheets offer excellent material durability and UV protection, lasting 10-20 years with minimal upkeep. Multiwall variants provide superior insulation and impact resistance. For aesthetic appeal with moderate weather protection, thermally modified wood delivers a natural look but requires regular maintenance, and air-drying thoroughly after cleaning helps preserve the material’s integrity.
Metal and aluminum roofing excel in durability and contemporary aesthetic appeal, though they demand higher upfront investment. Steel provides stronger wind resistance but needs rust prevention. Unlike fixed shade canopies, metal roofing provides permanent weather protection that doesn’t require adjustment based on conditions.
Budget-conscious options like PVC panels offer affordability, though they’re less durable than polycarbonate. Corrugated plastic sheets work well for pitched roofs, facilitating water drainage effectively.
Choose based on your climate severity, maintenance capacity, and desired visual outcome.
Preparing and Installing Foundation Posts
The stability of your entire pergola depends on a solid foundation, which begins with proper site preparation and post installation. You’ll need to determine your area’s frost line depth and excavate holes 2-3 feet below it to prevent frost heave. Clear vegetation, level the ground, and mark post locations with precision using chalk lines or lasers.
For drainage solutions, compact the soil base and add 6 inches of gravel before laying polyethylene film to prevent moisture migration. Install formwork to prevent wall collapse during concrete pouring. Embed steel reinforcement between concrete layers for enhanced strength.
Once cured, secure galvanized steel adjustable post bases with concrete fasteners. Center bases on footings and align posts vertically using levels. Your foundation stability directly impacts your pergola’s longevity and performance. Proper post spacing and sizing should also be calculated based on your pergola’s beam configuration, as engineered lumber options like LVL can influence how load is distributed through your foundation system.
Installing Beams and Establishing Square Footprints
Now that your foundation posts are set and cured, you’re ready to install the beams—the critical horizontal members that’ll tie your structure together and support everything above them.
Before beam installation, establish a square layout by measuring diagonals from corner to corner; equal measurements confirm a square footprint. Use string lines and a carpenter’s square to verify 90-degree angles at all corners.
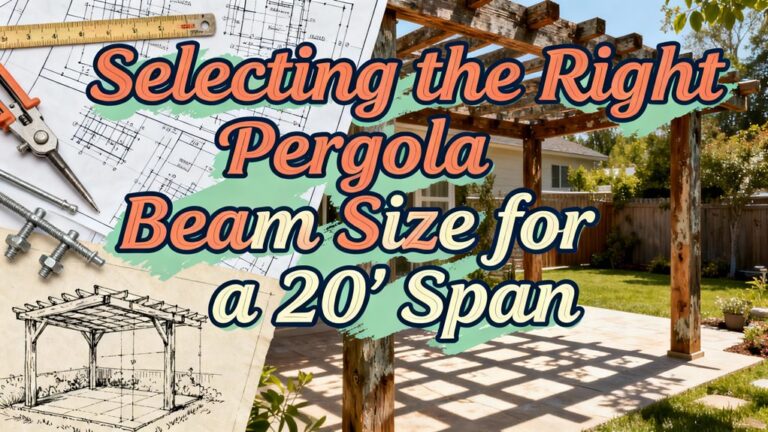
Select pressure-treated lumber, cedar, or composite beams sized 4×6 to 6×8 inches. The specific beam size you choose should account for your local building codes and the spacing of your posts. Temporarily clamp beams to posts for alignment, then secure them with corrosion-resistant through bolts and washers. Beams should overhang posts by 6–12 inches for aesthetics and rafter support. For maximum stability, use heavy-duty post base brackets to anchor your beam connections to the posts.
Check beam levelness across all posts using a long straight edge. Apply shims to correct minor height discrepancies. A square layout guarantees even rafter spacing and structural stability.
Cutting and Positioning Rafters
With your beams level and square, you’re ready to cut and position the rafters—the angled members that’ll form your pergola’s roof structure and define its aesthetic pitch. Start by measuring from your beam to your desired overhang, then use a framing square adjusted to your pitch angle to mark plumb cut lines. Create a template rafter for consistency across all cuts. Next, employ cutting techniques using a circular saw for plumb and seat cuts, then a jigsaw for notches. Remove waste material with chisels for tight fits. Finally, establish rafters alignment by positioning outermost rafters first, then spacing field rafters uniformly at approximately 20 1/8 inches on center. Use string lines for verification and secure rafters with joist straps while maintaining pitch throughout.
Adding Purlins for Structural Support
Once you’ve secured your rafters in their final positions, you’re ready to install purlins—the horizontal members that’ll run perpendicular to your rafters and complete your pergola’s structural framework. Mark purlin locations along each rafter with even spacing distribution, positioning your center purlin at the pergola’s midpoint for balanced load distribution. Cut half-lap notches into your purlins using a palm router with a pattern bit for clean, efficient results. Pre-drill through the joint centers to prevent splitting during fastening. Seat purlins into their notches using hammer or clamp pressure, then secure them with 1½-inch Phillips pan head screws, taking care to avoid stripping the screw heads by using locking pliers to grip any fasteners that become difficult to turn. Just as thorough surface preparation is essential when painting outdoor materials, ensuring your joints are clean and properly fitted will maximize the durability of your pergola’s structural connections. Close purlin spacing creates decorative elements while increasing shade coverage, allowing you to customize your pergola‘s appearance and functionality.
Creating the Pitched Roof Slope
To guarantee proper water drainage and structural integrity, you’ll need to establish a pitched roof slope that directs water away from your pergola’s surface. Start by measuring your horizontal span from the high point to the low point. For metal roofing, use a minimum 1:12 slope ratio, though 1:10 offers better drainage efficiency. Your slope calculations should multiply the span by your chosen ratio to determine total drop needed. For example, a 16-foot span requires a 1.33-foot drop at 1:12. Express your pitch as rise over run, then convert to degrees using arctangent if setting saw angles. Use a framing square or inclinometer app to verify accuracy before assembly, ensuring consistent slope across the entire structure. When selecting materials for your pitched roof pergola, consider that rot-resistant woods like white oak are preferable to less durable options for outdoor longevity. Before finalizing your slope design, verify that ground posts are securely anchored in concrete to ensure the foundation can support the weight and stress created by the pitched roof configuration.
Installing Roofing Panels and Coverings
Now that you’ve established your pitched roof slope, you’re ready to select and install the panels that’ll protect your pergola from the elements.
For panel types, polycarbonate and FRP sheets offer superior strength and UV protection. Choose corrugated sheets (0.8mm minimum) for subtropical climates or thicker multiwall options for storm-prone areas. Solid options like Axgard glazing sheets provide durability and tint choices. Consider adjustable shading elements to customize the amount of light and protection your pergola provides throughout the day.
Regarding installation methods, use glazing bars to clamp panels vertically for enhanced waterproofing. Install corrugated sheets at minimum 10% slope and flat sheets at 5% to guarantee proper drainage. Apply foam weatherstripping and gaskets to T-tracks and H-channels, preventing leaks and improving weather resistance. Verify proper panel overlap and seal all joints carefully. For metal roofing panels, fasten them with screws featuring rubber washers to prevent leaks and ensure a watertight seal. These techniques ensure longevity and protection against water damage.
Essential Tools, Materials, and Safety Practices
With your roofing panels secured and weatherproofed, you’ll need the right tools, materials, and safety measures to complete your pergola’s structural framework. Your essential tools include a tape measure, circular saw, drill with 5/8-inch bits, and impact driver for efficient fastening. You’ll require 6×6 posts, 2×8 beams, 2×6 rafters, and 2×2 slats constructed from pressure-treated pine or western red cedar based on your climate. Foundation anchoring demands concrete, galvanized post bases, and hex lag screws for corrosion resistance. When fastening structural components, ensure fasteners are spaced consistently across all joists to maintain structural integrity. Verify that your pergola’s attachment to the house foundation uses proper flashing installation to prevent water intrusion and structural damage. For construction safety, always wear safety glasses, work gloves, and a dust mask during cutting operations. Maintain at least 2-3 helpers for heavy lifting and alignment. Use a tall ladder for secure elevated access throughout assembly work.