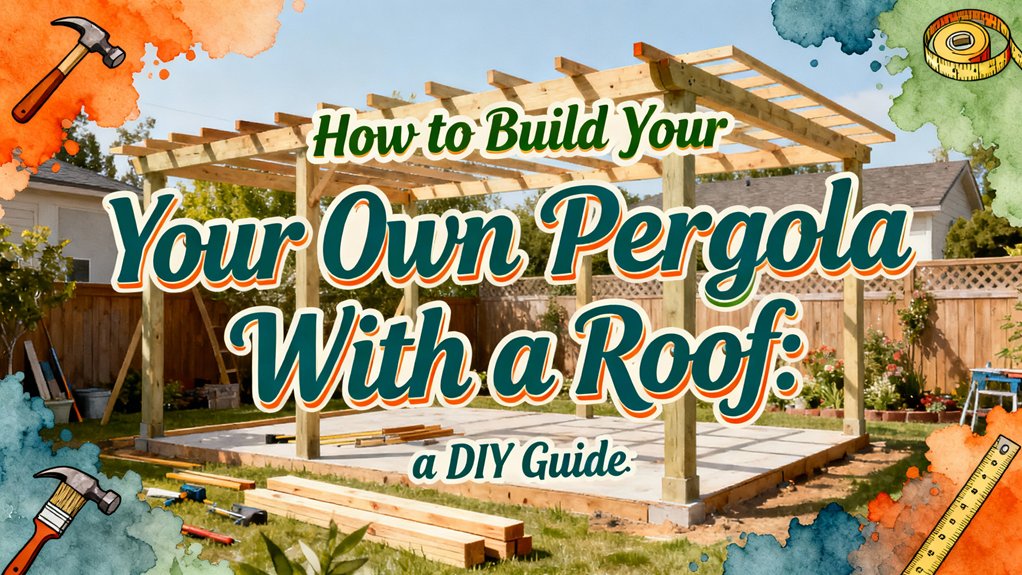
How to Build Your Own Pergola With a Roof: a DIY Guide
You’ll build a roofed pergola by measuring your space, evaluating ground conditions, and checking local building codes first. Next, dig post holes below the frost line, install braced posts with concrete footings, then construct your frame with 2×8 support beams and 2×6 rafters spaced twelve inches apart. Finally, you’ll select roofing material—polycarbonate, aluminum, wood slats, or shingles—based on climate and maintenance preferences. The specifics of each phase will transform your backyard into a functional outdoor structure.
Planning and Design Essentials
The foundation of any successful pergola project rests on thoughtful planning and design that accounts for your space, climate, and intended use. You’ll need to balance design aesthetics with functional considerations to create a structure that complements your home while meeting your specific needs.
Start by measuring your space carefully, determining width from column center to column center, then add three feet for total structure width. Consider ceiling height between 8 and 12 feet for comfortable headroom. Calculate your projection length based on desired shade coverage and intended activities.
Next, evaluate local building codes, zoning regulations, and permit requirements before beginning construction. Depending on your pergola’s size and features, you may need a zoning permit or a full construction permit from your local authorities. Ensure your design meets structural requirements for weather resistance and safety compliance. Account for ground conditions, frost levels, and weather factors like wind and snow load. Finally, select materials that match your home’s exterior while ensuring durability and structural compatibility with your chosen roof design.
Assessing Your Site and Preparing the Ground
Before you break ground on your pergola project, you’ll need to thoroughly assess your site and prepare the foundation for successful construction. Evaluate your site strengths, noting permanent fixtures and existing landscaping that’ll impact placement. Map sun exposure patterns throughout the day to optimize positioning for shade and comfort.
Clear vegetation and debris from the intended area, then mark post locations using stakes and string lines. Level the ground surface to guarantee a stable foundation. Excavate post holes to the required depth—minimum 30 inches for freestanding structures—and always check for underground utilities before digging.
Determine your soil type and local frost depth to confirm proper post stability. Confirm adequate drainage, avoiding low-lying areas prone to water accumulation. Plan clear access for material delivery and future maintenance.
Installing Posts and Footings
Proper post installation forms the structural backbone of your pergola, so you’ll want to establish accurate post locations before breaking ground. Mark corner and intermediate points using string lines and stakes, verifying distances against your design plan.
Dig holes below your local frost line—typically 24–48 inches deep—with an 8–12 inch diameter. Add 4–6 inches of gravel for drainage and clean loose dirt from the bottom. Use tube forms for consistent footing shape.
Position posts plumb using a level, then brace them with temporary 2×4 supports. Pour concrete to a few inches below grade and trowel smooth. Allow 48–72 hours curing time.
Check post alignment carefully, ensuring all faces remain plumb and straight throughout installation. Maintain bracing until your frame achieves full stability. For added durability and to prevent shifting over time, consider installing post bases on concrete to anchor your posts securely to the foundation.
Building the Frame Structure
With your posts properly set and cured, you’re ready to assemble the frame that’ll carry your pergola’s weight and define its character. Start by installing 2×8 or 2×12 support beams atop your posts, ensuring equal overhang for symmetry. Secure beams temporarily with 4-inch screws, then permanently fasten them using 8-inch galvanized bolts with washers and nuts. Verify levelness before proceeding.
Next, attach 2×6 rafters spaced 12 inches on-center, positioning end rafters directly over posts for ideal load distribution. Use two 5-inch galvanized drive screws per connection. Add decorative end cuts with a jigsaw for aesthetic appeal. For the cleanest jigsaw cuts, clamp your boards securely to prevent vibration, use moderate speed, and follow marked lines carefully without forcing the blade.
Install cross beams perpendicular to rafters, then attach lattice or slats for your roof base. Reinforce frame stability by adding 45-degree diagonal braces between posts and beams using galvanized fasteners. For maximum durability, use heavy-duty post base brackets to anchor your vertical posts before installing the frame components. Check all connections for plumb and level before final tightening.
Selecting and Installing Your Roofing Material
Now that your frame’s structurally sound, you’ll want to choose a roofing materials that balances your climate needs, maintenance tolerance, and aesthetic preferences. For DIY projects, polycarbonate panels offer the best combination of durability, light transmission, and ease of handling. They’re lightweight, impact-resistant, and require minimal maintenance beyond occasional cleaning.
Aluminum panels work well if you prioritize longevity and low upkeep, though they’re less suitable for diffused lighting. Wood slats deliver traditional aesthetics but demand regular sealing and staining. Ensure your pergola frame is properly braced and secured with corrosion-resistant fasteners to support the weight of your chosen roofing material.
Installation tips vary by material. Polycarbonate and aluminum panels install with basic fasteners and tools, while wood requires precise cutting to prevent warping. Fabric shade cloth needs proper tensioning for a taut fit. For a fully weatherproofed option, shingled roofs provide comprehensive protection against rain and snow while maintaining year-round functionality. Choose roofing materials based on your skill level, local weather conditions, and maintenance commitment.
Choosing the Right Materials for Your Climate
Your material selection doesn’t end with installation—it must also align with your local climate to guarantee your pergola performs reliably for years to come. Cold climates demand materials like double-glazed glass and polycarbonate sheets that retain heat, plus treated wood and reinforced framing to withstand snow loads. Hot regions benefit from vinyl and aluminum, which resist warping and reflect heat effectively. Humid environments require fiber cement or vinyl to prevent rot and mold. When considering climate considerations, evaluate your area’s temperature fluctuations, moisture levels, and wind exposure. Material durability depends on proper selection: vinyl offers low-maintenance resilience across most climates, while wood requires frequent sealing. Steel and aluminum with powder coatings provide exceptional longevity in challenging conditions, ensuring your investment withstands environmental stress. Larch wood, particularly Siberian varieties, demonstrates natural weather resistance and can last 10–50 years or more with proper maintenance, making it a sustainable choice for pergola frames in colder climates. For humid climates specifically, polypropylene demonstrates exceptional weather resistance and mold prevention capabilities, making it an excellent alternative for pergola components exposed to moisture and temperature variations.
Tools and Equipment You’ll Need
Building a pergola successfully hinges on assembling the right tools before you start cutting lumber or driving fasteners. Your tool selection should prioritize essential cutting equipment: a circular saw for straight cuts, miter saw for angled cuts, and a jigsaw for curved details. You’ll need fastening tools like a power drill, impact driver, and wrench for secure assembly.
Measuring and leveling equipment—including a measuring tape, level, and laser level—ensures structural accuracy. Post installation requires a post hole digger, tamper, and shovel for proper foundation work. Proper foundation work is critical for pergola stability, similar to how a ledger board must be securely fastened to house structures.
Equipment safety cannot be overlooked. Wear safety goggles, work gloves, and ear protection when operating power tools. Use a ladder or scaffolding for elevated work, and position a work light to maintain visibility throughout your project.
For polycarbonate roof installations, you’ll also need specialized tools including a pre-drilling tool to create holes slightly larger than your screw diameter, which prevents cracking of the polycarbonate panels.
Step-by-Step Installation Process
Once you’ve gathered your tools and equipment, you’re ready to begin the actual construction. Start by positioning base plates at the bottom of pergola posts, using a hex key or electric drill to secure them firmly. Place concrete blocks beneath posts to elevate them off the ground surface.
Next, focus on post alignment using string lines to verify positioning before permanent installation. Install temporary bracing with 1×4 boards angled from each post to ground stakes, positioned approximately one foot away. Use minimum three braces on different sides for stability.
Check all posts for plumb using a level, then drive additional screws through bracing boards into posts once vertical alignment is confirmed. For in-ground installations, dig footings deep enough to accommodate gravel for drainage beneath your concrete or metal post bases to prevent wood rot and ensure longevity. To maintain the durability of your outdoor structure and any cushioned seating nearby, consider regular maintenance practices that protect against moisture and environmental wear. These securing techniques guarantee your pergola’s structural integrity before moving to beam and frame assembly.
Common Mistakes to Avoid
Even with proper installation techniques, overlooking critical planning and material decisions can compromise your pergola’s longevity and safety. You’ll encounter significant problems if you neglect to consult a structural engineer about your roof’s load capacity before installation. Skipping permitting pitfalls by failing to obtain required permits exposes you to fines and forced removal. You must verify height restrictions and setback requirements with local authorities early. Don’t underestimate drainage needs—inadequate water management causes pooling, leaks, and mold. Avoid untreated wood in humid climates; it warps and deteriorates rapidly. You shouldn’t skimp on foundation depth; posts require burial at least one-third their length below the frost line, and reinforced concrete with rebar provides the tensile strength necessary to prevent settling and structural failure. Finally, you’ll compromise structural integrity by using undersized beams or lightweight materials beyond their capacity. Consider incorporating adjustable shading elements like retractable canopies or shade sails to protect your investment from weather exposure while maintaining flexibility in your design.
Long-Term Care and Maintenance Tips
Since your pergola’s durability depends on consistent upkeep rather than initial installation alone, you’ll need to establish a regular maintenance routine that addresses both routine cleaning and seasonal inspections. Implement preventative maintenance by performing light cleaning every one to two months using soft brushes and low-pressure rinsing to prevent debris accumulation and staining.
Conduct seasonal checks specific to your climate: spring inspections for damage, summer removal of bird droppings, autumn clearing of gutters, and winter corrosion assessments. For wood pergolas, reseal every two to three years and inspect annually for rot. Aluminum structures require monthly rinsing and quarterly soap cleaning with annual corrosion checks. To further protect wood pergolas, apply oil-based stains and clear sealants that guard against UV damage, moisture, and decay. Before applying stains, ensure the wood surface is properly prepared by sanding up to 180 grit and cleaning thoroughly for optimal stain adherence. Promptly address loose fasteners, cracks, and worn seals to prevent escalating damage and extend your pergola’s lifespan considerably.