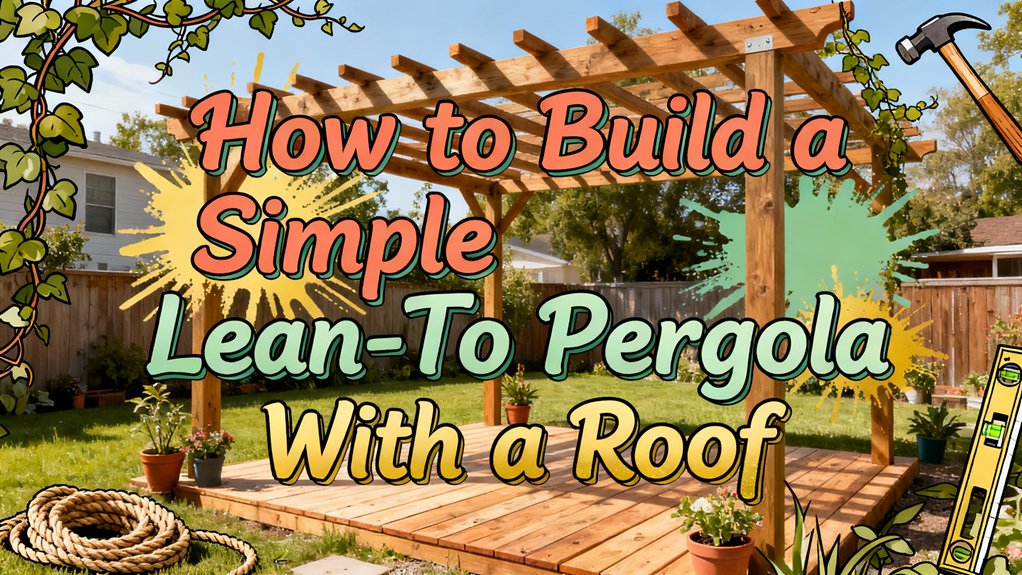
How to Build a Simple Lean-To Pergola With a Roof
You’ll start by establishing a 12×16-foot footprint with 7-foot posts and 16-inch rafter spacing. Anchor 6×6 pressure-treated posts in concrete footings below your frost line, then attach horizontal beams and 4×4 corner braces for reinforcement. Select your roofing material—metal offers durability, polycarbonate provides affordability, or solid roofing guarantees maximum weather protection. Install panels with hexagonal-head screws at every fourth corrugation, using neoprene washers and waterproof sealant at all fastener penetrations. Seal edges with U-channel trim and moisture tape to prevent water infiltration. The specific techniques for each installation phase will substantially enhance your project’s longevity.
Design and Dimensions
Before you finalize your lean-to pergola plans, you’ll need to establish the roof pitch, overall dimensions, and structural spacing that’ll determine everything from material selection to building permits.
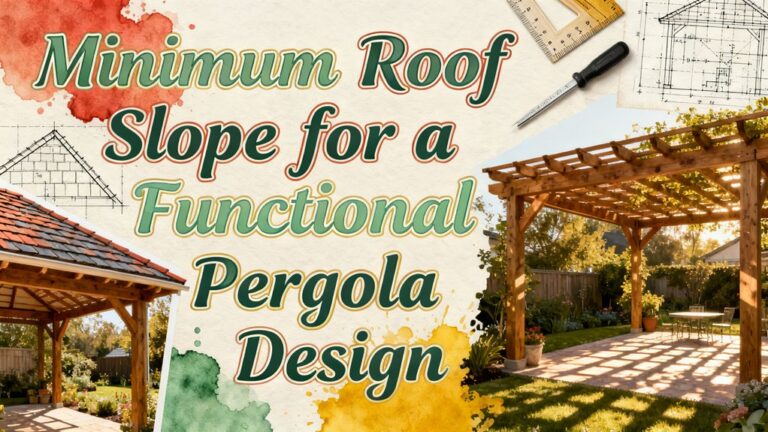
Start with dimensional calculations for your preferred size—a 12×16 feet footprint works well for spacious coverage. Calculate post heights: typically 7 to 7.5 feet on the low end, with the high end adjusted for your roof slope. Use 5-degree slope brackets, equivalent to 1:12 pitch, for ideal water drainage.
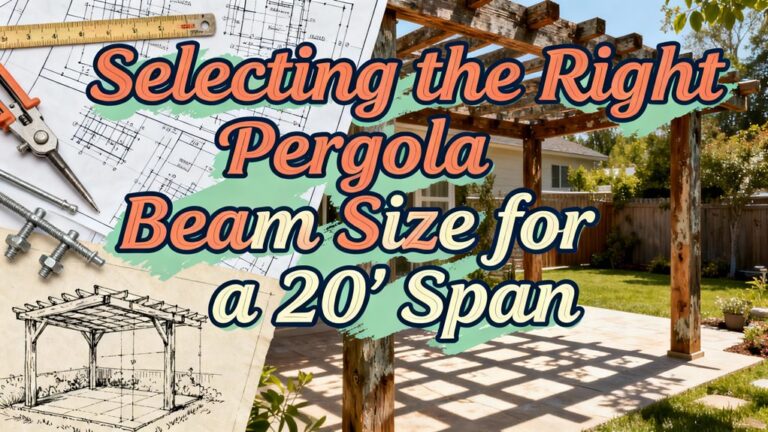
Determine rafter spacing at 16 inches on center, then calculate rafter length by adding your pergola depth plus an 18-inch overhang. Select beam construction—double or triple 2×8s—based on your desired span. For spans exceeding 8 feet, stronger beam options such as 6×6 posts or doubled beams become necessary to ensure adequate structural support. These dimensional calculations directly influence your design aesthetics, structural integrity, and local code compliance. Proper concrete footings beneath your posts are essential to distribute weight evenly and maintain stability throughout the life of your structure.
Materials and Lumber Selection
The lumber you select will directly impact your pergola’s durability, appearance, and maintenance demands—making it just as critical as your structural design. You’ll find pressure-treated pine offers affordability and availability, though it requires regular sealing. For superior rot resistance, consider western red cedar or redwood, which provide natural durability and aesthetic appeal at higher costs. Douglas fir balances strength and workability, accepting stains effectively. Ipe delivers exceptional longevity but demands difficult installation and significant investment.
Evaluate your climate carefully. Cedar suits humid environments, while redwood thrives in dry regions. Match maintenance requirements to your commitment level—pine needs frequent upkeep, whereas cedar and redwood demand periodic staining. Consider how your lumber choice influences the overall visual aesthetic, as materials like cedar and redwood complement climbing vines and greenery that enhance your pergola’s appearance over time. Confirm all wood dries completely before installation to prevent warping. Pre-drill dense hardwoods and apply protective sealant throughout construction for peak longevity. Proper lumber selection also complements your overall outdoor living design, much like choosing appropriately sized patio furniture dimensions ensures your pergola integrates seamlessly with your deck layout and maximizes your outdoor space’s functionality.
Roofing and Covering Options
Your pergola’s covering dramatically influences its functionality, maintenance burden, and weather resistance. You’ll find five primary options to evaluate.
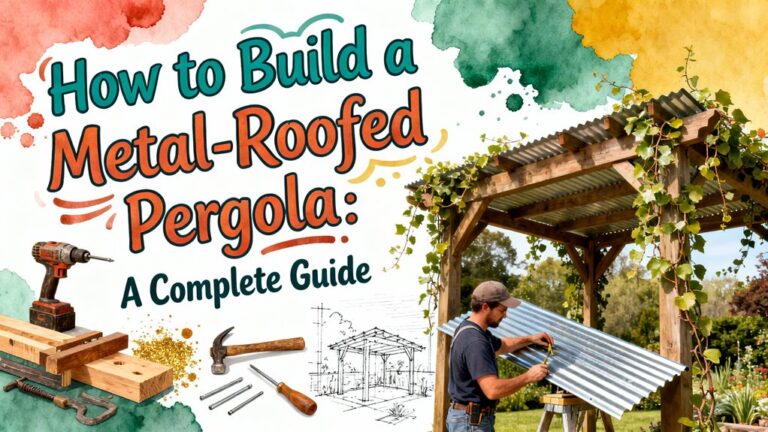
Metal roofing delivers superior durability and complete sun blocking, though heat retention creates discomfort in direct sunlight. Polycarbonate options offer lightweight affordability with 10-20 year lifespans, allowing light transmission while resisting impact damage.
Fabric coverings provide an airy aesthetic suitable for temperate climates, delivering partial shade with easy installation. However, they deteriorate under heavy rain or snow. For fabric coverings, consider using breathable, water-resistant materials similar to those recommended for outdoor furniture protection to prevent mold and mildew growth. Ensure your pergola’s support posts maintain vertical alignment through proper installation to support the weight of fabric coverings and prevent structural failure.
Lattice designs offer vintage appeal and partial shade through crisscross patterns, but withstand limited weather exposure.
Bitumen sheets and solid roofing provide extensive weather protection and wind resistance with excellent durability. Choose based on your climate demands and desired light levels.
Preparing Your Site and Foundation
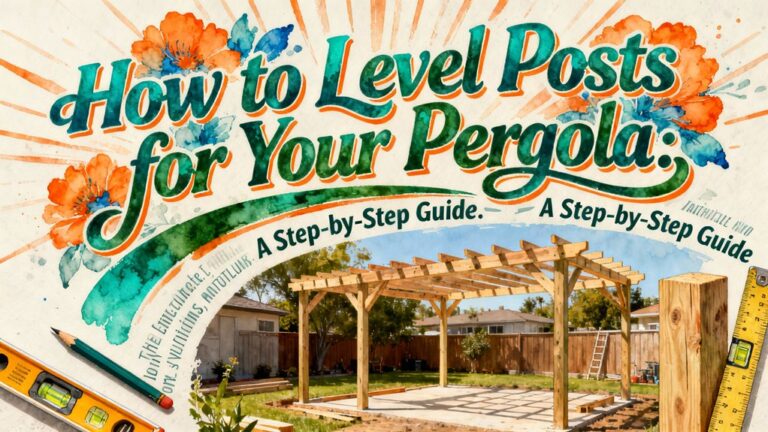
A solid foundation determines whether your lean-to pergola’ll stand for decades or shift and settle unevenly. Begin with thorough site assessment by confirming adequate sunlight, drainage, and level ground. Clear vegetation and debris, then conduct soil tests by digging small holes to identify soil type and obstacles.
Next, establish foundation stability by evaluating ground conditions. Stable soil may allow direct post anchoring; unstable ground requires continuous concrete slabs. Check local frost line depths and building codes to determine minimum footing depth, typically 12 to 24 inches. Since your lean-to pergola has a roof, you’ll need to verify whether a building permit is required under your local regulations. After installation, protect the wooden structure with clear sealers to preserve the natural wood appearance while safeguarding against moisture and UV damage.
Mark post locations precisely using triangulation, then excavate holes below the frost line. Pour high-quality concrete while embedding anchoring hardware like Simpson Strong-Tie adjustable post bases. Level footing tops carefully using rotary lasers. Allow concrete 24 to 48 hours to cure fully before framing.
Building the Frame and Structure
Once your foundation’s set and concrete’s cured, you’re ready to install the frame components that’ll bear your pergola’s weight and define its structure. Start by positioning your 6×6 pressure-treated posts vertically, ensuring they’re plumb before securing them with lag bolts to your concrete anchors. Next, attach your horizontal beams—typically 6×6 or 2×10 lumber—atop the posts using pre-drilled pilot holes and lag bolts for frame stability. Install 4×4 corner braces at 45° angles, fastening them with lag bolts at both ends to reinforce post-beam joints and enhance structural integrity. Use galvanized fasteners throughout to prevent rust. Before final tightening, confirm all posts remain plumb and beams level. Space braces equally for even load distribution and visual symmetry. Verify that your structure can withstand weather conditions by ensuring all connections meet local building code requirements for your area. For optimal stability, ensure your posts are securely anchored to the footing using approved post anchors, which transfer loads properly and prevent wobbling or structural failure.
Installing Roof Decking and Underlayment
With your frame and structure solidly in place, you’ll now install the roof decking and underlayment that’ll protect your pergola from weather damage and water infiltration. Start by laying 3/4-inch plywood sheets across the rafters, beginning from one corner and working systematically across. Secure each sheet using heavy-duty screws or galvanized nails, ensuring fasteners are countersunk to prevent water pooling. Apply waterproof techniques by sealing every seam and fastener hole with waterproof sealant. Next, install membrane material at the base level for moisture protection. Position lath pieces with 1/8″ to 1/4″ spacing from the decking edge, then install drip edge on top. Finally, apply underlayment between the plywood deck and roofing material. Verify proper slope creation to facilitate water runoff away from the structure.
Customization and Finishing Touches
Now that you’ve secured your decking and underlayment, you’ll focus on selecting and installing the roof material that’ll determine both the pergola’s functionality and appearance.
Choose your polycarbonate or PVC sheets based on performance needs. Clear sheets maximize light transmission, while opal-tinted options reduce heat buildup. Bronze variants minimize glare and retain warmth. Install panels at the manufacturer-recommended minimum 10-degree pitch for ideal water drainage and self-cleaning properties. Polycarbonate roofing provides durability and UV protection while maintaining natural light in your outdoor space.
Secure panels systematically using hexagonal-head screws at every fourth corrugation, with closer fastening at gutters and overlaps. Pre-drill to prevent splitting and maintain 1/4″ gaps for thermal expansion. Use neoprene washers at each fastening point to create an airtight seal that prevents water infiltration around screw penetrations.
Seal edges with moisture tape and U-channel edging. Apply weatherproof silicone around fastener penetrations. Consider accessories selection like integrated lighting features to enhance functionality and ambiance for evening enjoyment.