How to Cut and Install Deck Stair Railings
You’ll need to master four essential steps: first, verify local building codes for height requirements—typically 34 to 38 inches, though some states require 42 inches. Calculate your total rise and run, then position 4×4 posts plumb using through bolts. Use a T-bevel to transfer your stair’s slope angle to rails, then cut precise miters. Finally, install bottom rails with brackets, snap balusters at maximum 4-inch spacing, and secure top rails with self-tapping screws. The specific techniques for each phase require careful attention to detail and proper sequencing.
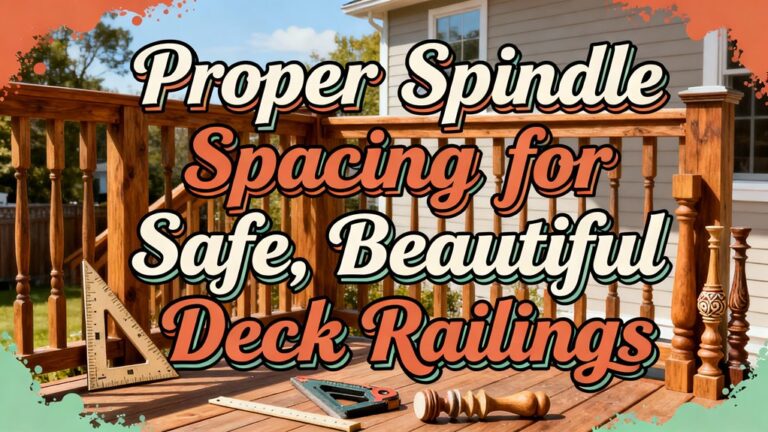
Understanding Railing Height Requirements and Building Codes
Before you cut and install deck stair railings, you’ll need to understand the building codes that govern their height and spacing. Stair handrails require a height between 34 and 38 inches, measured vertically from the stair nosing to the railing top. This range is 2 to 8 inches lower than deck guardrails, facilitating easier stair usage while maintaining deck safety.
For code compliance, you must verify local requirements, as states like California and Washington mandate 42-inch heights, exceeding the standard IRC 36-inch requirement. Additionally, balusters can’t exceed 4-3/8 inch spacing on stairs, and openings between the bottom rail and treads must prevent a 6-inch sphere from passing through. These spacing standards are designed to prevent accidental falls and minimize safety risks. All railings must also comply with spacing requirements to ensure safety across different railing types and configurations. Always consult your local jurisdiction before beginning installation.
Calculating Total Measurements for Your Stair Railing System
Accurate measurements form the foundation of a safe, code-compliant stair railing system, and you’ll need to calculate four key dimensions: total rise, number of steps, total run, and stringer length.
Start by measuring total rise from ground level to your finished deck surface, including floorboard thickness for unfinished decks. Next, you’ll divide this measurement by the standard riser height of 7 to 7.5 inches when calculating number of steps, rounding to the nearest whole number.
Then multiply your step count by the standard tread depth of 11 inches to determine total run. Finally, apply the Pythagorean formula using your rise and run measurements to calculate stringer length from 2×12 lumber.
Double-check all measurements within 1/6 inch for precision before installation. Be sure your final stair handrail height falls within the 34 to 38 inches specified by local building codes to ensure user safety and regulatory compliance.
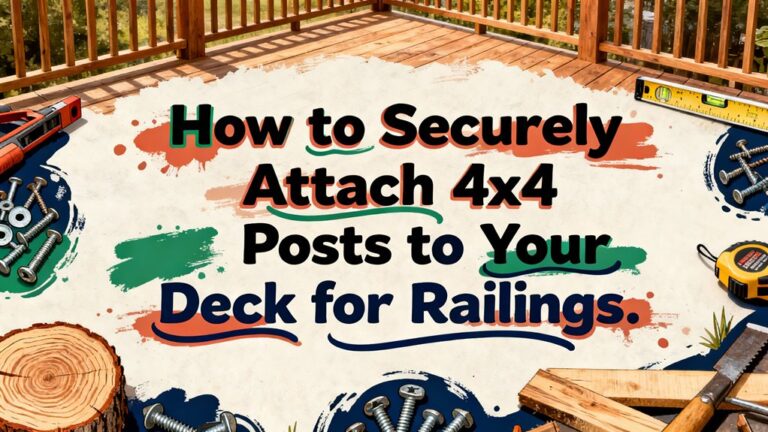
Selecting and Positioning 4×4 Railing Posts
With your measurements calculated and verified, you’re ready to select and position the 4×4 posts that’ll form the structural backbone of your railing system. Choose post materials from cedar or pressure-treated pine—both provide the structural strength required to withstand 200 lbs. of lateral force per building code standards.
Establish proper post spacing by measuring from the nose to the center of each stair post. For 35-degree stairs, this distance ranges from 32″ to 3 7/8″ depending on post type. Position upper posts first, followed by lower posts, then adjust middle posts for top rail alignment. Remember that balusters must be spaced no more than 4 inches apart to prevent a 4-inch sphere from passing through, which protects children and pets from injury.
Use a level to confirm plumb positioning on all sides before clamping posts to the stringer’s interior face. This critical step guarantees vertical alignment throughout your installation. Most residential decks require a minimum railing height of 36 inches for decks over 30 inches above ground to meet local building codes.
Securing Posts With Through Bolts and Bracing
Now that your posts are plumb and clamped in position, you’ll secure them permanently using through-bolts and bracing—the critical hardware that’ll anchor your railing system against the 200 lbs. of lateral force required by code. For bolt selection, choose hot-dipped galvanized or stainless steel carriage bolts, typically 1/2″ diameter by 6″ or 8″ length. Position bolts 1 3/4″ from joist edges, centered on your 4×4 post. Pre-drill holes level and straight using a sharp auger bit for exact bolt diameter fit. Insert bolts from outside with the head exterior and washer/nut interior. Install blocking between joists secured with three 3 1/2″ deck screws per side. Use two bolts per post for post alignment and stability, tightening firmly while verifying plumb before finalizing. For optimal results, allow bolts and hardware to air dry completely after installation before exposing them to moisture. Proper bolt spacing and sizing also ensures your railing posts can handle structural loads similar to how maximum beam spans determine the strength of pergola framing systems.
Marking and Cutting Rails to the Correct Angle
The most critical step in installing deck stair railings is cutting your rails at the precise angles that’ll match your staircase slope—get this wrong, and you’ll face gaps, misalignments, and an unprofessional appearance.
Start by laying your rail material along the stair edge and using a straight edge to trace the stair slope onto it. Transfer this angle using a T-bevel or angle finder, marking both ends for consistency.
For cutting techniques, subtract your stair angle from 180 degrees, then divide by two for each miter cut. Use a compound miter saw for precision. Test fit before final installation, adjusting as needed for seamless adjustments between rail sections. Always verify that your stair railings comply with local building codes to ensure they meet safety requirements. Ensure all rail components are level and properly aligned with your staircase to maintain safety and structural integrity.
Sealing Cut Edges and Pre-Drilling Screw Holes
After you’ve cut your rails to the correct angles, you’ll need to seal the exposed wood and prepare for fastening to prevent moisture damage and splitting. Begin cut edge sealing immediately by applying wax-based or specialized end-grain sealers to all freshly cut surfaces. Use exterior-grade, water-repellent finishes for best protection, applying multiple coats for hardwoods like mahogany. For optimal durability, consider using mildew-resistant stains to protect your railings from moisture and sun damage over time.
Next, perform screw hole pre drilling by positioning holes approximately 2 inches from board edges, staggering them every 12 inches. Drill holes slightly smaller than your screw shank diameter to guarantee tight fastening without splitting. Countersink holes for improved aesthetics and proper screw head seating. Proper fastening technique is critical, including pre-drilling holes to prevent splitting, using staggered screw placement to avoid fasteners intersecting, and ensuring all hardware is exterior-grade and corrosion-resistant.
Use corrosion-resistant fasteners compatible with your railing material throughout installation.
Installing Bottom Rails and Stair Adapter Brackets
Properly installing your bottom rails and stair adapter brackets requires careful attention to alignment, spacing, and fastening techniques. Begin your bottom rail installation by positioning the rail between posts on the bottom support rail, using foot blocks for center support. For sections up to 6 feet, place one foot block centrally; for 6 to 8 feet, space two blocks at approximately 1/3 intervals.
During stair adapter assembly, snap the brackets together and stabilize them with a dab of super glue. Pre-drill the screw chase using a 3/16″ drill bit. Attach brackets to the stair tread side of the rail, then secure them to the posts using #8-10 x 3″ wood screws. Center your screw along the rail centerline for maximum stability and guarantee even spacing before fully tightening all fasteners. Like ledger boards used in pergola construction, proper hardware selection ensures your staircase railings can safely handle their structural load and provide long-term durability. After installation is complete, ensure the wood can breathe by avoiding multiple heavy coats of finish that might seal the surface and cause peeling.
Attaching Top Rails and Installing Balusters
Securing your top rails requires aligning them with the first routed hole on the bottom side of the rail, then snapping them into position. Drive self-tapping screws up through the bottom support rail into the top rail, following manufacturer spacing guidelines. For composite or aluminum systems, pre-drill 3/16″ holes to prevent splitting.
Next, install balusters by snapping them into the bottom rail first, then positioning the top rail over each baluster. Verify consistent baluster spacing—typically 4″ maximum for stair railings per code requirements. Align balusters with routed holes in the top rail for secure fit. For stair sections, field-cut angles to match the stair pitch and maintain proper rail alignment. Use temporary spacers to hold balusters steady during installation, then verify all components are securely snapped. Remember that balusters must be spaced no more than 8 inches apart to meet safety standards and prevent hazardous gaps. Before finishing your railing project, ensure you have adequate wood stain coverage calculated for any composite materials that may require protective treatment.
Finishing Your Railing With Post Caps and Final Touches
Now that you’ve secured your balusters and top rails, you’ll want to complete the installation with post caps that’ll protect your posts while enhancing your deck’s appearance. You’ll find several post cap types available, including metal options with marine lacquer finishes, stone two-piece configurations, and slip-over designs from redwood or Western Red Cedar.
Before installation, clean and dry your post surfaces thoroughly. Round over any sharp edges using a trim router. For adhesive selection, consider exterior marine adhesive like 3M 5200 for slip-over caps, or silicone-based caulk for semi-permanent installation. Apply adhesive generously to all contact points, maintaining firm downward pressure for 10-15 seconds. Use a rubber mallet to fully seat the cap. Allow overnight curing before applying full load. When working with metal balusters, protect them from adhesive overspray by using careful application techniques to avoid contact with metal surfaces. Post caps also enhance outdoor aesthetics by complementing your deck’s overall design while providing protective durability.