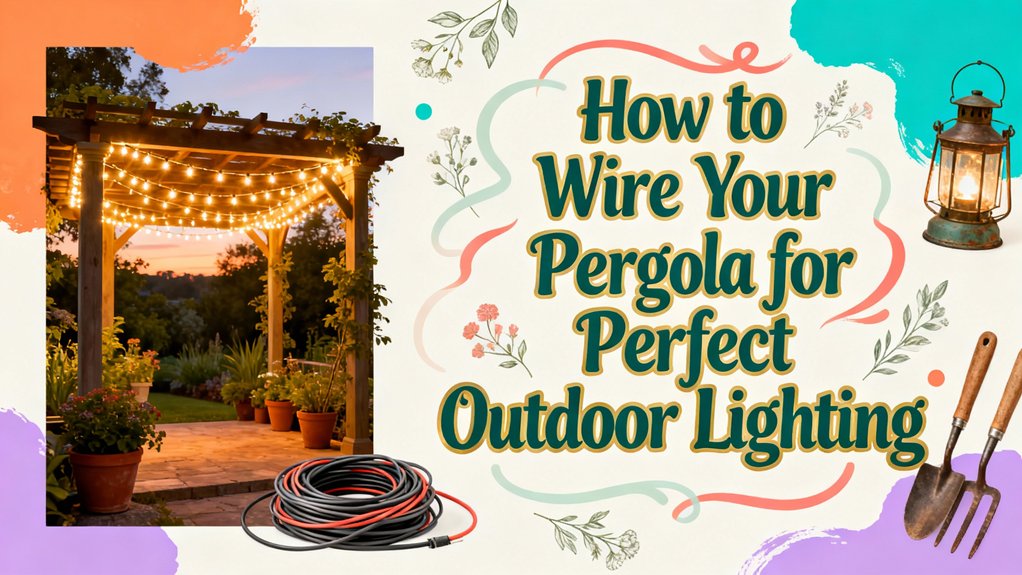
How to Wire Your Pergola for Perfect Outdoor Lighting
Start by measuring your pergola’s dimensions and identifying lighting zones like seating areas and entryways. Choose waterproof, weather-resistant fixtures matched to your structure’s material. Calculate total wattage using a 1.25x safety multiplier and select an appropriately rated transformer with 20–25% extra capacity. Install secure anchor points using eye bolts, then run 12-gauge cable with UV-resistant ties every 3–5 feet. Use waterproof connectors at junction boxes and label all wires for safety. Test voltage at fixtures with a multimeter before finalizing. Seasonal maintenance and GFCI compliance keep your system operating safely long-term—and there’s much more to mastering this installation.
Assessing Your Pergola and Planning the Layout
Before you’ll need to assess your pergola’s structural characteristics and plan where each light should go. Start by measuring your pergola’s size, shape, and height while noting beam placement and material type—wood, vinyl, or aluminum each require different wiring methods.
Identify your lighting zones based on function. Entryways need pathway lighting for safety, seating areas benefit from ambient and task lighting, while overhead spaces suit string lights and pendants. Consider your pergola styles and desired lighting themes to guide fixture selection. When selecting outdoor lighting fixtures, ensure they are protected with fabric water repellency treatments to withstand weather exposure and maintain durability.
Evaluate proximity to electrical outlets or junction boxes. Low-voltage systems prove safer and easier for most installations than high-voltage alternatives. Check local codes for maximum lumen requirements and any permitting needs before proceeding with installation. Proper lighting design also enhances your outdoor space’s aesthetics while supporting climbing plants and creating versatile areas for entertaining and relaxing.
Measuring and Sketching Your Lighting Design
Once you’ve identified your lighting zones and electrical access points, you’ll need to create detailed measurements and sketches that’ll serve as your installation blueprint.
Start with precise measuring techniques—record your pergola’s length, width, and beam heights using feet or meters. Measure distances between structural elements and note any overhangs. Document existing electrical outlets and junction box locations for safety compliance.
Create a scale drawing incorporating all measurements and structural details. Mark beam positions, posts, and rafters clearly. Indicate fixture locations spaced 4 to 6 feet apart for even coverage, avoiding walkway placement to minimize glare. Ensure proper wire spacing between fixtures to allow cables to run without pinching or damage.
Use sketching accuracy to label wire paths, connection points, and conduit requirements. Calculate total wiring length, adding 10-15% for slack and adjustments. Document wire gauge based on wattage and distance specifications. Before beginning installation, verify that your electrical plan complies with local building codes to ensure safety and prevent potential violations.
Save both digital and physical copies for reference throughout installation.
Choosing the Right Lights and Fixtures
With your pergola’s layout and wiring plan finalized, you’ll now select fixtures that balance your aesthetic preferences with practical performance requirements. Consider your pergola’s material: aluminum structures suit recessed and strip lights, while wood pergolas accommodate lanterns and hanging fixtures better. Evaluate fixture types based on function—spotlights highlight focal points, string lights provide ambient lighting, and recessed options offer clean aesthetics. Prioritize waterproof, weather-resistant fixtures for durability. LED bulbs deliver energy efficiency and longevity, making them superior to incandescent alternatives. Match your fixture selection to your pergola’s style and electrical capacity. Ascertain all fixtures carry appropriate safety ratings and meet local electrical codes before installation. For wood pergolas, using 316 stainless steel hardware and fixtures helps prevent tannin staining and corrosion from cedar or treated lumber. For pergolas located near vegetation or exposed to moisture, consider applying weather-resistant cleaning solutions periodically to maintain fixture performance and prevent mildew buildup on outdoor components.
Calculating Power Requirements and Capacity
Proper transformer sizing is critical to your pergola’s lighting system because undersizing it’ll cause dimming, equipment failure, and potential safety hazards. Start your power calculation by multiplying your fixture count by watts per fixture, then apply a 1.25x safety multiplier. For example, 20 fixtures at 4 watts each equals 80 watts; multiplied by 1.25 yields a 100-watt minimum transformer requirement.
Reference transformer rating charts for quick verification: a 150W transformer handles 120W maximum capacity. Consider voltage amperage ratings separately from wattage for accuracy. Wire gauge affects voltage drop considerably—12-gauge cable maintains acceptable performance for standard installations.
Plan for future expansion by purchasing transformer capacity 20-25% above current needs, preventing costly replacements as your pergola design evolves.
Installing Anchor Points and Hardware
Now that you’ve sized your transformer and planned your power distribution, you’ll need to establish a secure anchor system that prevents sagging, protects wiring, and distributes the weight of your light strands evenly across the pergola structure.
You’ve got several hardware selections available. Zip ties and coated twist ties offer economical tie types for securing strands. Clip options include binder clips, alligator clips, and cable clips positioned every 1-3 feet. Hook installations using eye bolts or J-shaped hooks provide reliable support when pre-drilled into posts and beams.
For adhesive methods, 3M Command outdoor strips eliminate drilling while accommodating temporary setups. To prevent voltage drop issues with longer pergola runs, avoid daisy-chaining all lights together and instead leave portions of LED strips unconnected centrally. Regardless of your anchor placements and installation techniques, maintain 2-3 feet of drape slack and verify alignment with levels. Like deck installations, proper spacing guidelines and hardware selections prevent structural strain while ensuring even light distribution.
Preparing Wiring and Conduit Systems
Before you run any wires to your pergola, you’ll need to select the right materials and plan a pathway that keeps your installation safe, code-compliant, and future-proof. For wiring materials selection, use outdoor-rated cables like UF or THWN to withstand moisture and temperature fluctuations. When comparing conduit types, PVC works best for underground runs due to its corrosion resistance, while EMT suits above-ground sections on steel pergolas. Size your conduit at least 3/4 inch to accommodate wire pulling and future upgrades. Map your pergola layout to identify outlet and light locations, then determine the most direct path from your main panel. Ascertain your route minimizes voltage drop and avoids obstructions. Plan extra conduit capacity for expansion.
Connecting and Securing Electrical Cables
With your conduit system and pathway planned, you’re ready to install the actual cables that’ll power your pergola’s lighting. Start by pulling your outdoor-rated cable types—UF-B or THWN/THHN wires—through the conduit, guaranteeing no sharp bends that could damage insulation. Secure cables inside your pergola structure with UV-resistant ties every 3–5 feet, preventing stress on connections. At junction boxes and outlets, use waterproof connectors and glands to seal all cable entries against moisture infiltration. Drill weep holes in boxes for drainage. Label every wire for circuit identification. If your pergola features climbing plants like wisteria, plan your cable routes to avoid interference with vigorous climbing vines that may expand over time. Before energizing, inspect all connections thoroughly—verify tightness, confirm no exposed copper, and verify conduit protection remains continuous throughout your installation.
Organizing Cords to Prevent Hazards
How you route and secure your pergola’s electrical cables directly impacts both safety and longevity of your installation. Effective cable organization prevents tripping hazards, water damage, and electrical failures. Group multiple cables using durable cable ties or velcro straps, keeping them elevated and off the ground when possible. Label each cable clearly to facilitate quick identification during troubleshooting without disturbing entire runs. Avoid knotting cables; instead, use proper looping or figure-eight winding techniques to prevent damage. Deploy expandable braided sleeving to bundle cables while allowing flexibility and abrasion protection. Plan routes along pergola structures, walls, or fences rather than across open walkways. Consider protecting your cable runs with UV-resistant coverings similar to the tarps used for outdoor furniture to shield them from sun damage and weathering. These hazard prevention strategies guarantee your outdoor lighting system remains safe, organized, and accessible for future maintenance.
Testing and Fine-Tuning Your Installation
Once your pergola’s wiring is organized and secured, you’ll need to systematically test every component to guarantee your lighting system performs safely and reliably. Start with voltage testing at your transformer, confirming output matches your bulb specifications. Use a multimeter to check voltage at fixture sockets by inserting probes into opposing terminals. Next, perform fixture inspection by examining each light for rust, corrosion, or physical damage that prevents proper operation. Verify all connections are secure throughout wire runs to eliminate voltage drops causing dim lighting. Test photocells for obstruction and clean sensors ensuring proper daylight detection. Finally, assess overall illumination levels, confirming bulbs provide adequate brightness for your intended purpose without excessive glare. Just as a deck’s structural integrity depends on code-compliant fastening, your pergola’s electrical safety requires adherence to local electrical codes and proper grounding practices.
Ensuring Long-Term Safety and Maintenance
After you’ve tested and verified your pergola lighting system, maintaining its safety and functionality requires consistent attention to electrical, structural, and fire prevention protocols. Conduct seasonal maintenance checks before winter and summer to inspect wiring, fixtures, and attachment points for damage or deterioration. Test bulb wattages quarterly to prevent overheating and confirm they match fixture ratings. Remove debris around lighting components regularly to maintain safe operation. Implement energy efficiency tips by replacing outdated bulbs with LED fixtures that consume less power and emit minimal heat. Consider using weather-resistant materials for any exposed wiring conduits and fixture housings to prevent corrosion and moisture damage year-round. Schedule professional inspections if you notice visible damage, corrosion, or malfunction. Ensure all electrical work complies with GFCI-protected outlets to prevent electrical hazards and shock risks. Turn off lights when not in use and keep flammable materials clear of all fixtures. These practices guarantee your system remains safe, efficient, and reliable year-round.